Exercise 4.3: Egg or stone, Shoot 1
Brief:
“Use a combination of quality, contrast, direction and colour to light an object in order to reveal its form. …
The important thing is to aim for four or five unique shots – either change the viewpoint, the subject or the lighting for each shot.
Add the sequence to your learning log. Draw a simple lighting diagram for each of your shots showing the position of the camera, the subject and the direction of the key light and fill.”
Methods
Object:
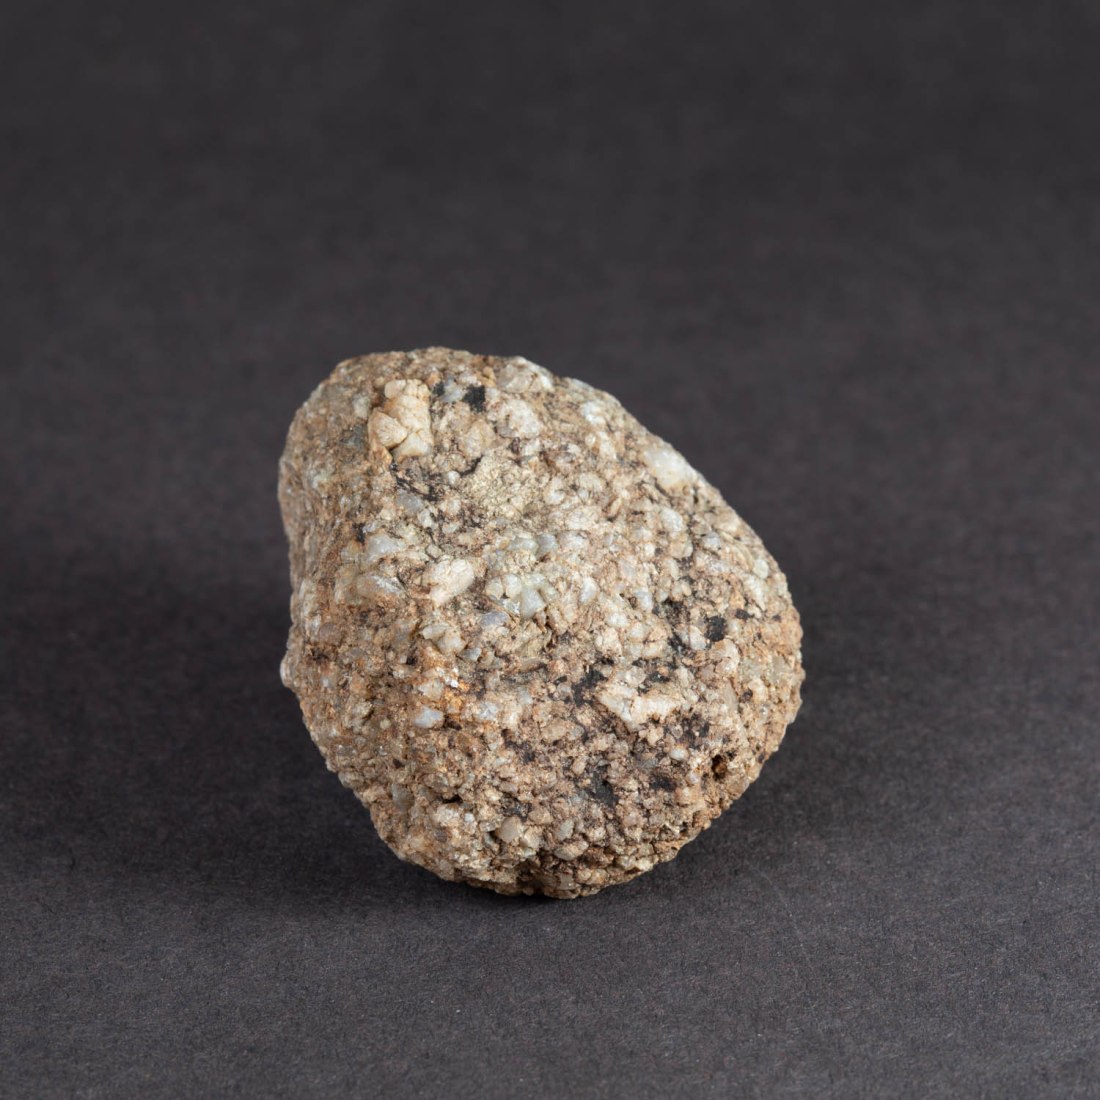
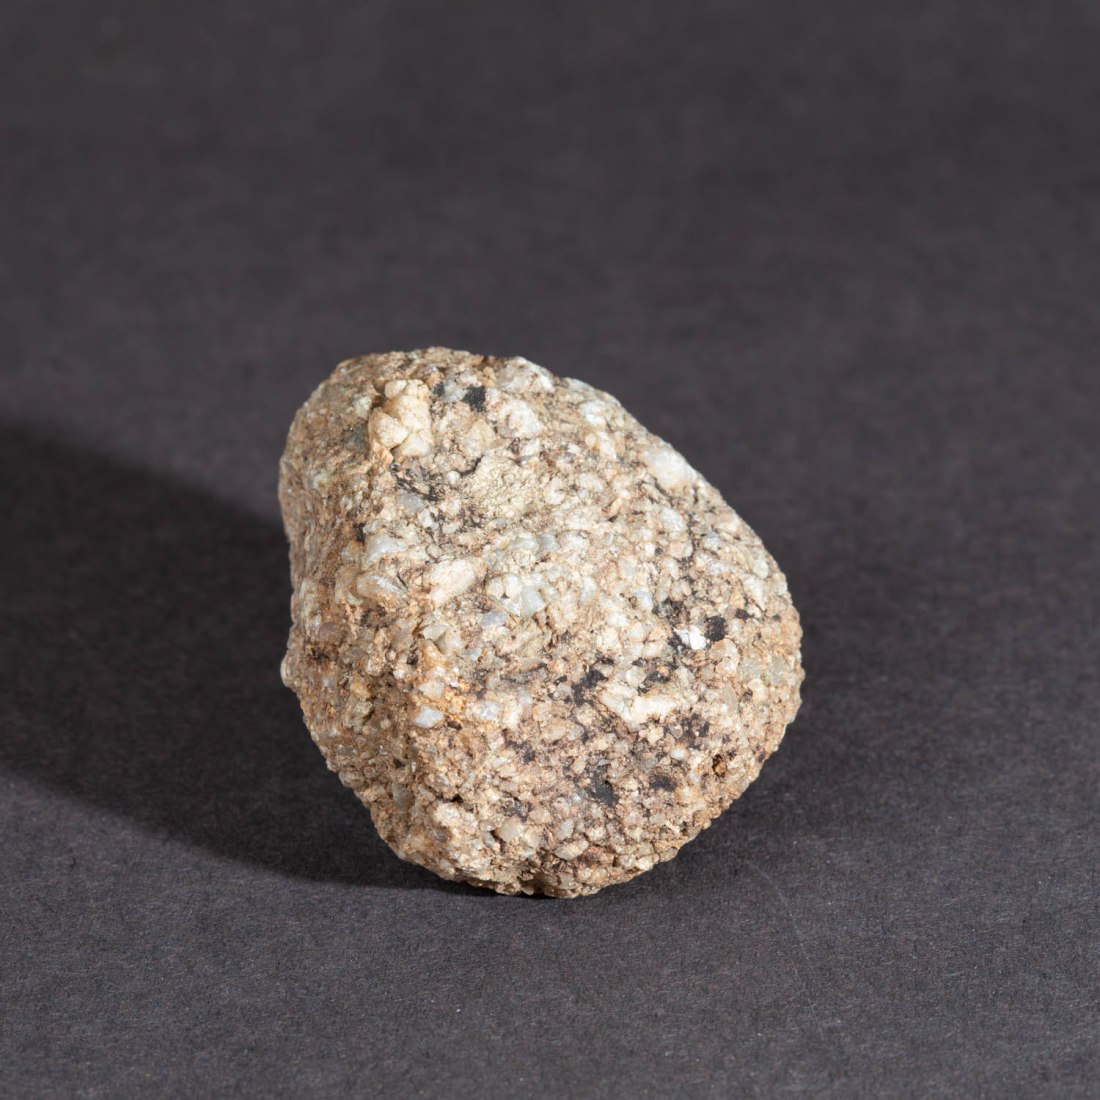
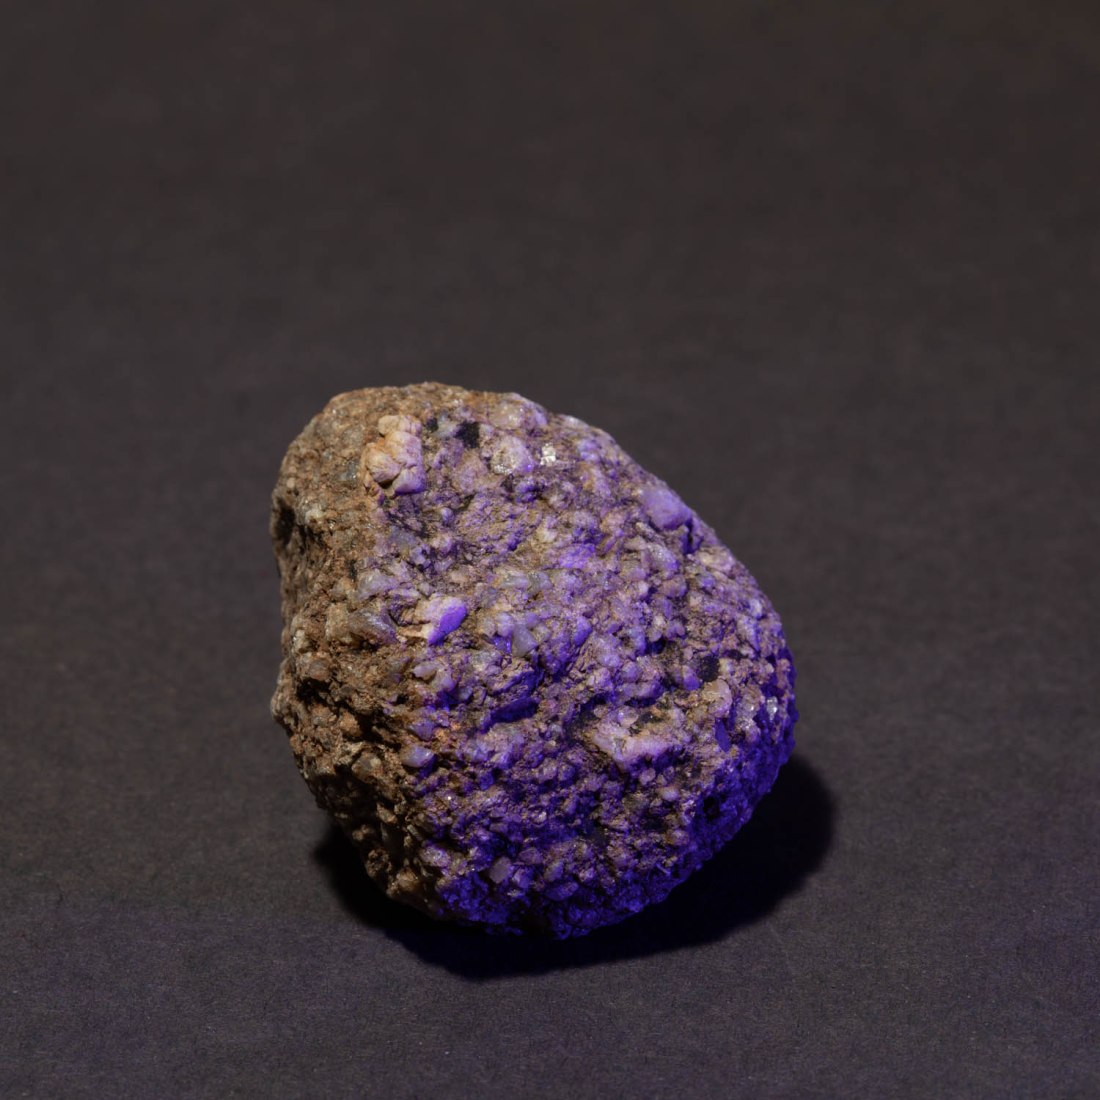
The object I chose to photograph was a rounded stone, about 120mm along its longest dimension. This stone is from a stream bed on the hills locally and is of the local gritstone. I chose this as the coarse texture of the stone has significance in its previous use for making mill-stones (“Millstone Grit”). In addition the gritstone edges of this area of the Pennines was the site of origin of an expansion in rock-climbing in the UK in the 1950’s. The texture of the rock led to particular style and techniques. It is this texture which I hope to explore in the images.
Equipment
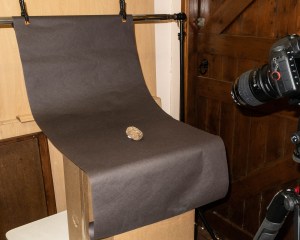
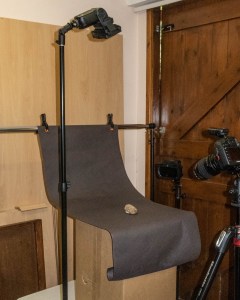
Set: I began by creating a set on which to photograph my object. I have used a background of dark grey paper with a curve to manage the “horizon line” as suggested in the course notes. The positioning of the set allowed me to arrange the lighting around the object. As shown in these images.
Camera etc:
Camera – Canon EOS 5D Mk4
Lens – 100mm macro
Flash – 2 x Nissin Speedlights with radio control and various modifiers including softboxes (700mmx700mm and 200mmx150mm)
Settings:
Manual setting for camera in all shots
Manual control of flash for all shots
ISO 100
Auto white balance for the first series (altered later to custom white balance)
Post-processing
Images were shot in RAW and processed in Lightroom. The only manipulation was cropping to a square format.
Technique
The technique adopted is to have a camera setting which results in a black image by the ambient light, without flash. In this way I can then increase the intensity of the flash to create the image and have complete control of the light sources producing the image.
The first series of images I took were all with one camera position with a lens to object distance 400mm
Results:
Shoot #1 12/06/2020
Contacts for this shoot are at:
Quality and Contrast
To try and create a very soft light from large light sources, I used two flashes at either side of the object both fitted with softboxes. The following is from my notebook made at the time:

This resulted in an image in which the visible part of the stone is almost uniformly illuminated. The coarse texture of the stone is apparent only because of the alteration in colouration. The overall shape of the stone is not apparent as there is very little shading of any part of it.
Removing the softbox from the flash to the right of the object (as viewed from the camera position) results in a stronger shadow to the left side and the left side of the stone is now in shadow.
However the right side of the stone lacks more detail and seems harshly lit.
Removing both soft boxes now causes the object to cast a hard shadow with well demarcated edges on the background to both sides.
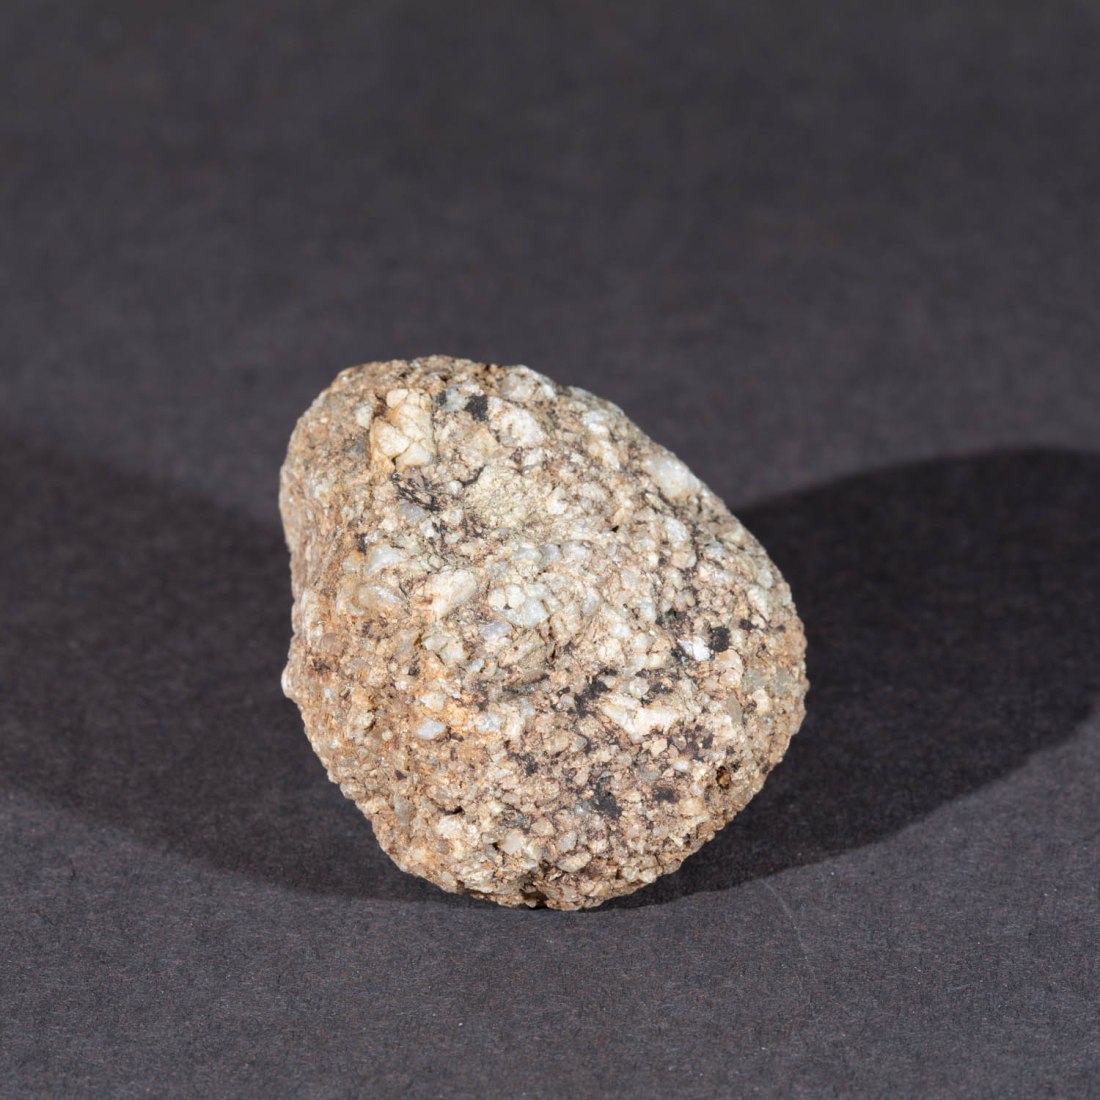
When only one light without softbox is used to the left of the object a hard deep shadow is cast to the right. This hard shadow is also seen on the surface of the object, throwing the granulations into stark contrast. (Image 30). With the same position of lighting and adding the large softbox, the sharpness of these shadows is reduced (Image 28) and detail in the shaded side of the stone can be seen.

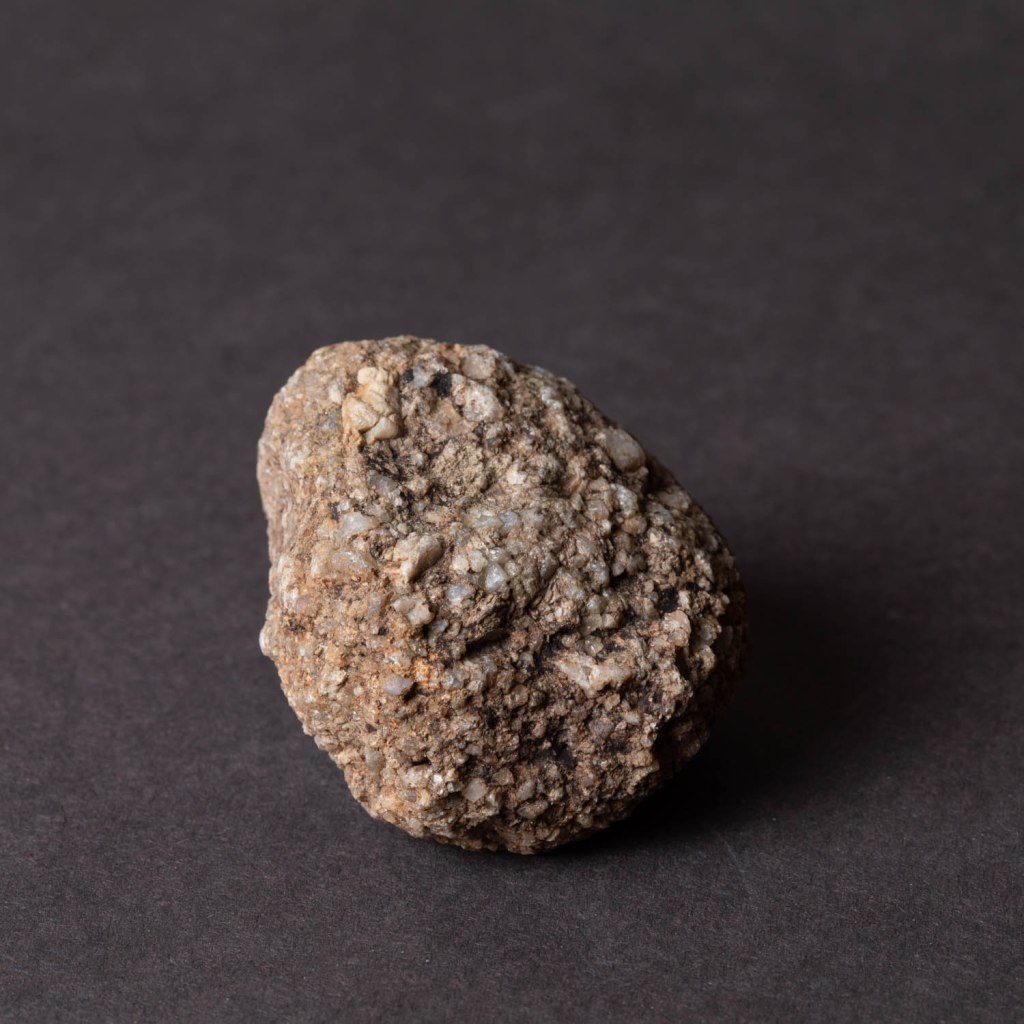
Direction
Putting one of the lights directly over the object causes a different appearance, with the main shadow falling below the object and the granulations of the surface being less clearly defined.
The light was directed to a restricted area of the subject and this enhanced the demarcation from the background.
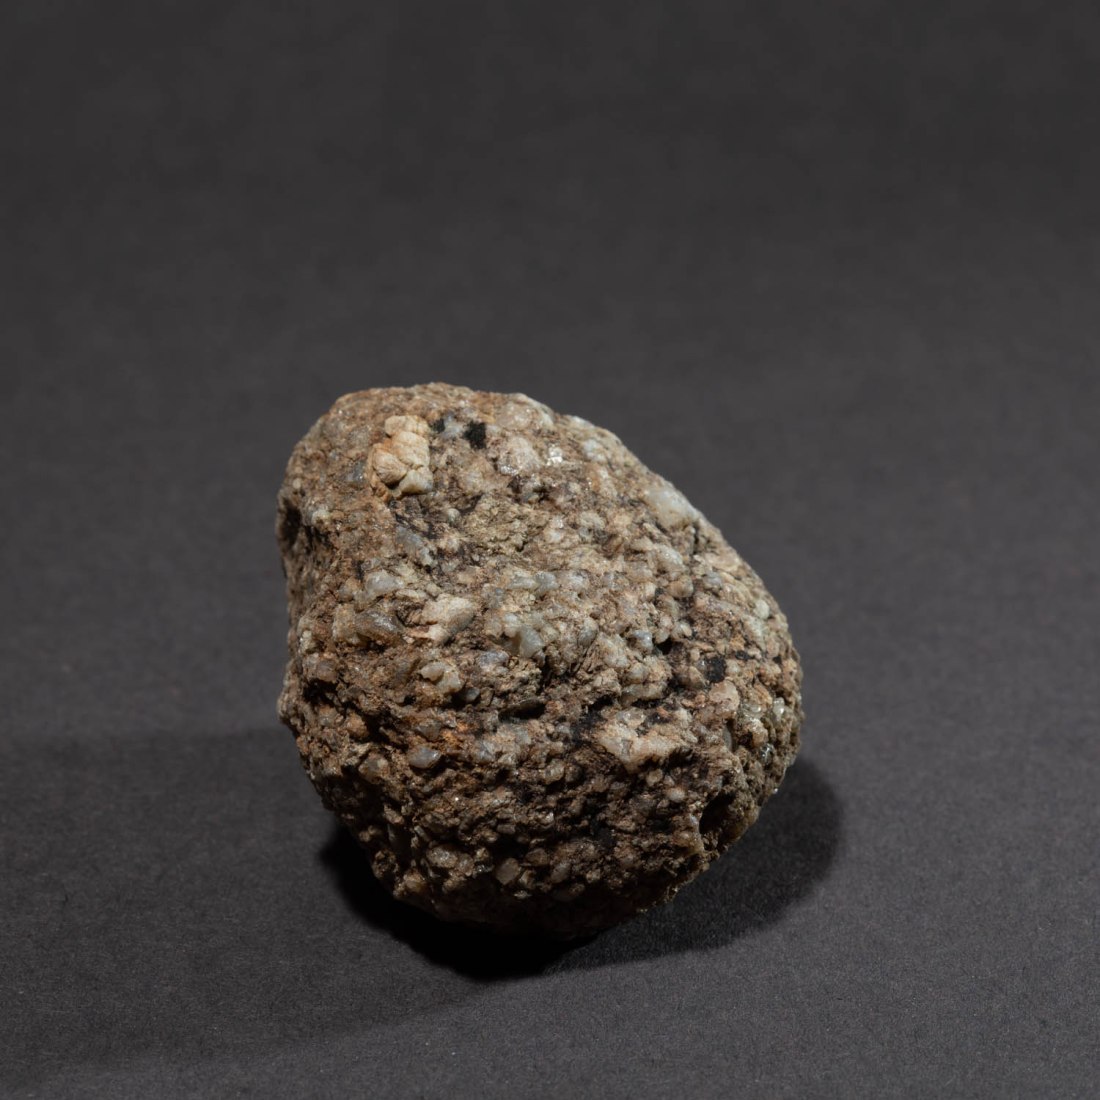
Colour
In all these images I have set the white balance to “Auto White Balance”. I made a few images putting coloured gels in front of the flash, but realised this may be a mistake, as the white balance setting will aim to correct a colour cast and adjust the entire image to an average as if illuminated by white light.
I will repeat this exercise with a custom white balance.
However, the images I did create just show a colour cast to the object – although adding a magenta gel to the flash to the right, does create a colour contrast between the sides of the object.
While this is an interesting effect, I am not sure it adds anything to my understanding of the stone.
