Assignment 4: Languages of light 2
In this post I will describe my technical approach and the methods I have used.
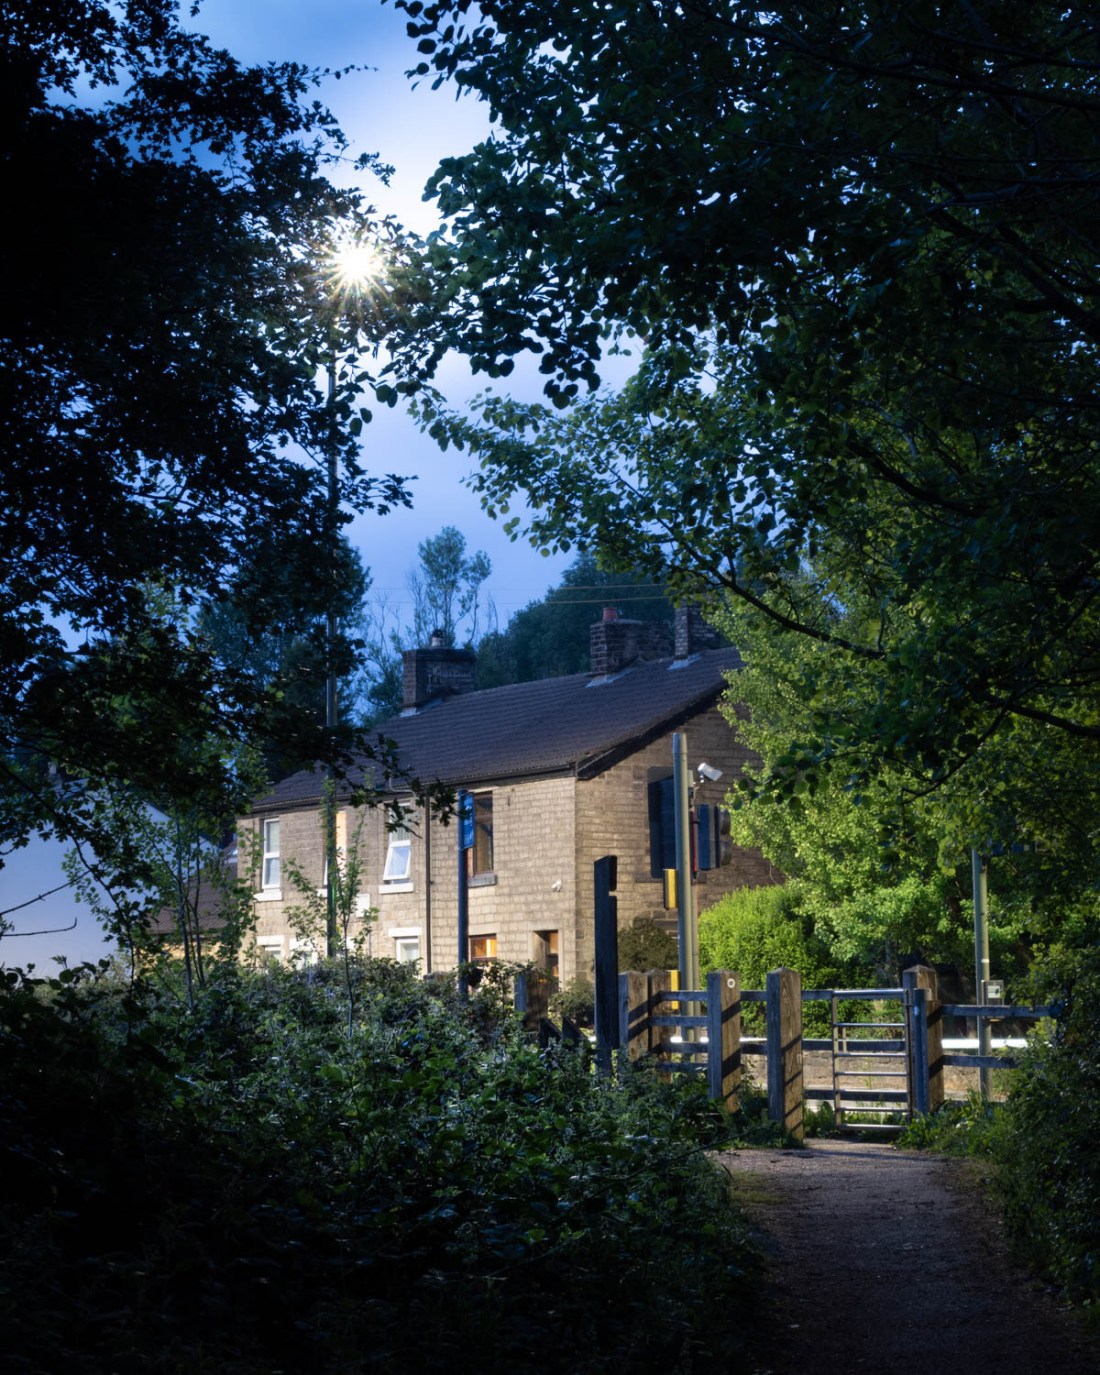
Camera set-up
My experience with Exercise 4.2 I learned that I needed to use a slow ISO value to obtain high-quality images which would most faithfully express the quality of light I was trying to capture – ie the refulgence, the brightness and radiance of the light and its reflections. As a result of this long exposure times were necessary with a tripod.
I wanted to capture all the qualities of the light, including colour, so this necessitated my using my digital camera as I am not equipped to use colour film at the present. A second consideration is that the digital camera provides a more immediate feedback and allows me to assess the exposure immediately.
Images were made with a Canon EOS 5D Mk4 and either a 24-105mm zoom lens or 50mm f1.2 prime.I selected apertures of between f8 and f16 to enable a deep depth of field as this seemed appropriate for the compositions I was aiming for.
Exposures were made according to the camera metering, set to centre-weighted average, and then adjusted if needed.
Colour Balance
This was a major consideration for my methodology.
I had made all the images for Exercise 4.2 using “auto” setting for white balance. However some of the resulting images were somewhat disappointing as this setting tended to make the image look as if it had been made in daylight.
An example of this is.
Here the foliage and buildings appear just as they might do in the daylight even though it was made about one hour after sunset. I felt that this setting of my camera failed to capture the experience of viewing the scene at night with artificial light.
Although I am fairly familiar with the principles of white balance, in particular from experience of taking photographs by ambient light underwater, I revised my knowledge by referring to a recommended textbook (Diprose and Robins, 2012).
Visible light is part of the spectrum of electromagnetic radiation which encompasses what we know as radio waves, microwaves, infra-red radiation, ultra-violet radiation, X-rays and gamma rays. It just happens that through evolution our eyes are sensitive only to electromagnetic radiation of wavelengths in a restricted range, “visible light”. Within that range, we perceive different wavelengths as being of different colours. While the wavelengths of light can vary continuously, we perceive the colours as distinct and discrete, due to the way the light receptors in our eyes are constructed. There is nothing inherently “red” about electromagnetic radiation which we perceive as red light, it is rather that it triggers responses from light sensitive cells which are interpreted by us as red.
White light is composed of all wavelengths of electromagnetic radiation in the visible range, but different light sources have different combinations of these. So when there is a preponderance of longer wavelengths (ie reds and orange) we see this as a “warm” light. Conversely when there is a preponderance of blue and violet wavelengths this seems a “cool” light. This is referred to as “colour temperature”, which in turn relates to a theoretical black object radiating light as it is heated, we are familiar with the idea of heating a piece of metal which starts to glow red and as it gets hotter, brighter.
As photographers we have to take photographs in various types of light. “Daylight” might be the light of a clear blue sky, dominated by short wavelength blue light – so is considered a cool light. Conversely, around sunset and sunrise the light has more red and orange (due to passing a longer distance through the atmosphere, which filters out the blue wavelengths). Rather confusingly the “cool” light of the blue sky would be assigned a colour temperature around 10000K, a hotter temperature than the “warm” light of sunset which would be of the order of 5000K.
Artificial light sources also have this range of colour temperatures. So that an incandescent household bulb will have a warm light (≈3000K), while fluorescent tubes may be cooler (of the order of 5000K).
We do not always perceive this difference. Our eyes and brain adjust to the light source, and we tend not to notice the difference unless the light sources of different temperatures are adjacent to each other. Our cameras however do not make this adjustment and show the light source as it is, and as a result colours may not appear how we perceive them.
The white balance correction allows us to adjust for this; either by specifying a colour temperature or picking a pre-set corresponding to a type of light. Once that is set, white objects appear white, without a colour cast corresponding to the type of light.
An alternative is the Auto White Balance setting. The Canon website (V and Canon Europe Ltd 2002-, s.d.) describes this. “ Auto White Balance works by evaluating the scene and deciding the most appropriate white point in it. The setting works reasonably well if the colour temperature of the ambient light is between 3,000-7,000K. However, if there is an abundance of one colour in the image, or if there is no actual white for the meter to use as a reference, the system can be fooled, resulting in an image with a colour cast.”
For Exercise 4.2, I used Auto White Balance. While this did not result in a colour cast, some of the resulting images did not reflect the appearance of the scene as I saw it. One example of this is this image which looks like it has been taken during the day, rather than an hour after sunset.
I wanted to try and capture more about the quality of the artificial light and what it adds to the scene as it would otherwise be illuminated. I chose to use a custom white balance setting for my images. This involved setting the white balance for the light conditions after sunset, without any influence of artificial light. In this way, any “colour cast” would actually be the light that the artificial light had added to the scene.
Post-processing
Images were shot in RAW and edited in Lightroom. Adjustments were confined to cropping and local exposure adjustments. No changes were made to the coloration.
References
References to the works cited in this post are found in my separate post “References”

One thought on “Assignment 4: Languages of light 2”