It has been suggested to me by my tutor that I try using medium format film for my images.
I have recently obtained a medium format film camera and am exploring this medium. At present I have not got my darkroom back in service and have only just found a medium format enlarger, so my initial attempts have been processed and printed commercially.
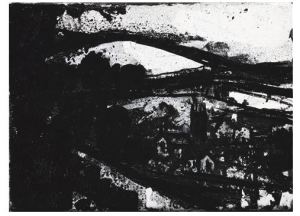
In the shots I took with my first film have tried to emulate some aspects of the work of Fay Godwin. In particular I have used a long exposure with a small aperture to maximise the depth of field. In this way the viewer is able to explore all the image. I have composed the images to emulate some of the images of Fay Godwin from “Remains of Elmet” and “Land”, such as this:
Two, Remains of Elmet. Fay Godwin
My own images were taken quickly on a short walk along lanes near to home.
Towards Pingot LaneHague Lane
Overall I think that my basic aim has been achieved, there is a deep depth of field. I think there is scope for more work in the printing of these and that is my next step.
Do your own research into some of the photographers mentioned in this project. Look back at your personal archive of photography and try to find a photograph that could be used to illustrate one of the aesthetic codes discussed in Project 2.
“Because human vision doesn’t normally see the world in deep focus, the effect of total depth of field in a photograph can be used to create psychological tension”
I have chosen a number of images with a deep depth of field and I feel that all show some aspect of psychological tension.
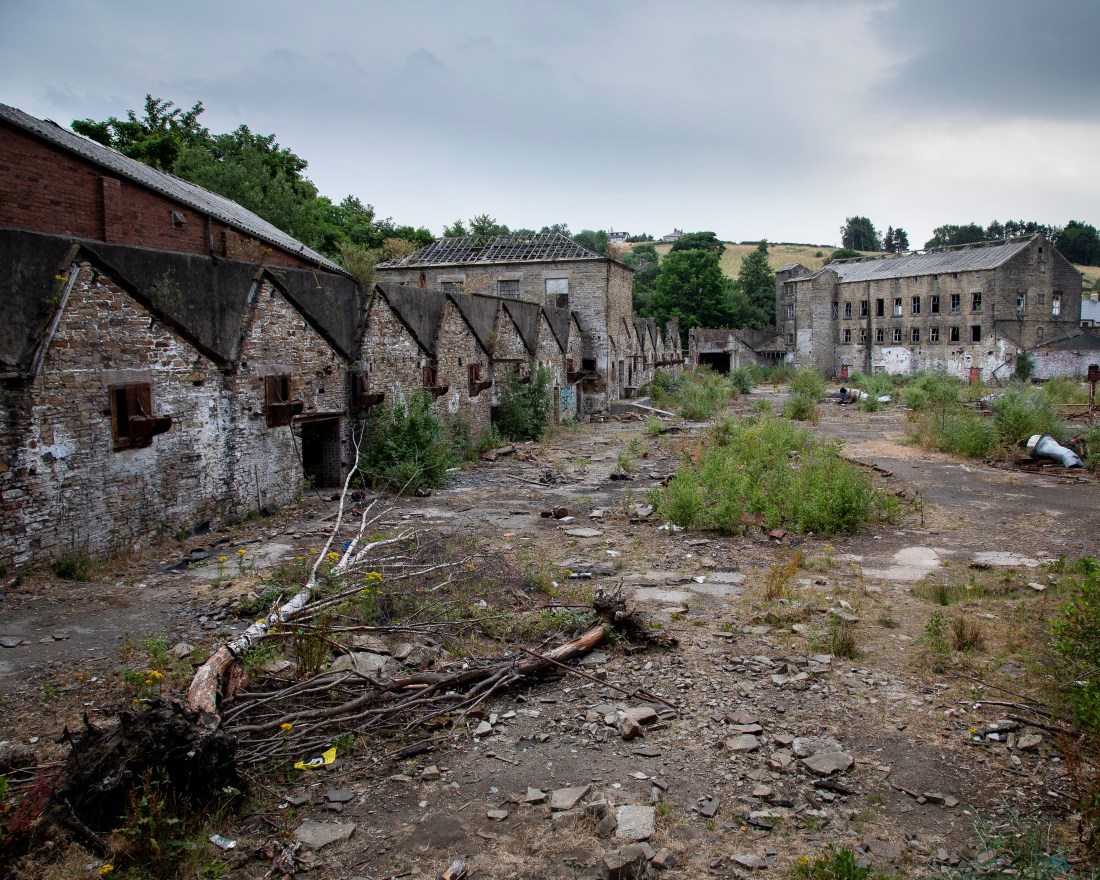
Milltown
In this image we can see the whole of the ruined factory and it raises questions to us, “What was it?” “What is there now in the ruins?”
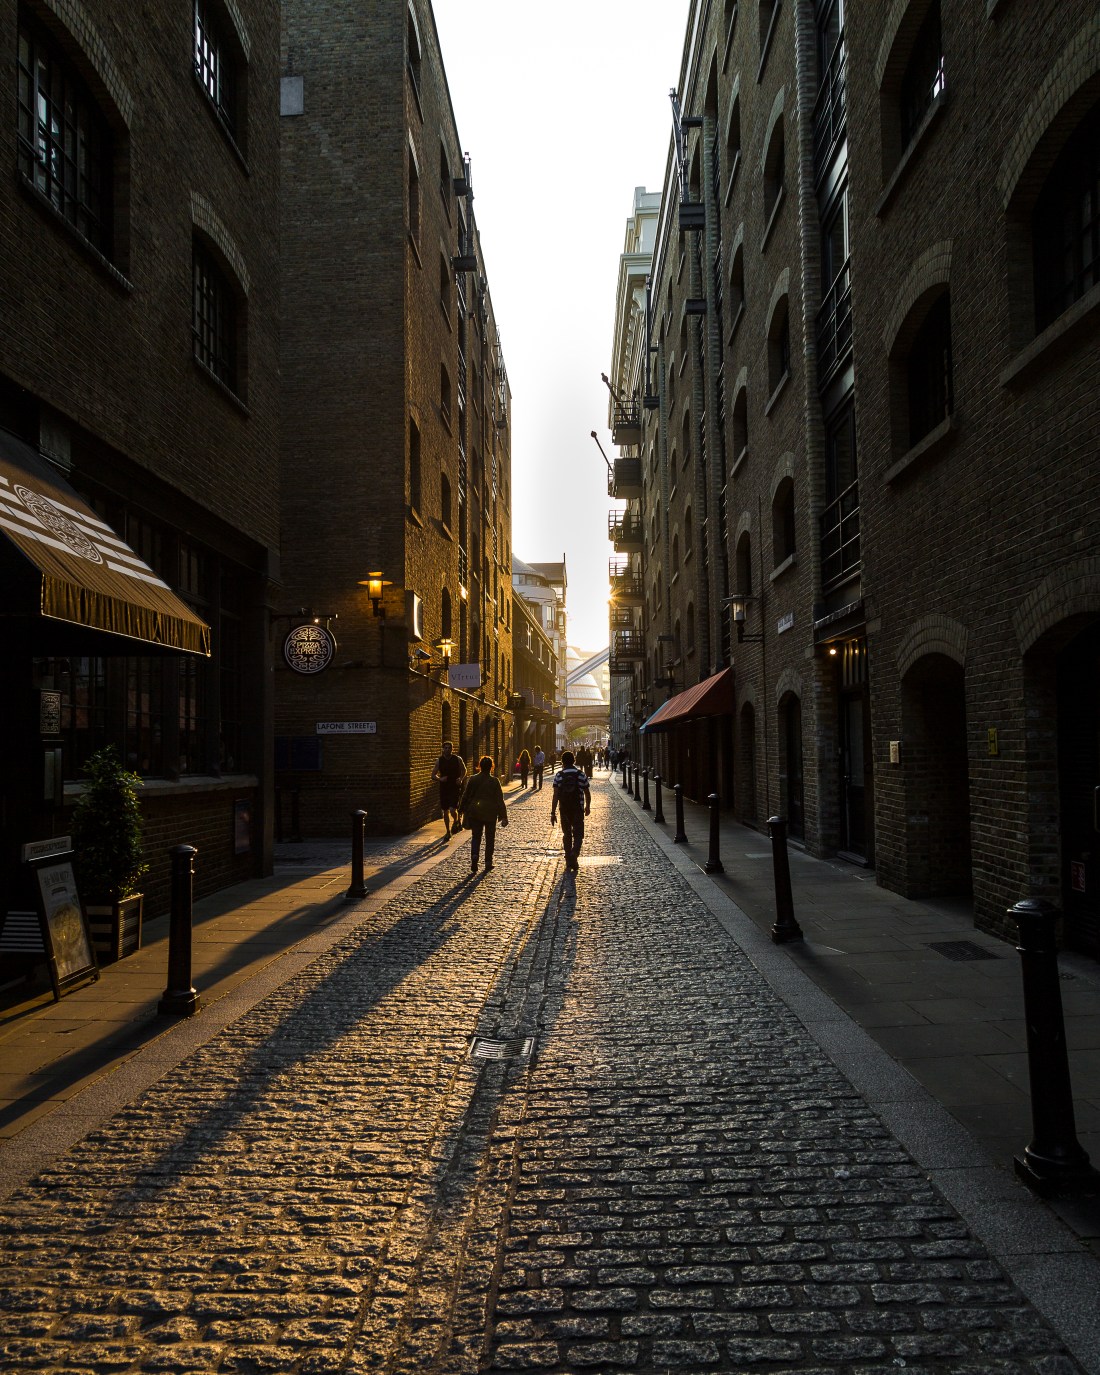
Shad Thames
Similarly this also raise the question “What is there in the shadows ?” or “Who are they coming towards me?”
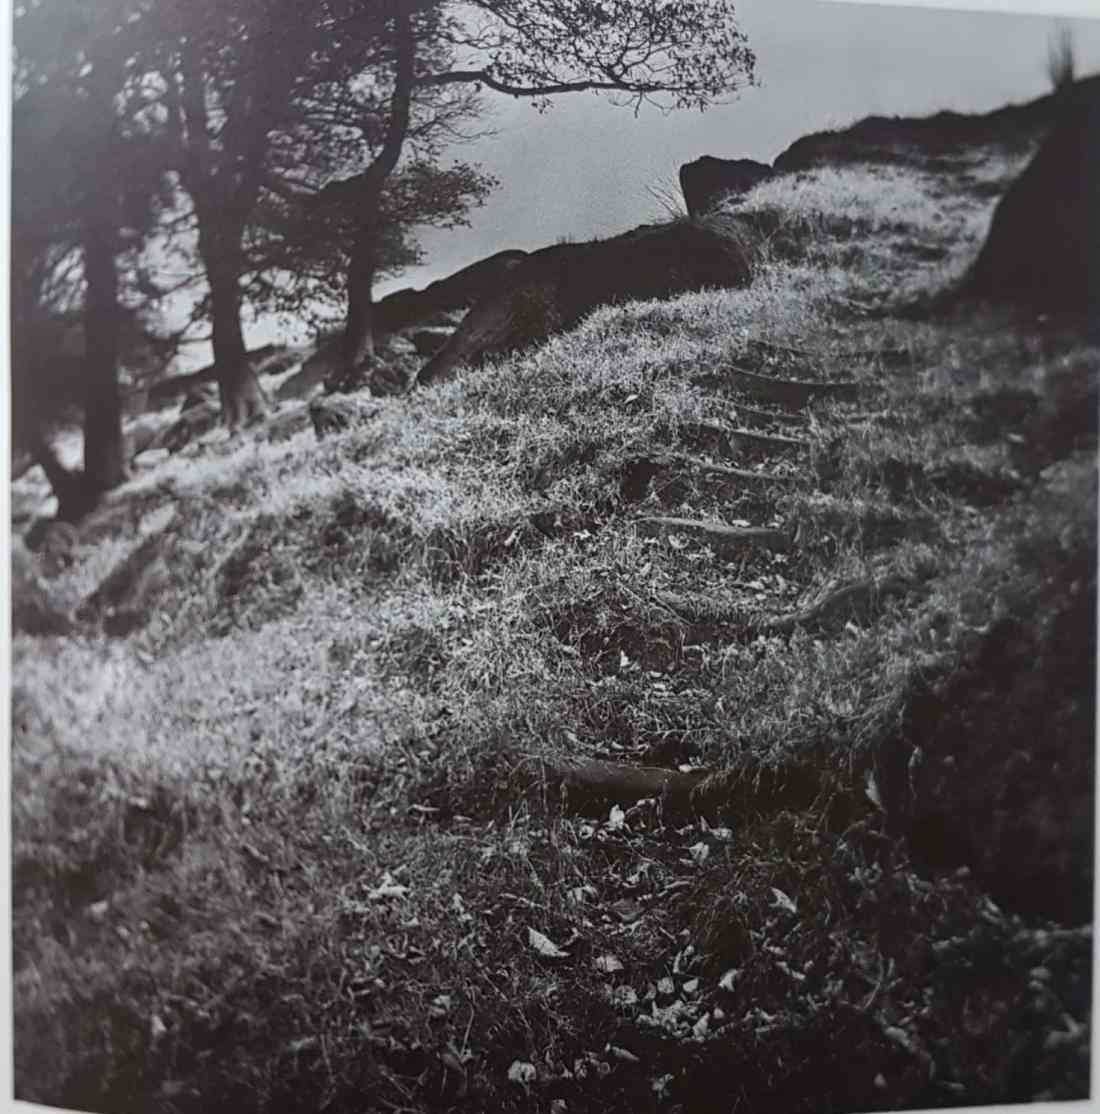
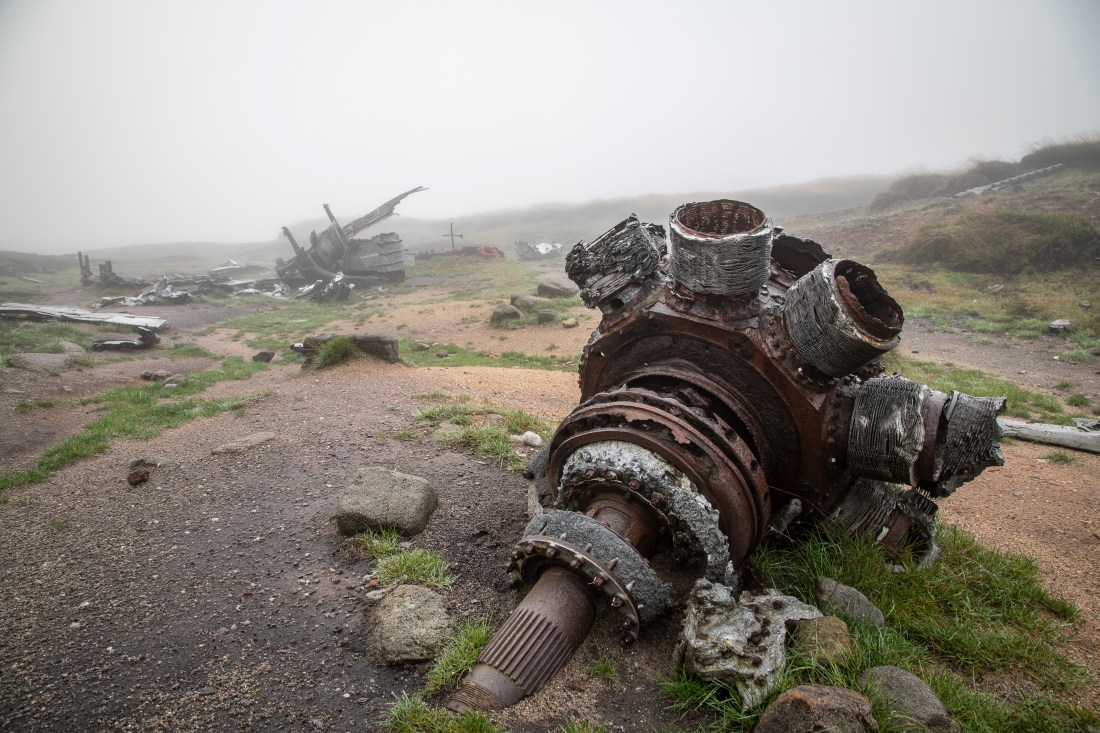
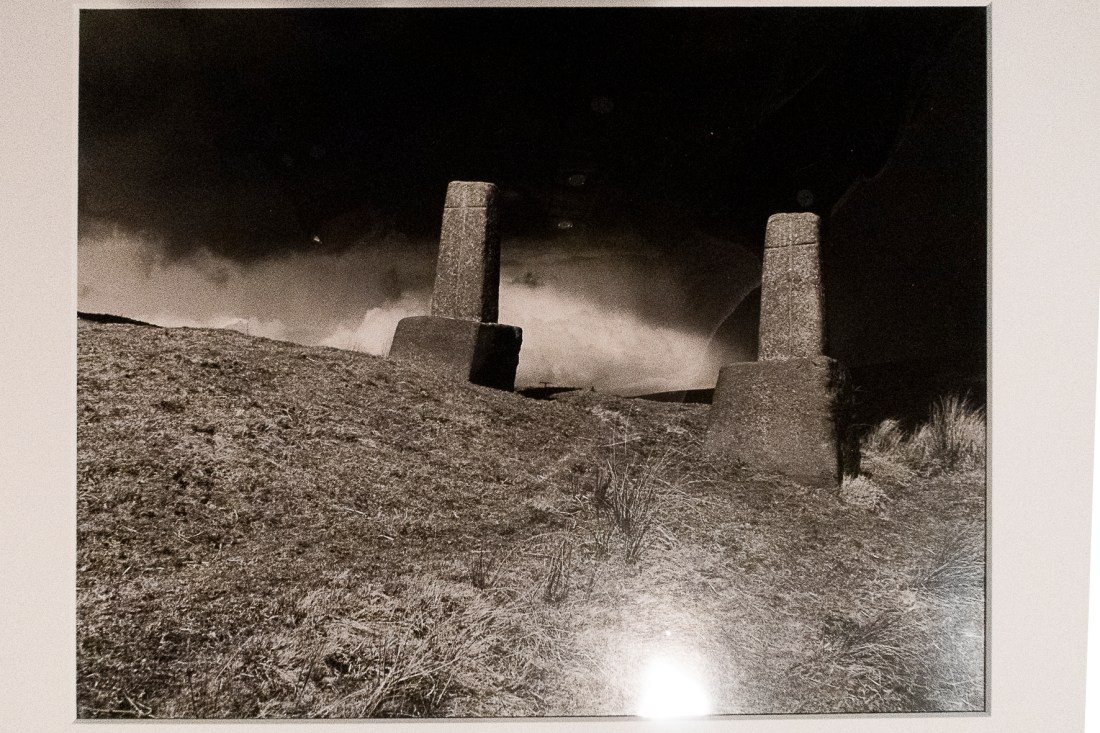
Shelf Stones Fortress
“What is this place?” “What happened here?” This is made all the more tense by the mists and the lack of visibility to the horizon – is there anything there?”
Spain
This landscape to me is also has psychological tension as it seems other worldly with a deep blue sky and strong colours on the land.
“Shallow depth of field shots can have a freshness and vitality to them; they present a simple and attractive aesthetic statement… Another of the aesthetic codes of shallow depth of field is intimacy.”
The shallow depth of field does produce a sense of intimacy in these images.
This is obvious in this interaction between a woman and her horse.
Ruby and Carol
But in these images the shallow depth of field gives us a sense of sharing the joke between these two at festival.
Cusco 1
Cusco
And similarly we have the sense of prying on these two, and on the incongruity of their modern objects against their traditional dress.
I had been directed towards examining the work of Fay Godwin by my tutor and then later in Part 2, Project 2 of EYV.
My research of her biographical details and published works is in my written notes and I will not reproduce here for conciseness.
Fay Godwin was a photographer who started her career photographing her children and then making portraits of literary figures in the 1970’s and 80’s. However her first published works were of landscapes, and it is in this genre she is most regarded.
In my research for this element, I have examined:
“Remains of Elmet” (1979), her collaboration with Ted Hughes
“Our Forbidden Land” (1990)
I also made a research visit to the Museum of Science and Media, Bradford (15 February 2019) and examined the archive material there. This material includes that displayed in the exhibition of her work “Land Revisited” which closed on 27 March 2011. It includes material included in her publication “Land” (1985) as well as other material. I have been able to photograph some of these images and they are reproduced here for study purposes.
I have several thoughts about the work, regarding what I have learned from this exercise.
Use of depth of field
All the images I viewed in Bradford had deep depth of field such that no part of any image was out of focus.
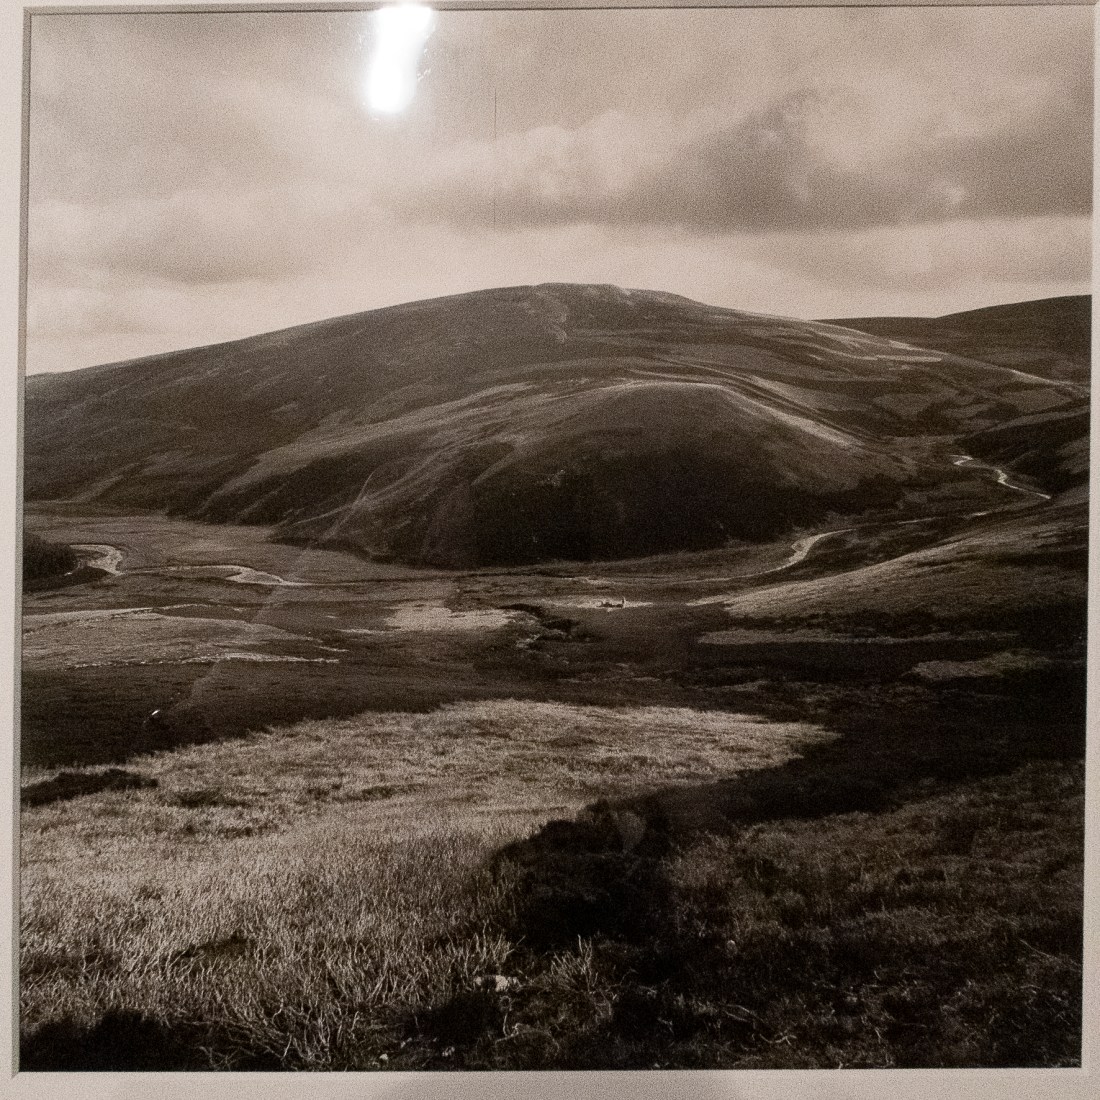
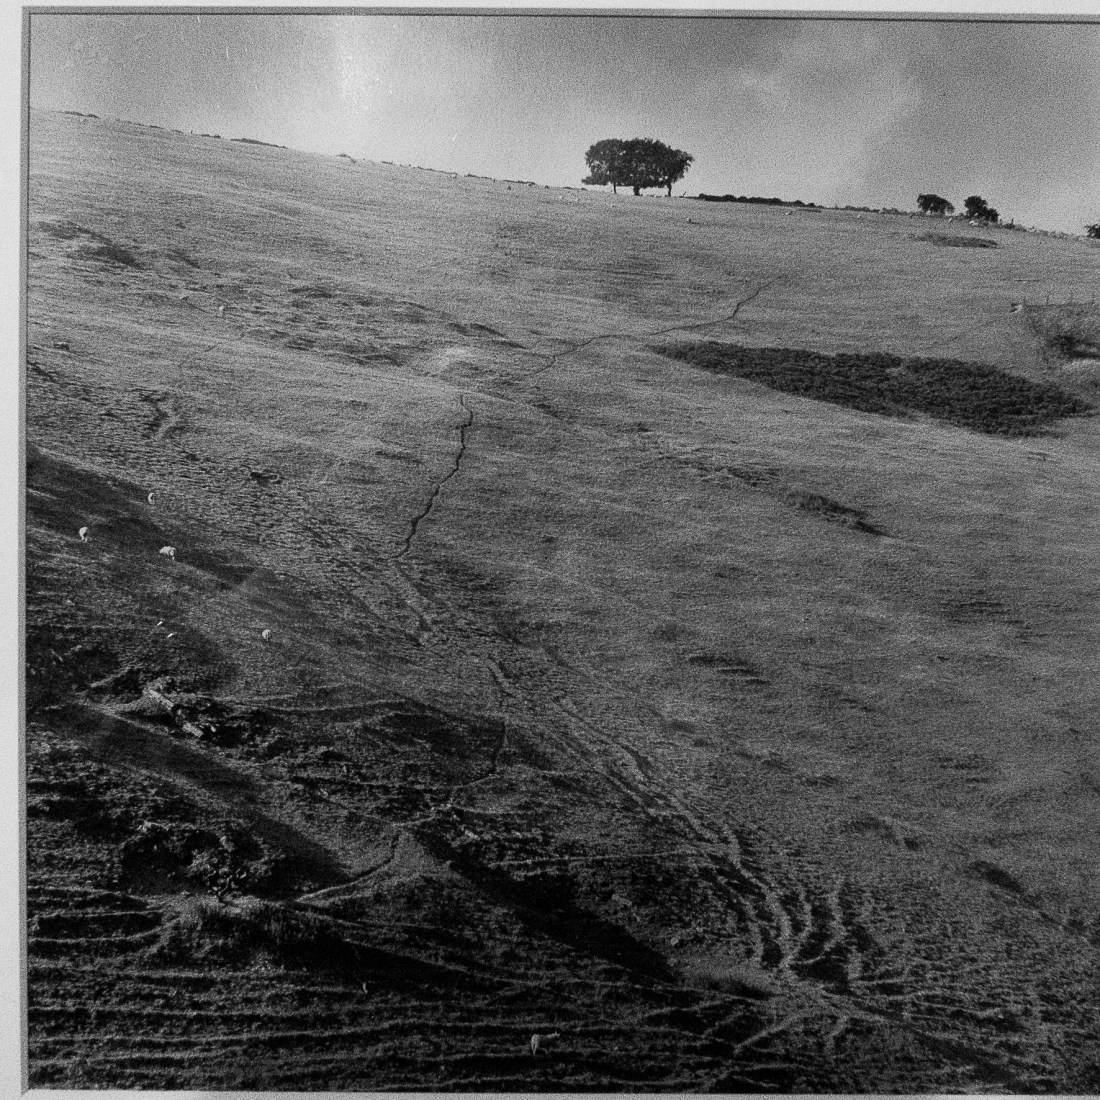
This was obvious in wide landscape images such as “Markerstone on the old London to Harlech road 1976”
Markerstone on the old London to Harlech Road. Fay Godwin (NSMM 1994/5015/52)
In this image the foreground grass is shown in precise focus and detail. I assume that a small aperture was used to take the image to give such a deep depth of field, and therefore a long exposure. In other images this results in blurring of those parts of the subject which move during the exposure. This is obvious in “Stream and Birch, Glen Bheinn Sutherland” (National Science and Media Museum, 1994/5015/87) where the branches of the tree have moved and are depicted as a blur.
Stream and Birch, Glen Bheinn. Fay Godwin (NSMM 1994/5015/87)
Detail- Stream and Birch, Glen Bheinn. Fay Godwin (NSMM 1994/5015/87)
Godwin also used this technique in other images where other artists might has used a shallow depth of field to emphasise part of the subject. I saw this in “Carved Bench, Stourhead” (National Science and Media Museum, 1994/5015/70) where both the foreground grass and the leaves in the background are in sharp focus.
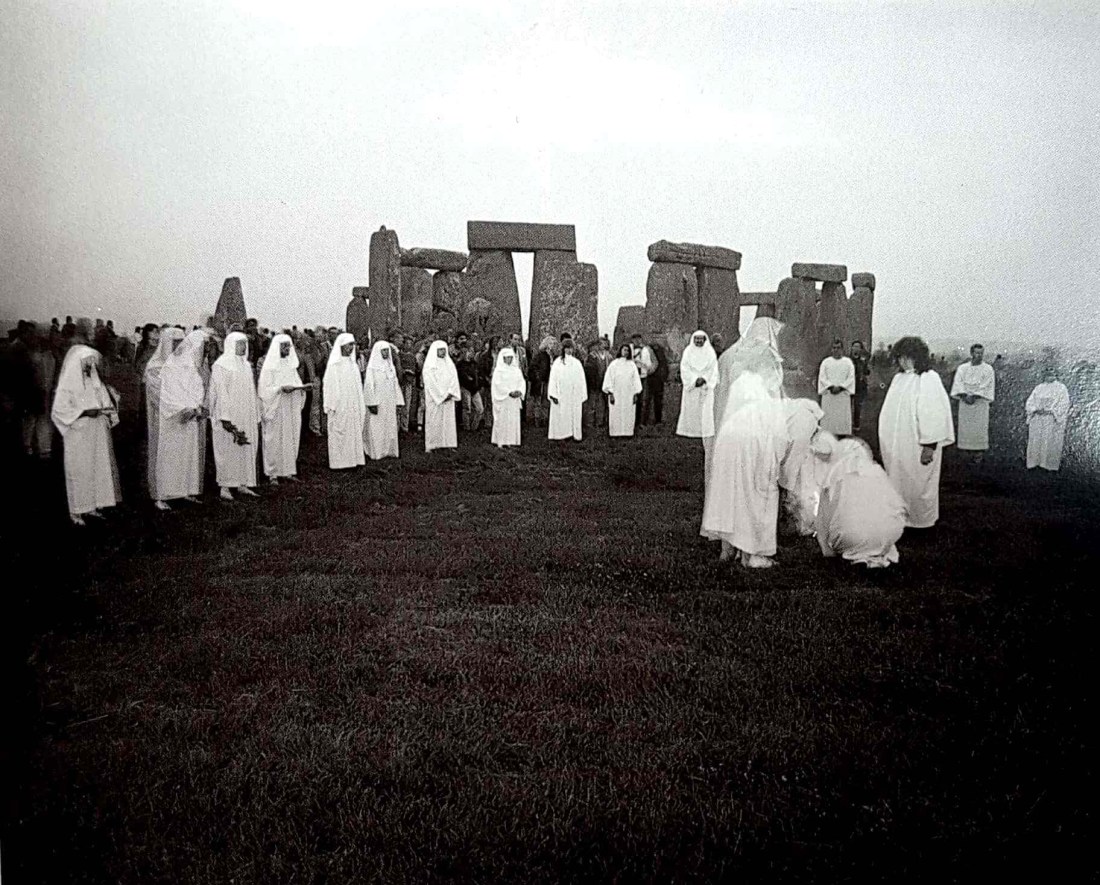
She also uses a long exposure in what might be a more documentary image “Free the Stones”. The foreground and background are in sharp focus, but the people photographed have clearly moved during the exposure. I am unclear what her aim was in producing this image, but it remains atmospheric and the blurring of the people captures their movement.
Free the Stones. Fay Godwin
In terms of this exercise, our course notes suggest that “depth of field was also a political decision for… Fay Godwin”. She appears to use a deep depth of field in virtually all her images. In this way she depicts the entire scene and does not emphasise any one part. I would suggest that this is consistent with her answer to a question put in an interview in 2002:
“Interviewer: Your photographs are often seen as being politically active. Is there a hidden agenda in your photography? Godwin: The viewer must bring their own view to a photograph.”
Godwin sets out the scene in her image and allows the observer to make of it what they will. Nonetheless her choice on subject and viewpoint determine what she wants to show to the observer.
Compositional technique
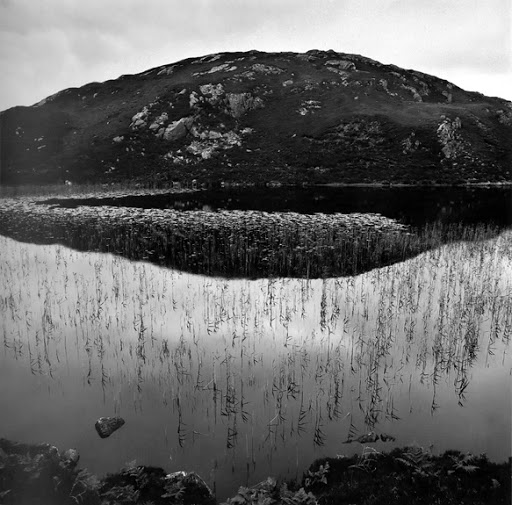
The wide depth of field she uses allows the use of foreground objects and features to contribute to the composition. This is the case in images such as “Reedy Loch” where the detail of the reeds attracts the eye to the foreground.
Reedy Loch. Fay Godwin (NSMM 1994/5015/95)
Other compositional techniques I was aware of was the use of patterns in the landscape revealed by the lighting which make an interesting image of a wide panorama of moorland. Examples of this include “View from Duffdefiance, Glen Buchat” (National Science and Media Museum, 1994/5015/74) where patterns in the vegetation provide light and dark on the otherwise featureless moor.
View from Duffdefiance, Glen Buchat. Fay Godwin (NSMM 1994/5015/74)
Similarly in “Haven Hill, Bradbourne” (National Science and Media Museum, 1994/5015/72) the angle of the light has emphasised the path erosion and provided lines across the hillside.
Haven Hill, Bradbourne. Fay Godwin (NSMM 1994/5015/72)
Sparse use of darkening of the sky
Godwin presents her images with a very naturalistic feel. The tonal quality of the skies is very natural and with a few exceptions is not darkened. These exceptions provide dramatic contrasts such as in the image of “Abel Cross” (National Science and Media Museum, 1994/5015/2)
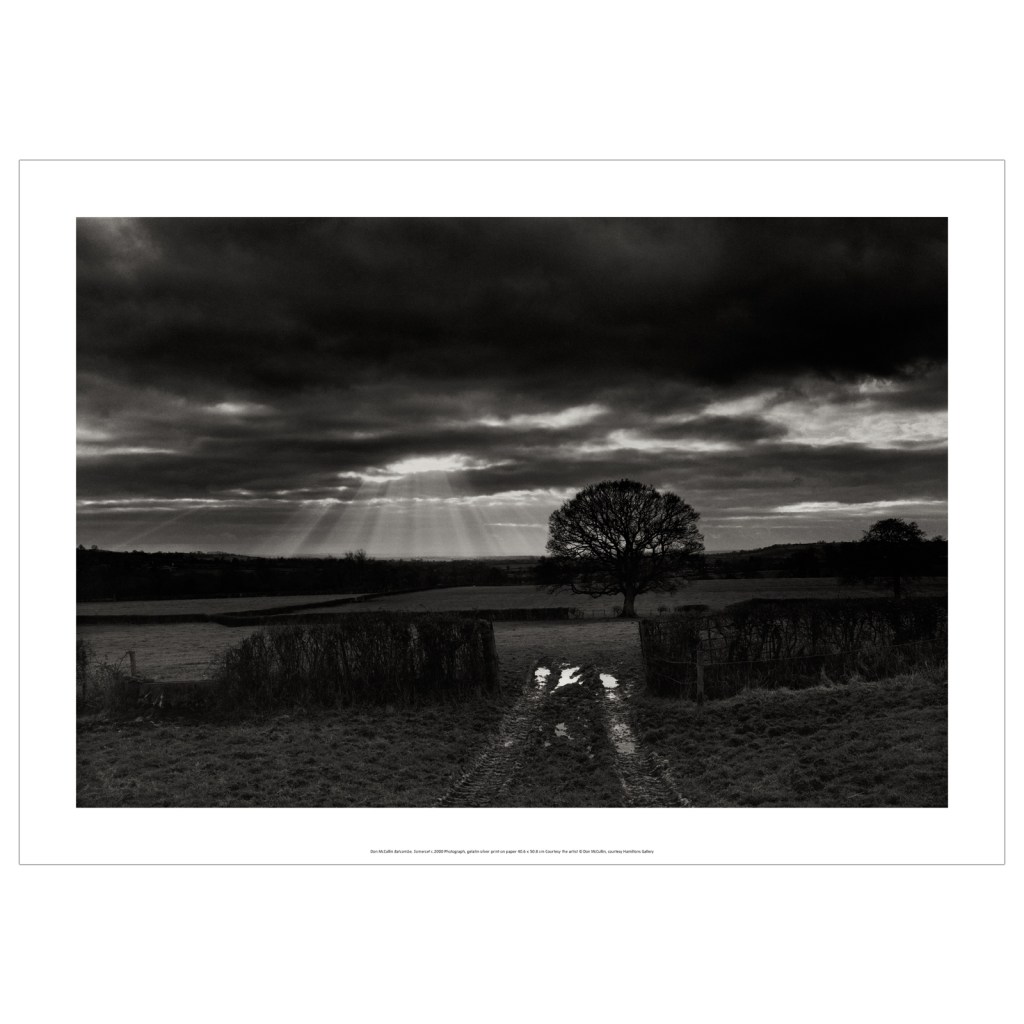
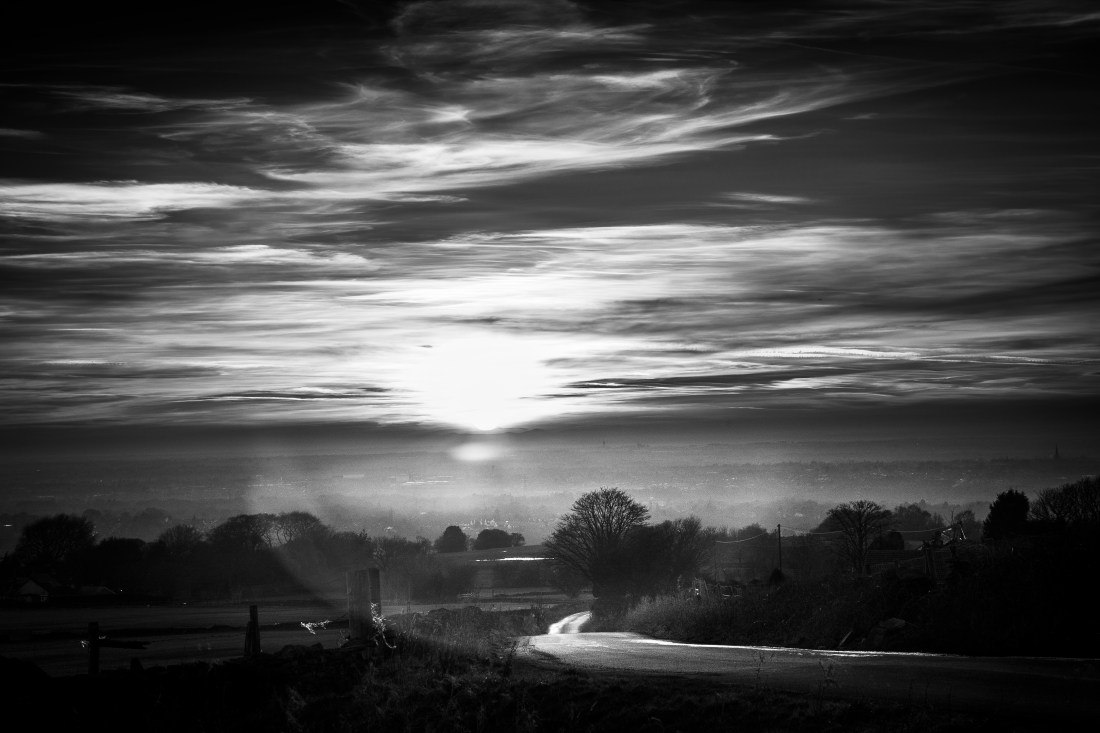
Having seen the exhibition of Don McCullin’s work at Tate Britain, Don McCullin – Tate Britain. Feb 2019, I tried to produce some images in his style. In the absence of a local war zone, I decided to use landscapes to do this. I completed Exercises 2.6 and 2.7 with that intention, and selected a site where I could photograph into the setting sun to try and get the effect McCullin has achieved in these images.
Somerset 2004. Don McCullin
Batcombe, Somerset. Don McCullin
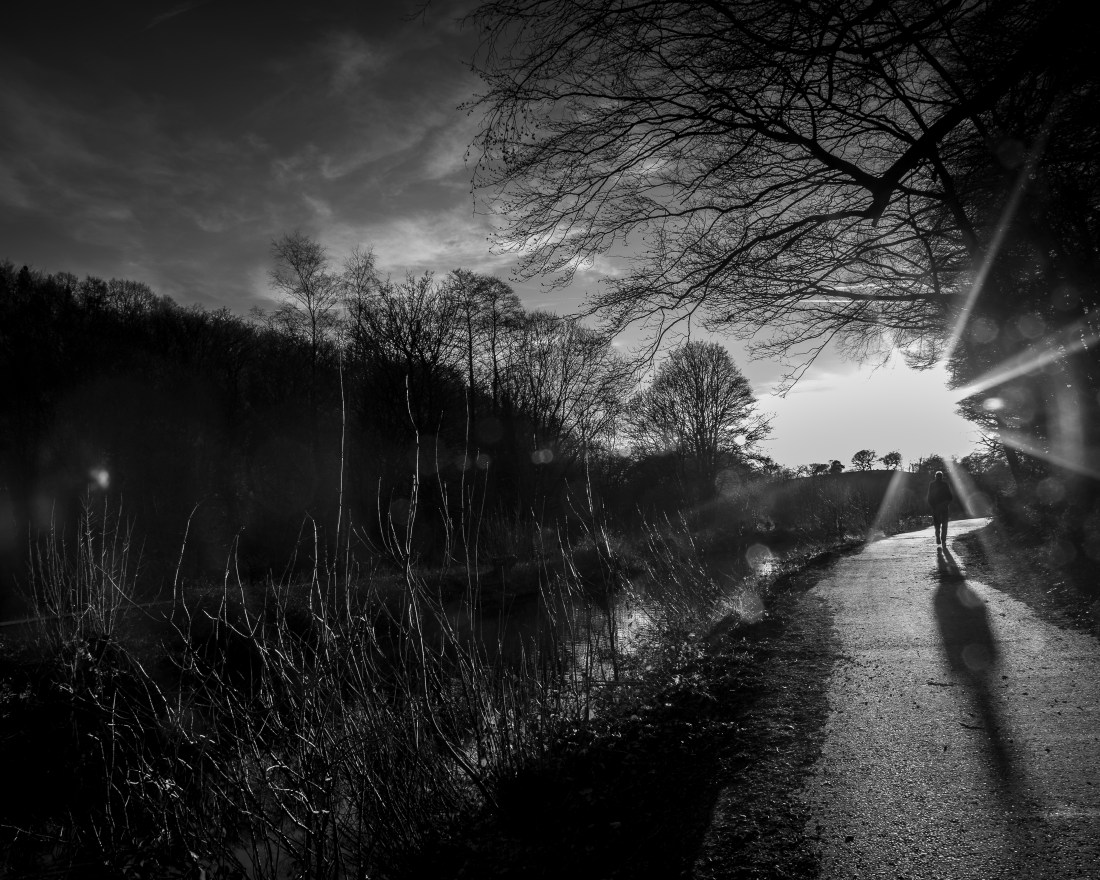
My attempts shown here are Black and white versions of the images in my exercise 2.7.
Etherow Country Park 1Etherow Country Park 2Etherow Country Park 4Etherow Country Park 5Mill Brow 1Mill Brow 2
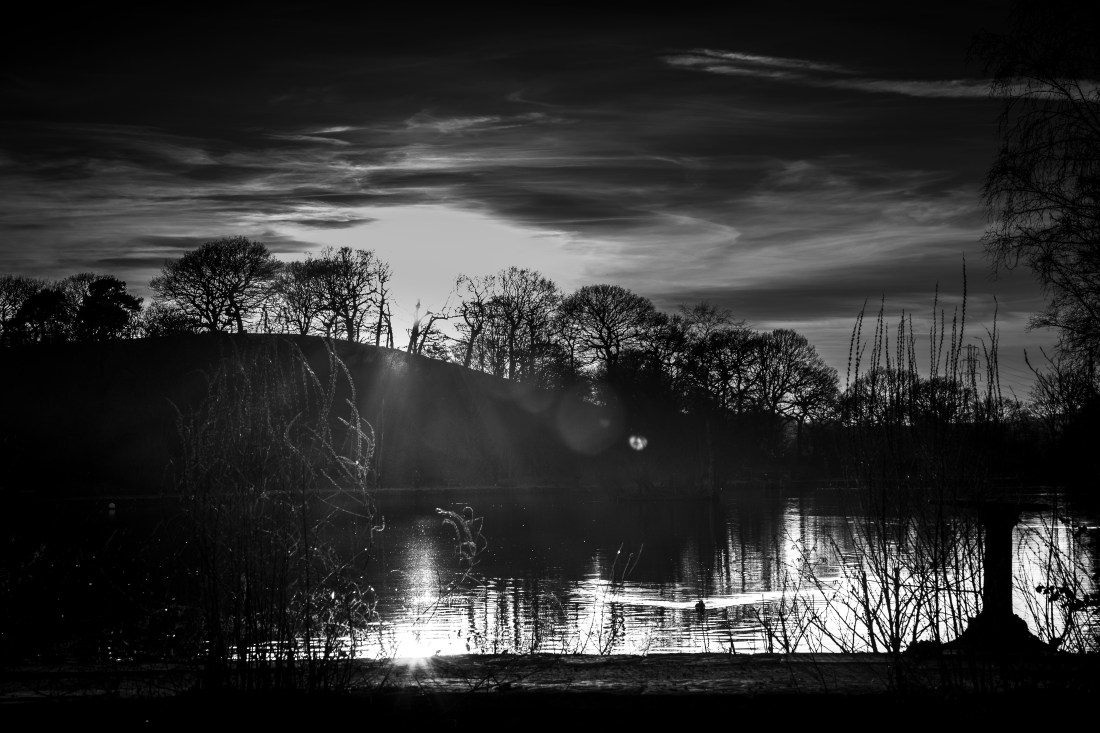
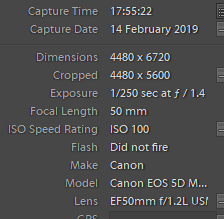
The cloud formations on the evening I chose were not really suitable to get this effect I was trying to achieve, however I remembered this image from exercise 1
Swineshaw Reservoir
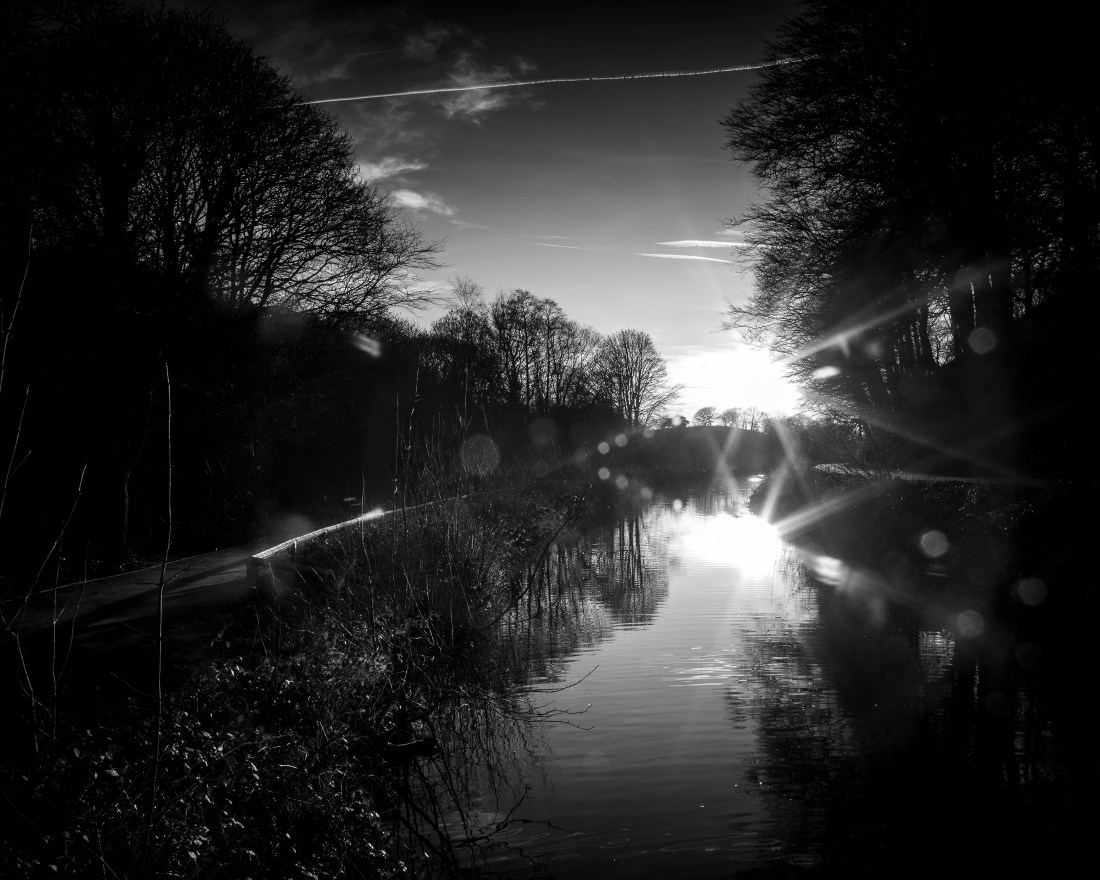
and rendered it into black and white and adjusted the exposure locally to emulate McCullin’s landscapes.
Swineshaw Reservoir
Overall I think that this image achieves what I was trying to do.
I initially rejected this one as the lens flare makes it quite confused, but I do think it has some qualities in common with the abstract landscapes of John Virtue.
I carried out these exercises at the same time. I also wanted to try to emulate the black and white landscape style of Don McCullin having seen his exhibition at the Tate a few days earlier, and show these in a separate post.
Because of this I sought a site where I could photograph the sun setting across water, so my images would incorporate the detail of the water in the foreground with the setting sun behind cloud formations. To plan this I used the Sunseeker app on my phone and this showed me that a local country park, Etherow Country Park would be a suitable site fulfilling what I aimed for. This is shown in the screen shot below, where the red line shows the direction of the setting sun from a given location (the green dot).
Sunsurveyor App display for 2018-02-14
Exercise 2.6 Brief Use a combination of wide apertures, long focal lengths and close viewpoints to take a number of photographs with shallow depth of field. Try to compose the out-of-focus parts of the picture together with the main subject.
I took a number of images for this exercise as I walked around the lake at the park. These are included in the contact sheet at:
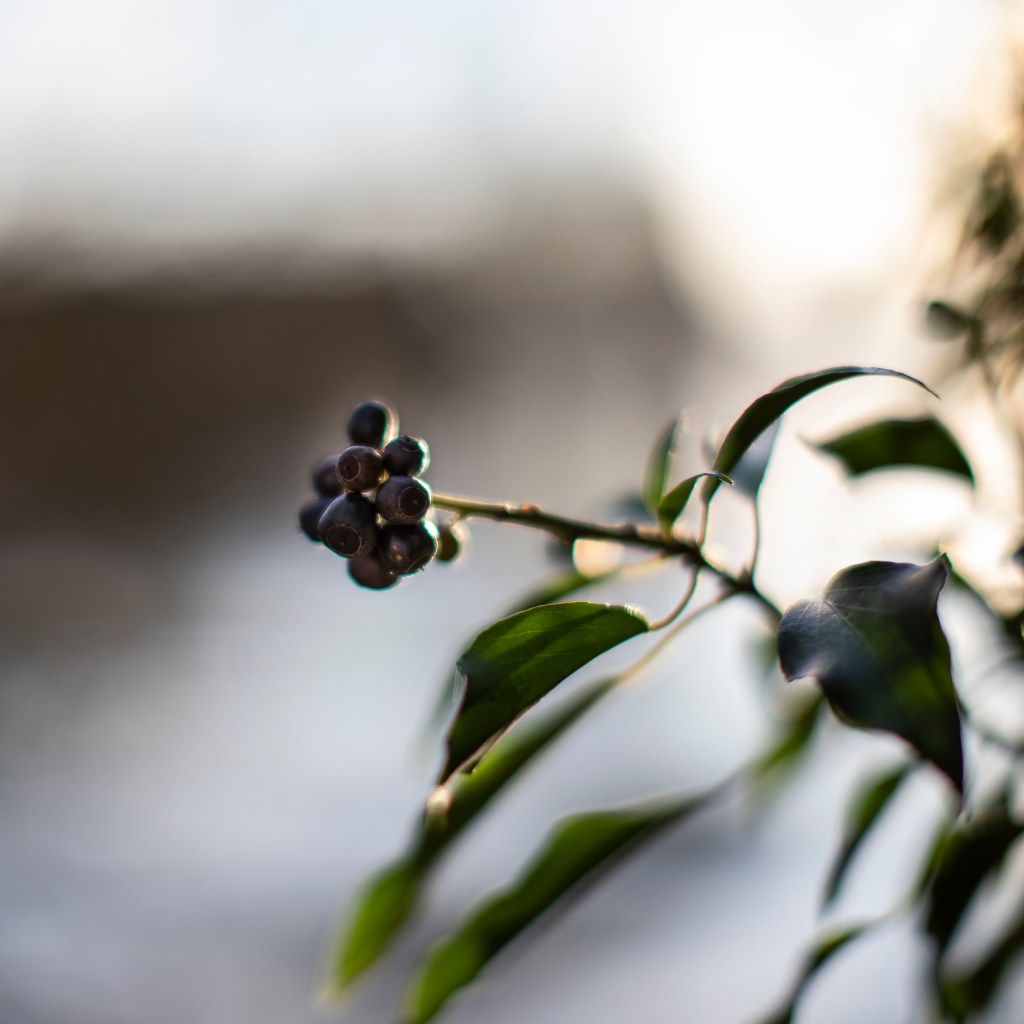
The final selection was these three images – I have chosen these mainly for the technical qualities, as the main subject is all in focus, with the shallow depth of field, it was not always easy to ensure all the subject, or at least the key elements of the subject were satisfactorily in focus.
In terms of composing the image, I have endeavoured in these images to have the foreground object against a contrasting part of the blurred background. I also aimed that the blurred background should have enough detail to be interesting, and not just a neutral background. In the final image there is enough detail left to see the context and setting in which the post is positioned.
Exercise 2.7
Brief Use a combination of small apertures and wide lens to take a number of photographs exploring deep depth of field. Add one or two unedited sequences, together with relevant shooting data and an indication of your selects, to your learning log.
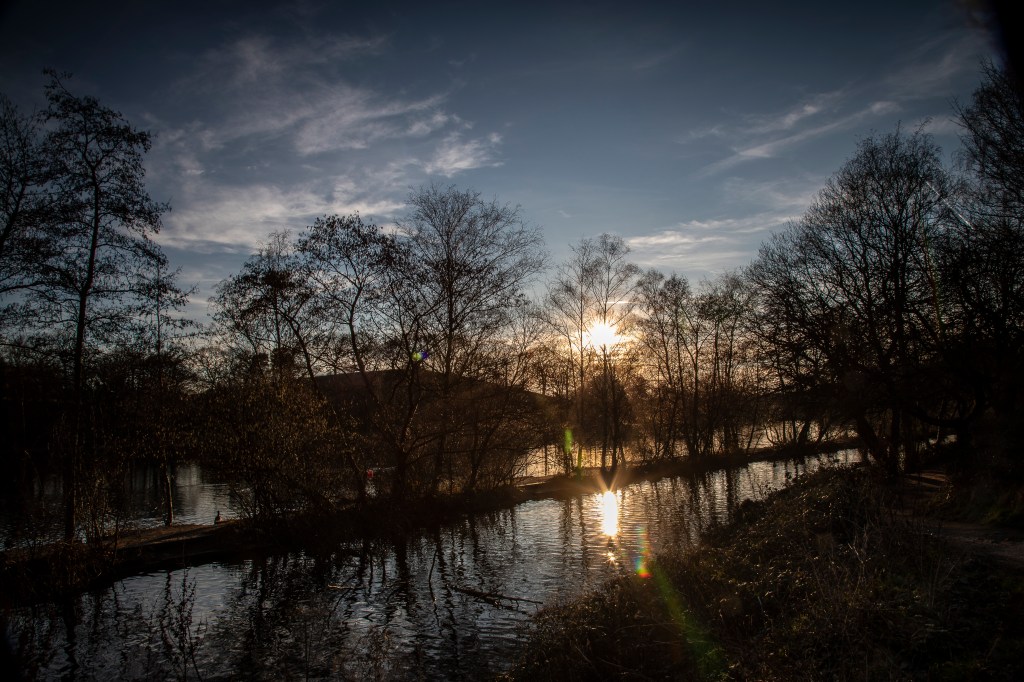
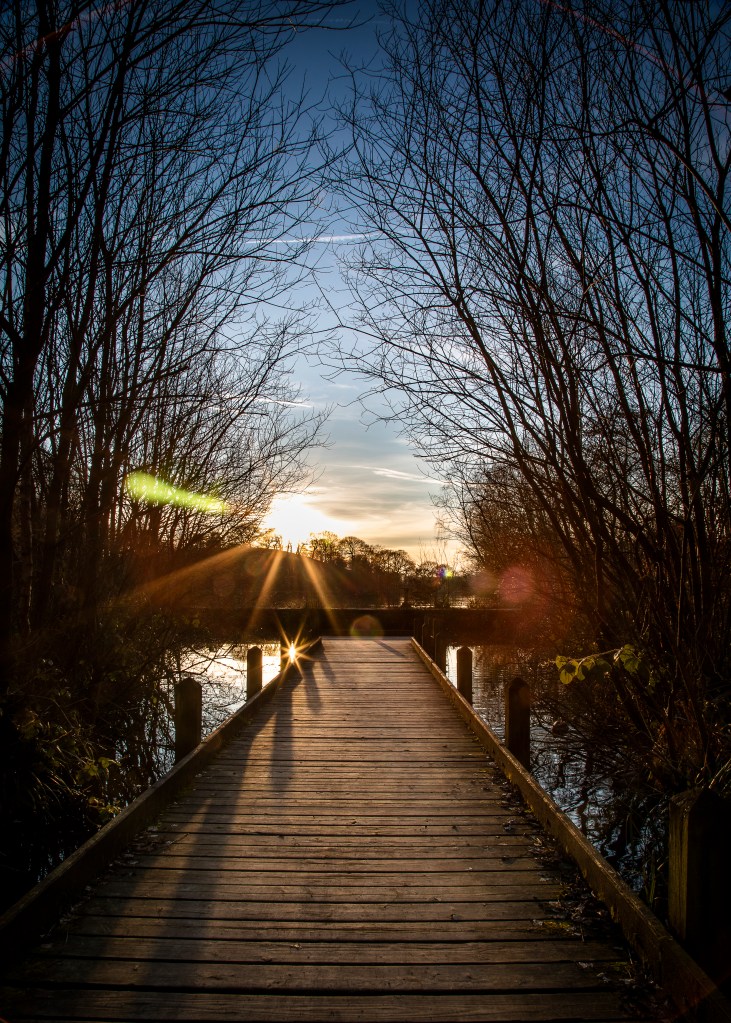
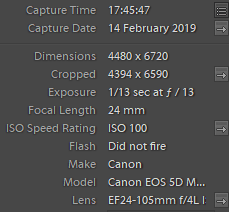
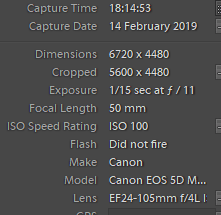
I used a tripod for all these photographs and because I was aiming to take the pictures into the setting sun I also used a graduated neutral density filter (x8) for the upper part of the frame.
Shooting into the sun resulted in there being a number of images with flare from the lens, and while this is effective in some of the selection, I have eliminated a number because this appears a distraction from what I was intending to achieve.
All the images from this shoot are in the contact sheet at:
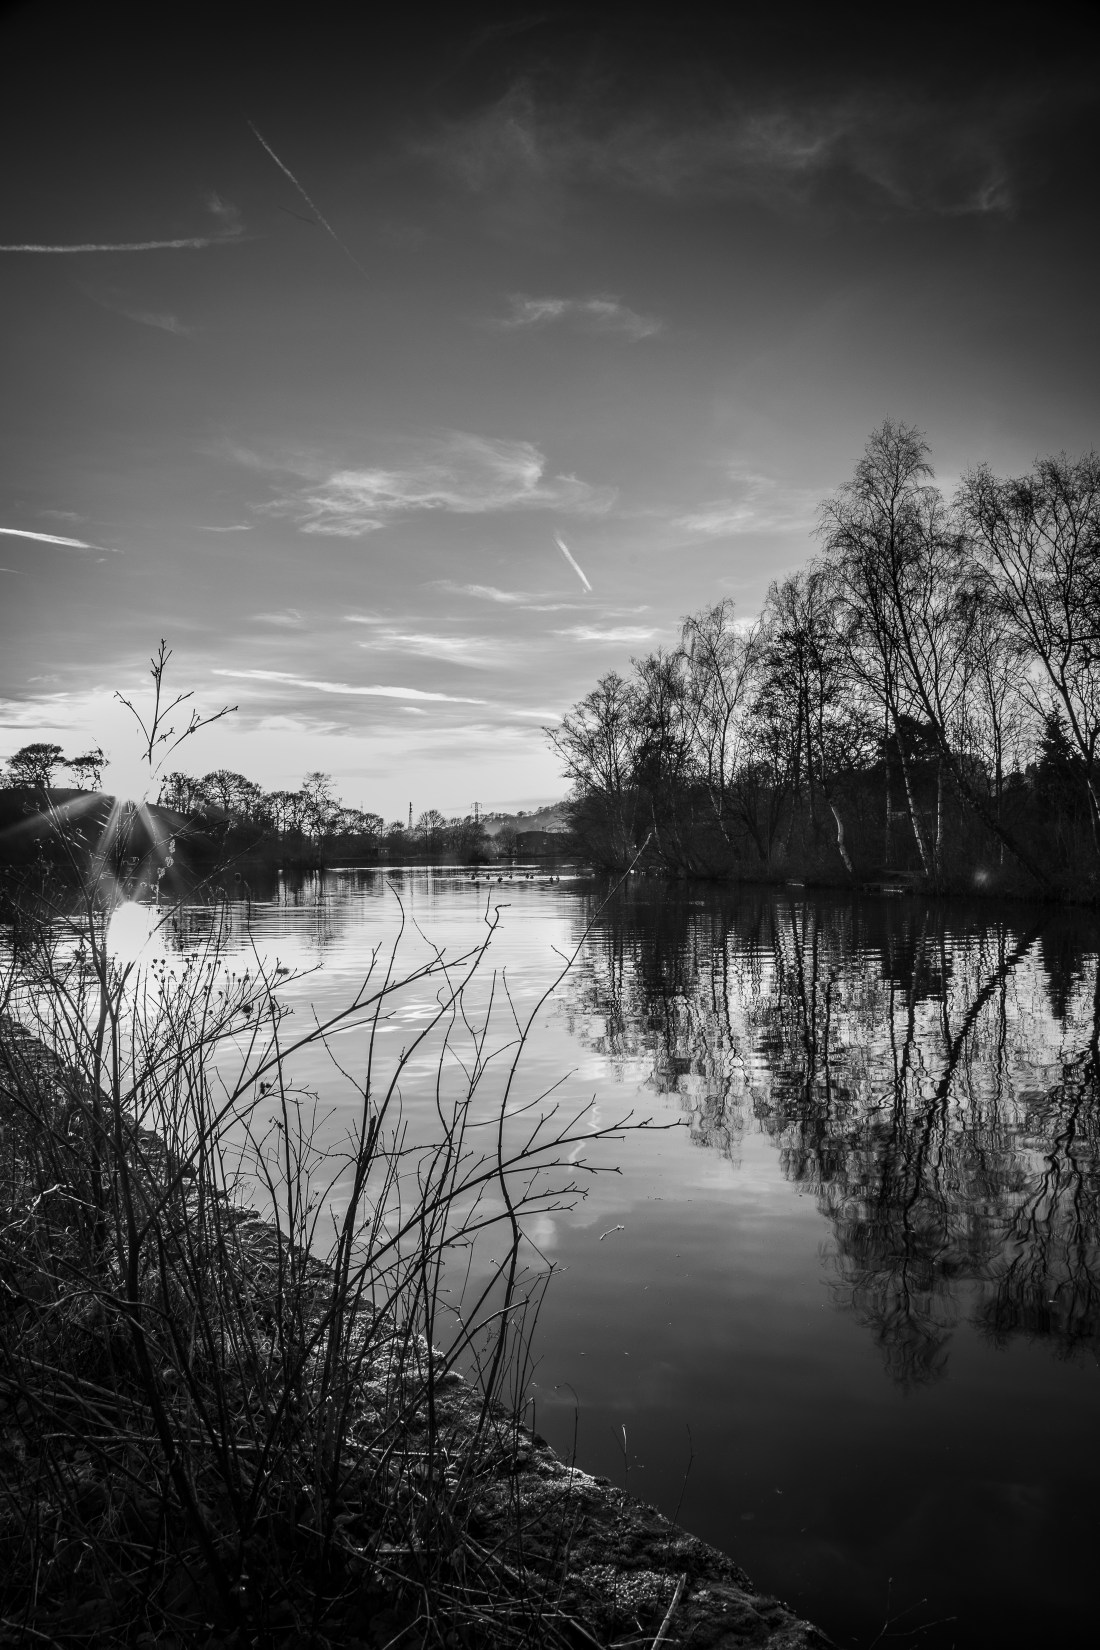
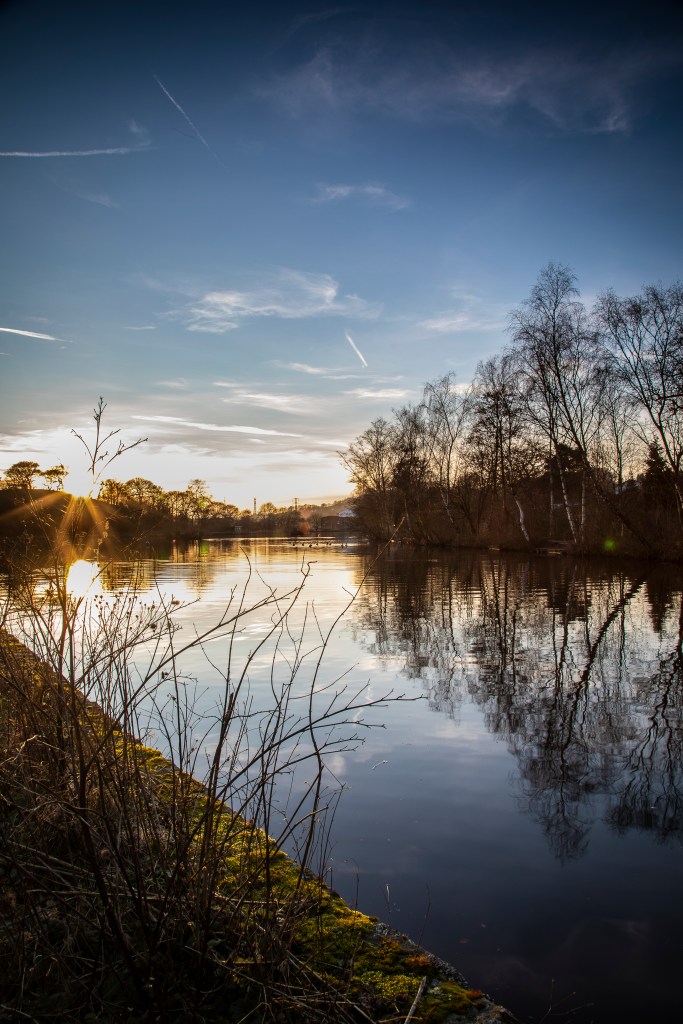
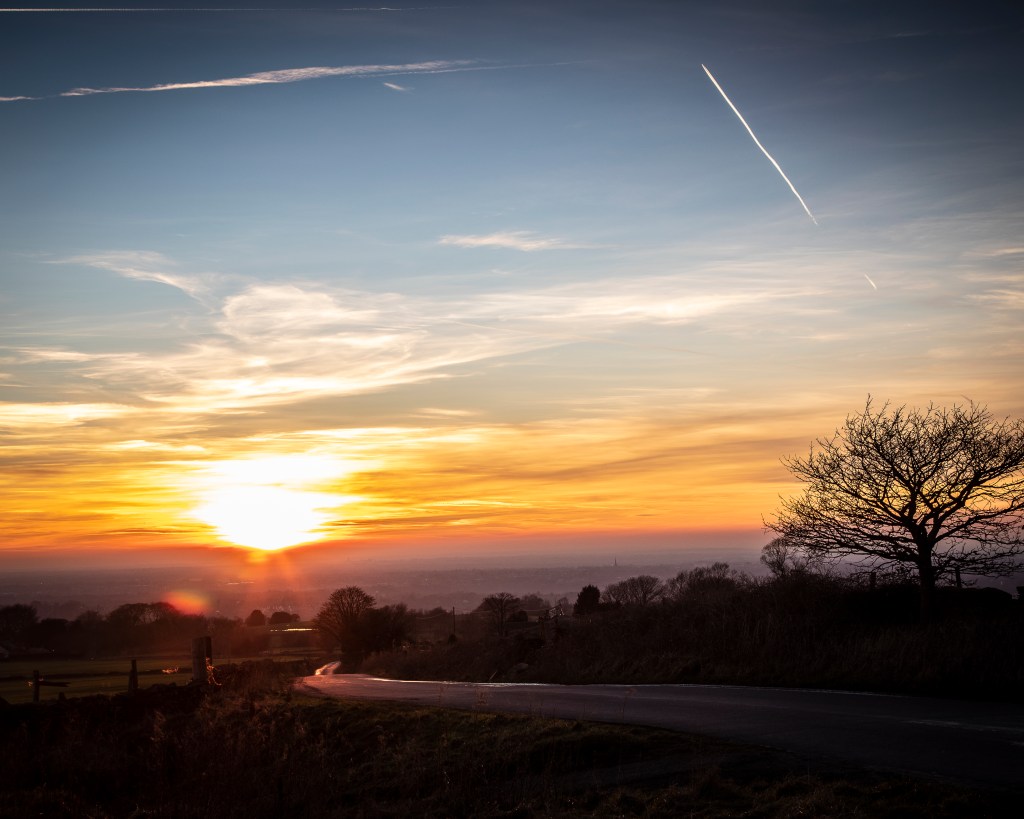
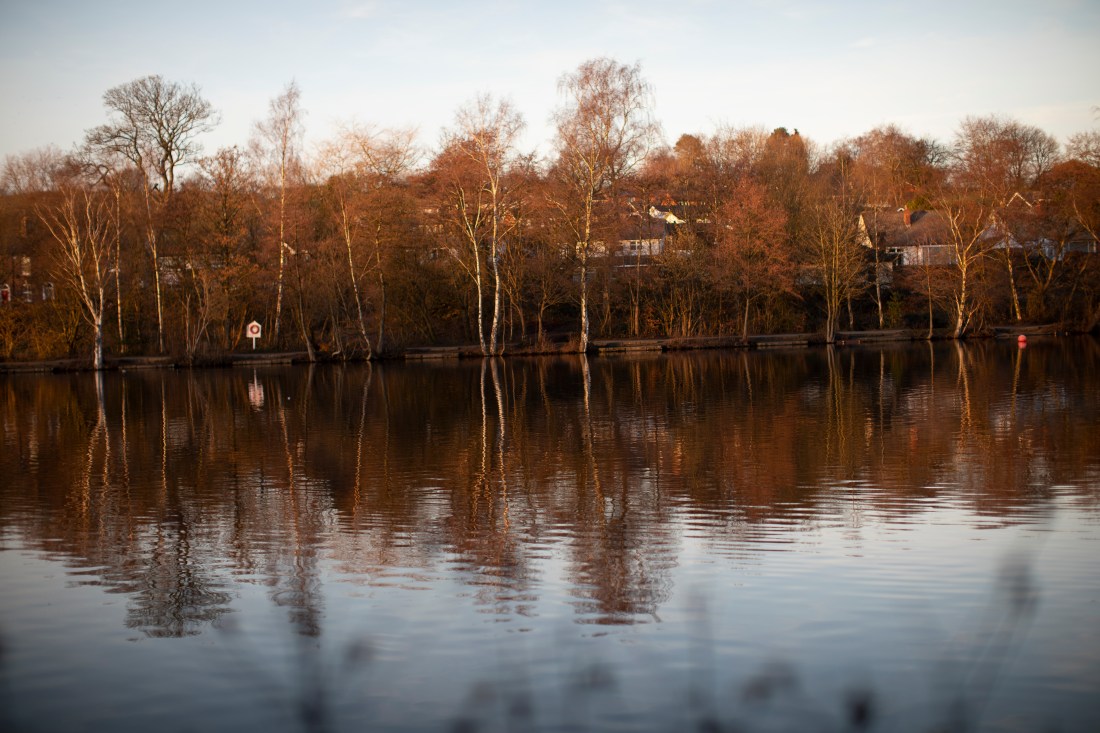
The foreground objects are more prominent than the last time I did this and contribute to the composition when the background is in focus.
Etherow Country Park 1Etherow Country Park 2
This is particularly the case for these two images, which differ slightly in the cropping which I made to aid the composition.
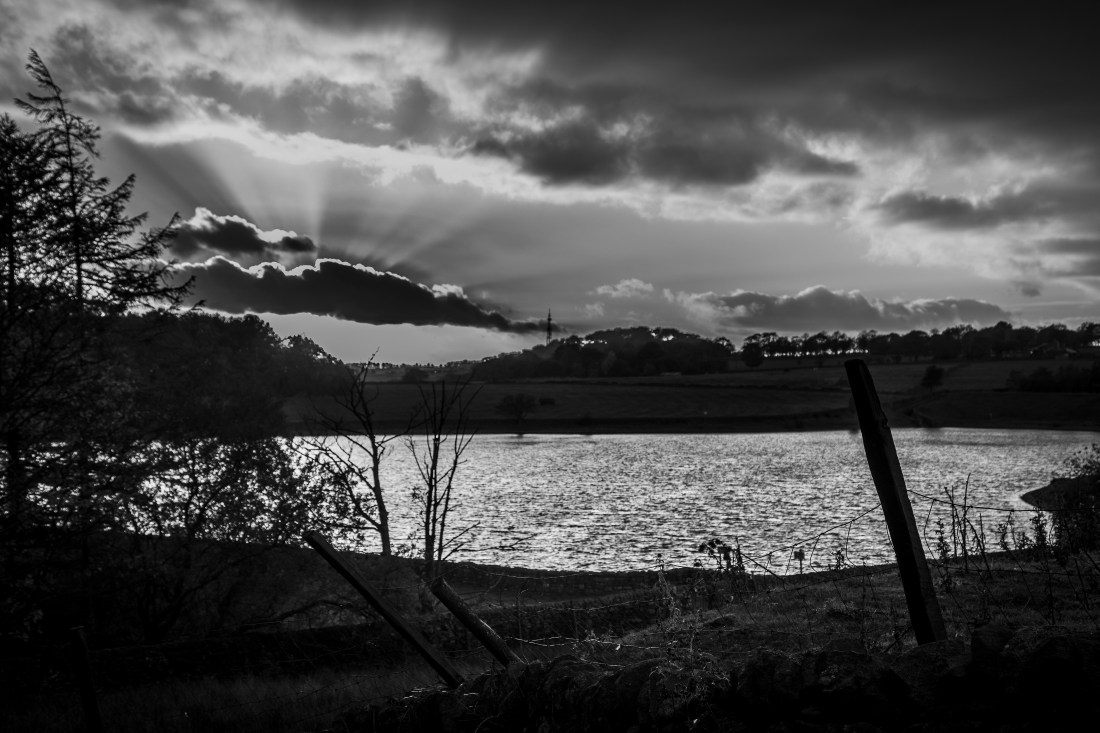
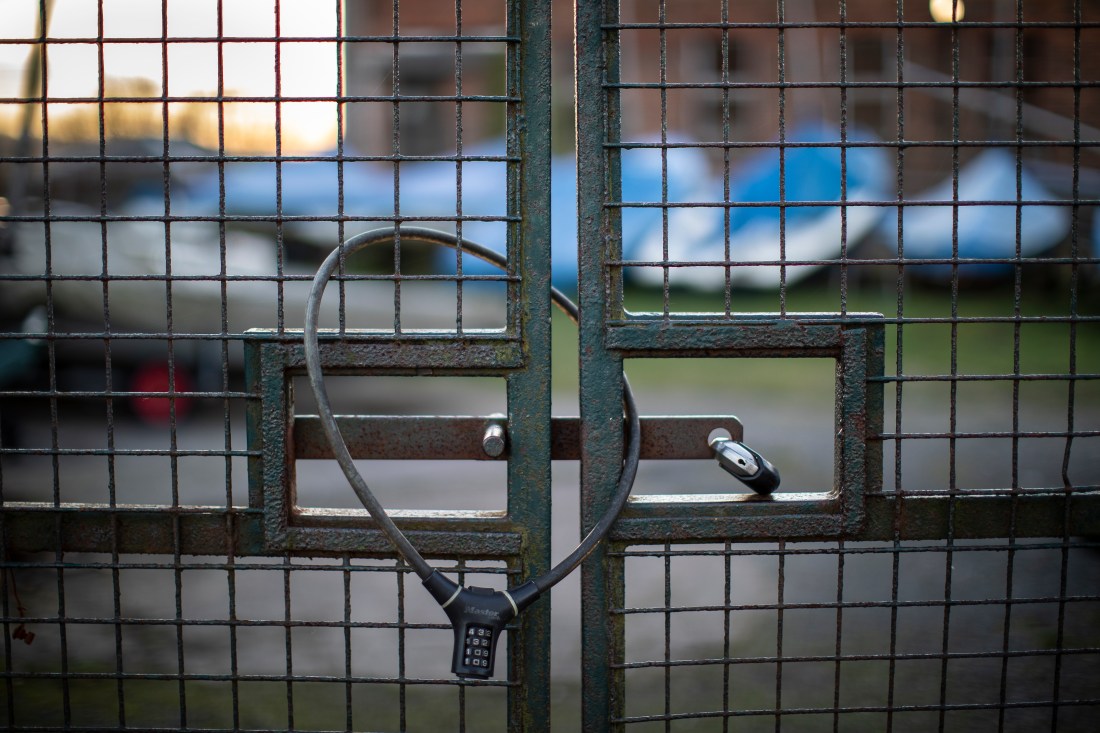
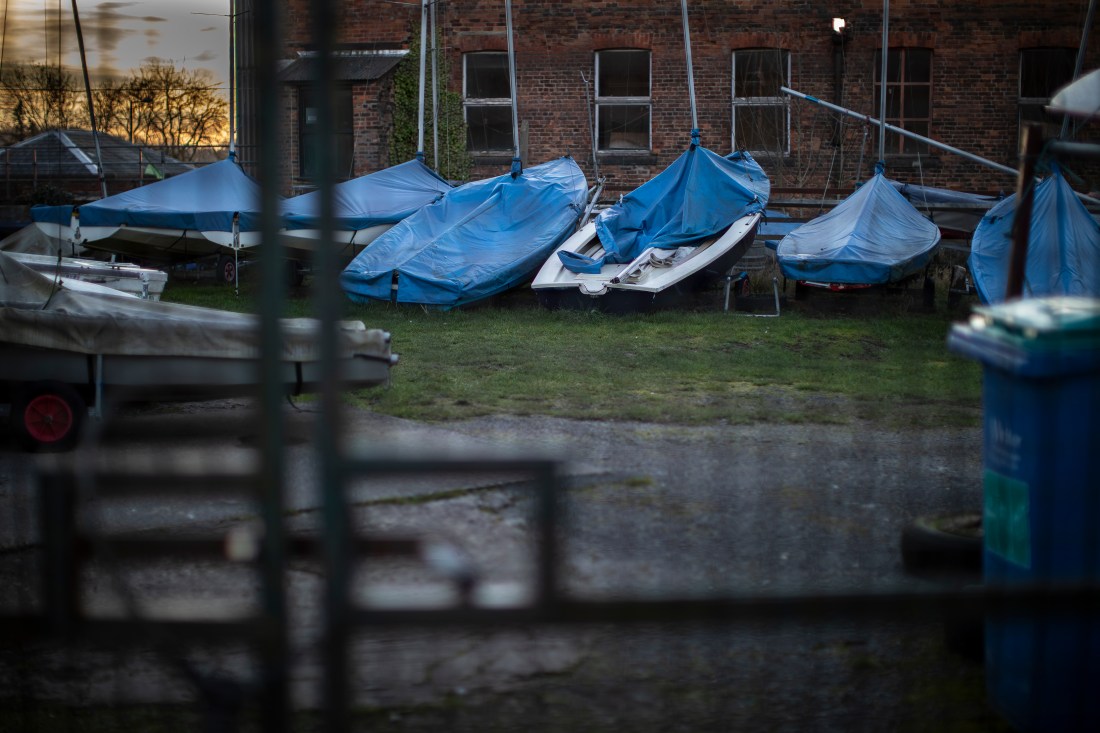
Etherow Sailing Club 1Etherow Sailing Club 2
The lock is still apparent when out of focus and shows the barrier to what lays beyond. In this case it is a local dinghy park and the security is understandable and reasonable, but in other circumstances this technique could be used to make a more significant point – as was the case in the McCullin image I showed previously.
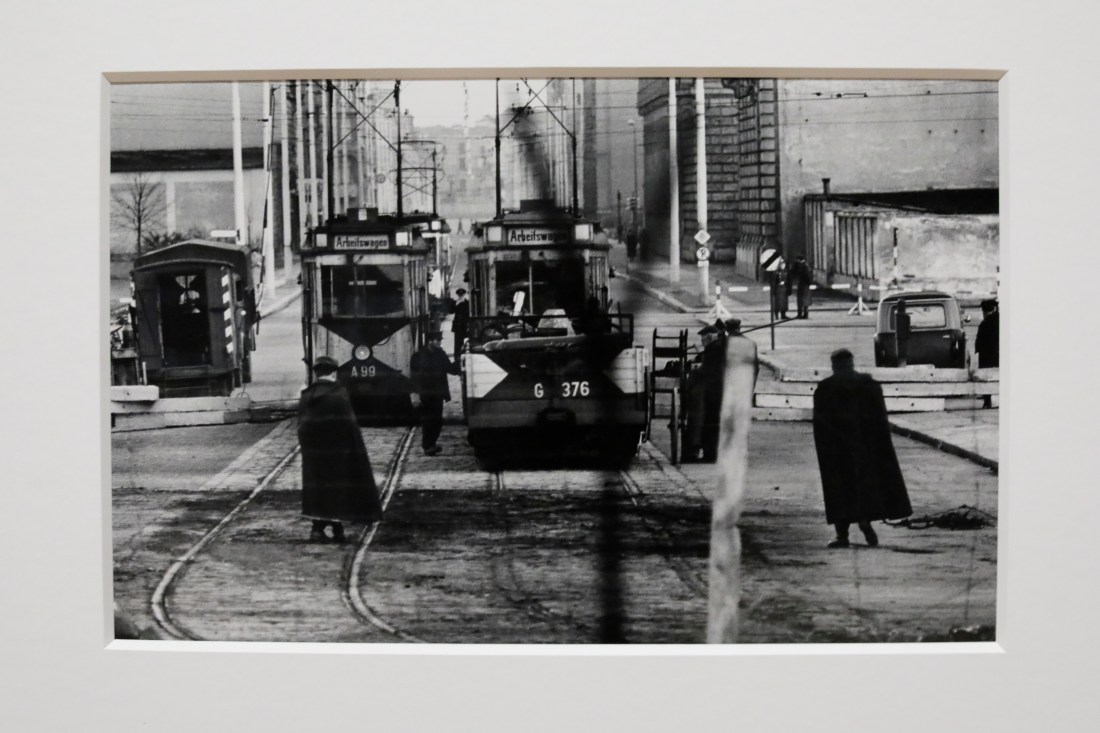
I recently visited the exhibition of the work on Don McCullin and saw this image in which McCullin uses the technique of focussing through foreground structures to the distance. This image was taken while McCullin was in Berlin at the time of the building of the Berlin Wall.
Looking into East Berlin Don McCullin 1961
While the notes for this exercise suggest that it is usually preferable to focus in the foreground, what McCullin has achieved here is to show a scene in East Berlin of “normal” life, but the blurred image of the wire and barrier remind us that as the Wall was built so this was now cut off from our view point.
Brief Find a subject in front of a background with depth. Take a close viewpoint and zoom in; you’ll need to be aware of the minimum focusing distance of your lens. Focus on the subject and take a single shot. Then, without changing the focal length, set the focus to infinity and take a second shot.
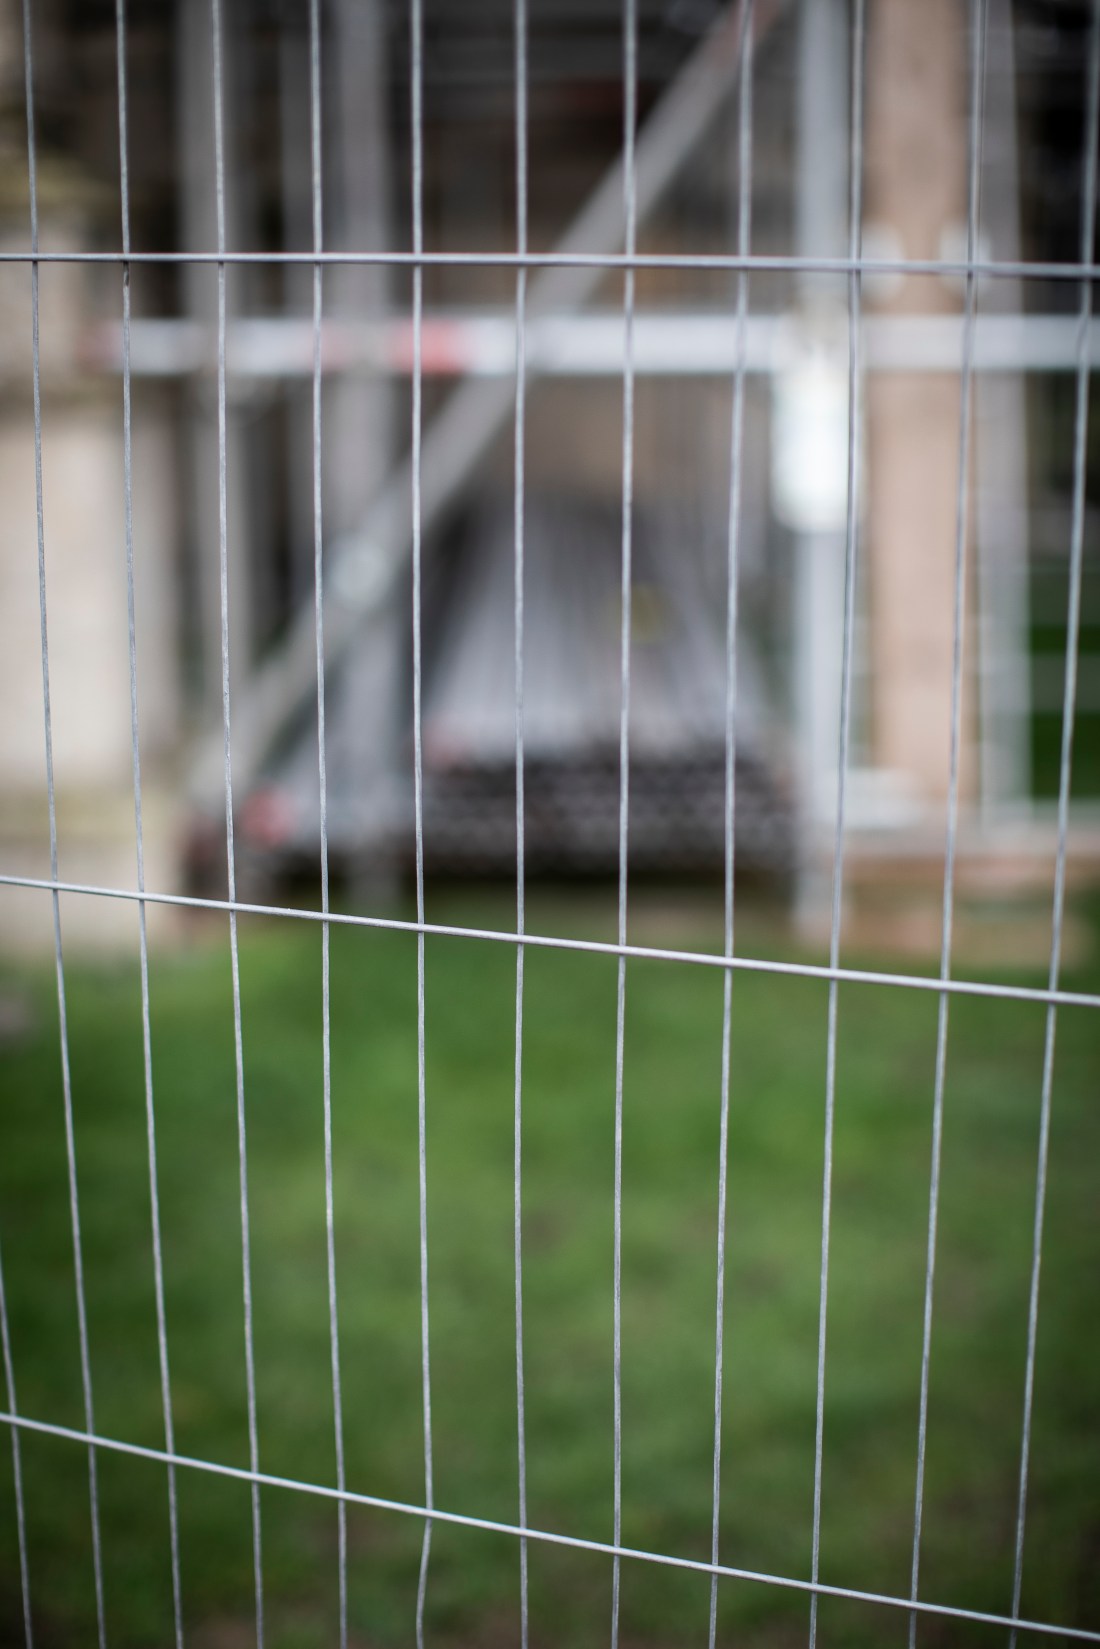
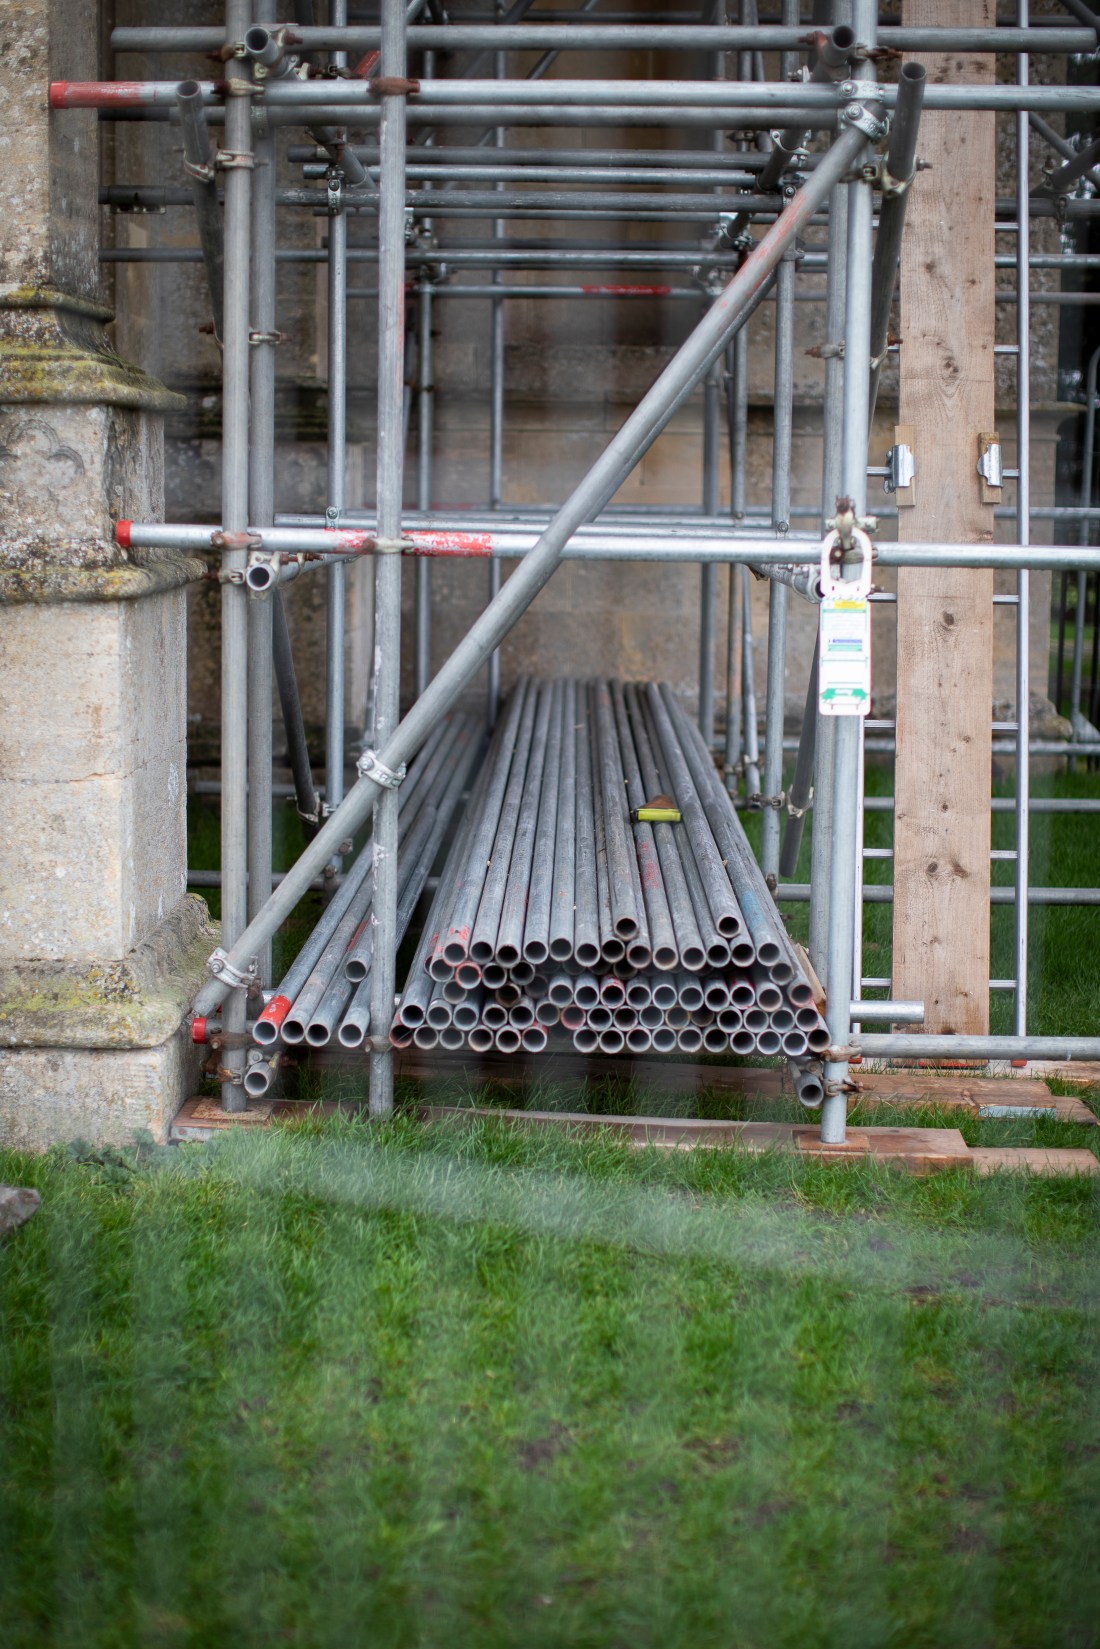
I took these two images on a visit to a National Trust property undergoing restoration. The work area was surrounded by fencing and I used the fencing as the foreground for my focus.
Croome Church 2Croome Church 1
I do not find these images particularly helpful in this exercise. The fencing in made of very narrow wire and once out of focus, becomes so indistinct as to be more like artefact or noise in the image, rather than contributing to the image itself. As a result of this the images do not help me consider the rest of the brief:
As you review the two shots, how does the point of focus structure the composition? With a shallow depth of field the point of focus naturally draws the eye, which goes first of all to the part of the image that’s sharp. It generally feels more comfortable if the point of focus is in the foreground, although there’s nothing wrong with placing the point of focus in the background.
This is a work in progress and I think I will need to find other subject matter for this exercise.
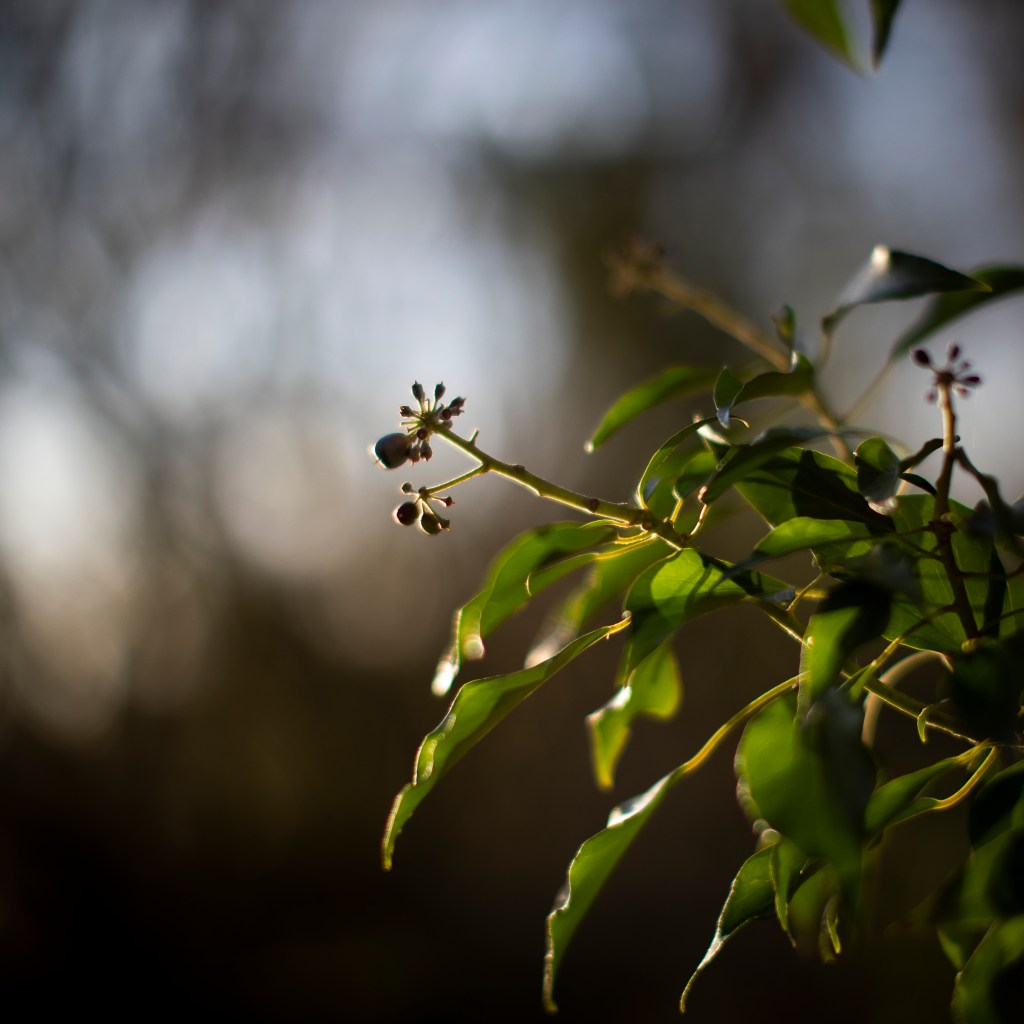
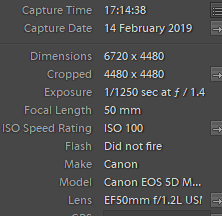
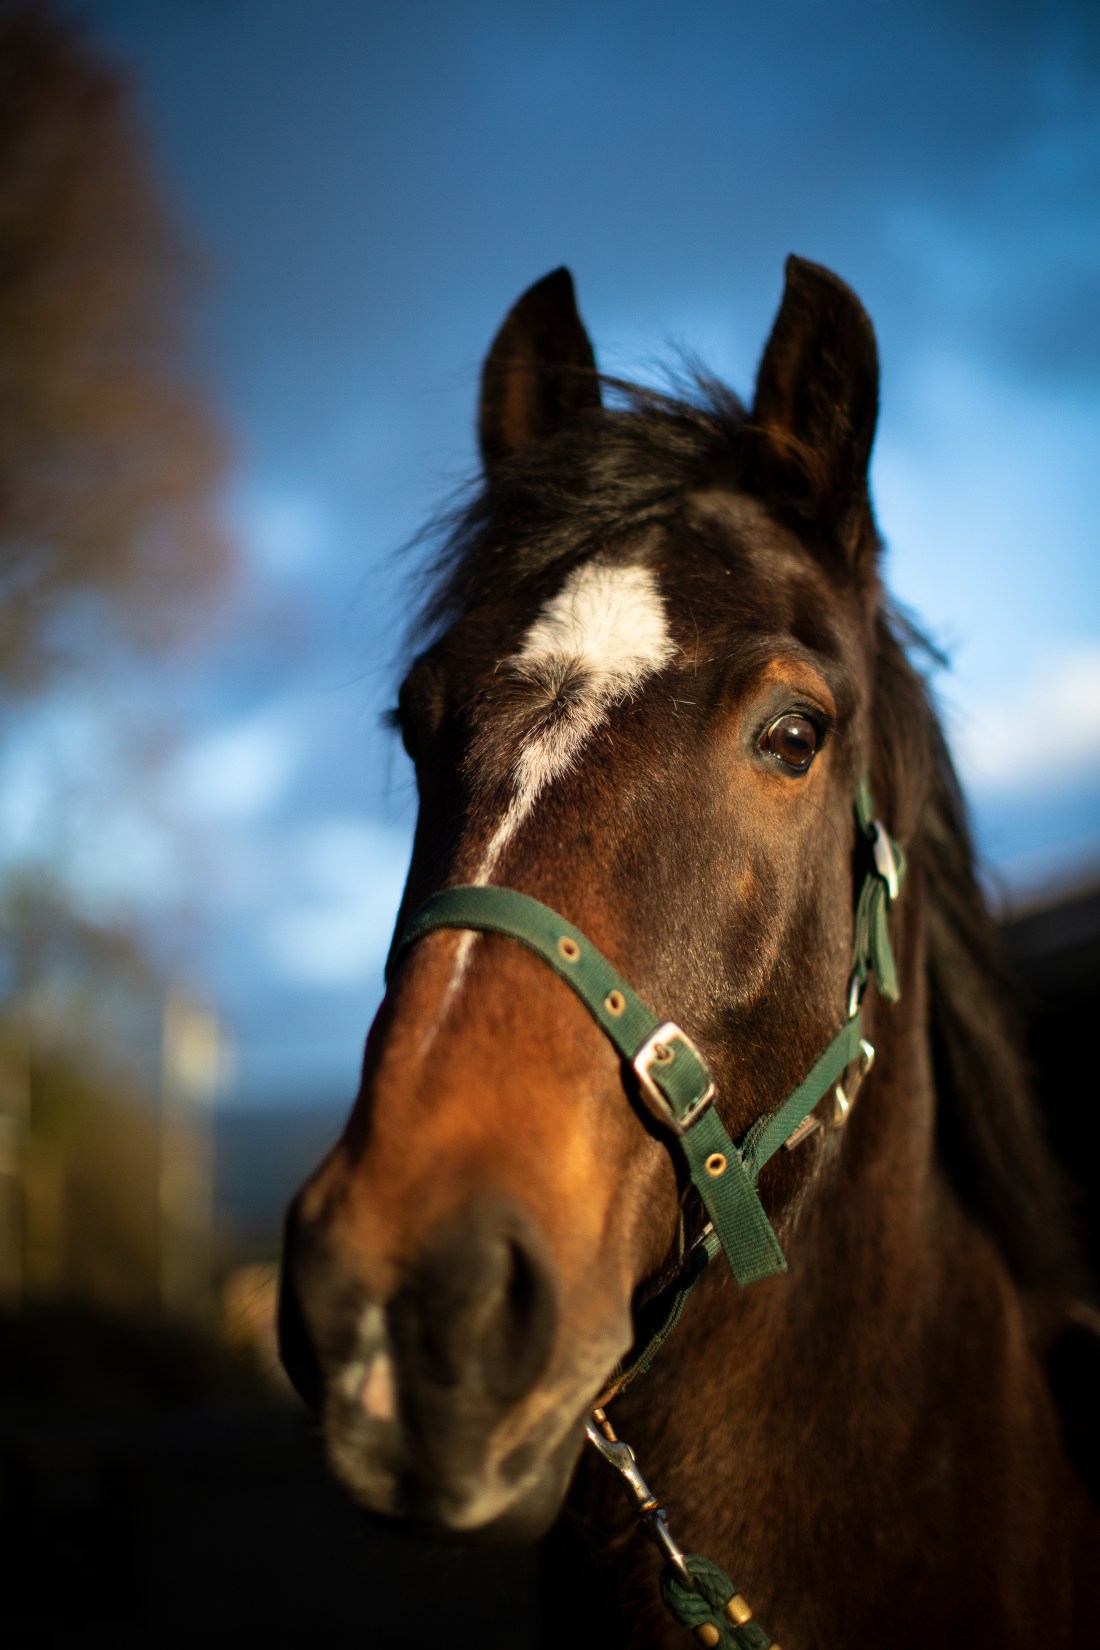
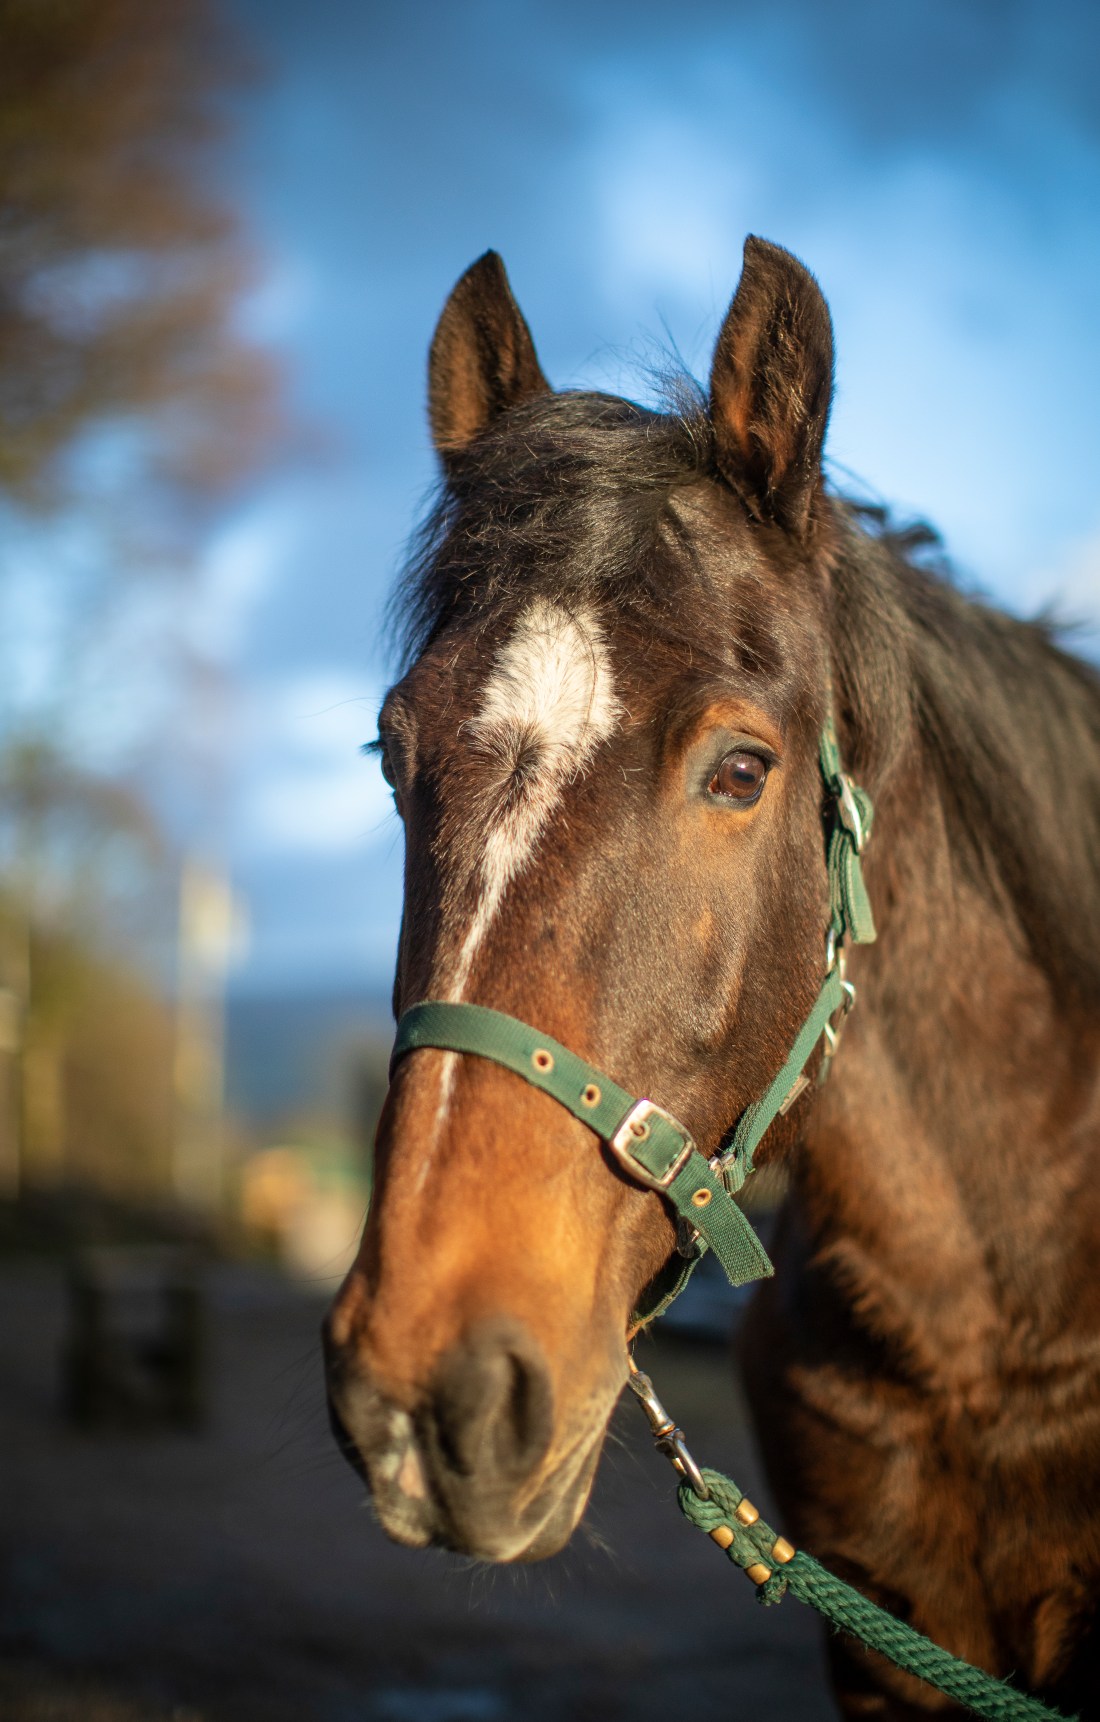
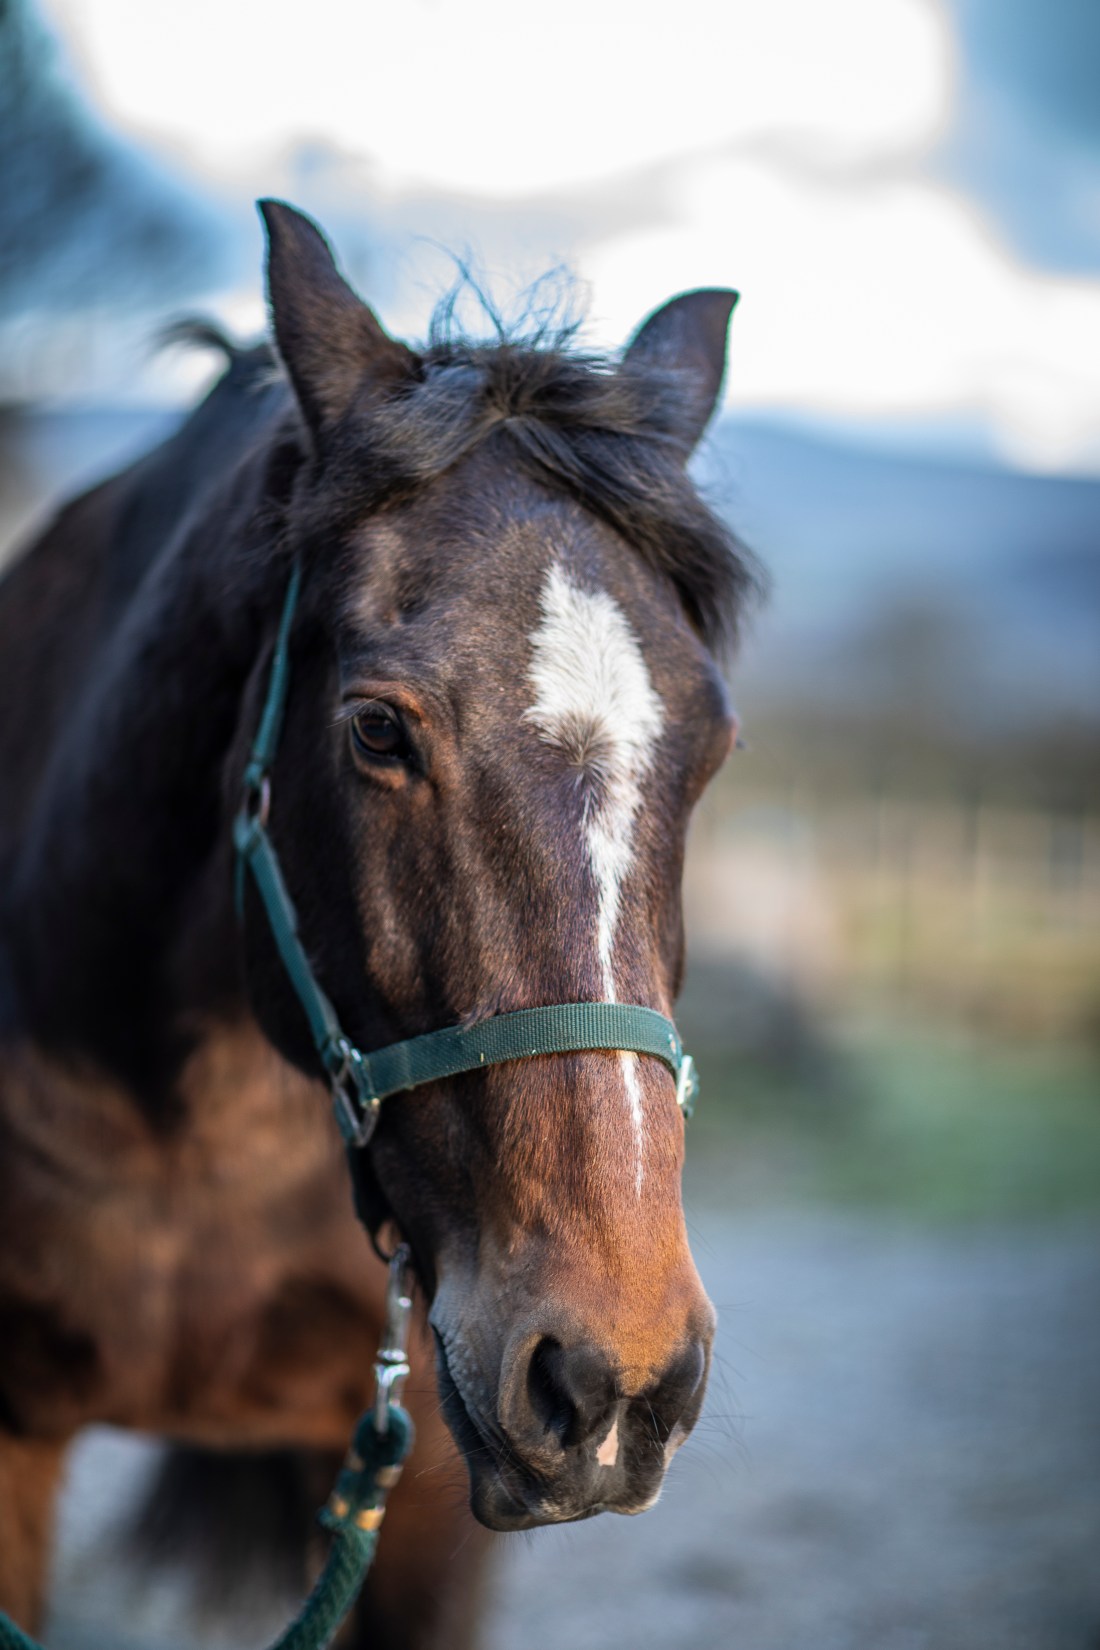
Brief: Find a location with good light for a portrait shot. Place your subject some distance in front of a simple background and select a wide aperture together with a moderately long focal length such as 100mm on a 35mm full-frame camera (about 65mm on a cropped-frame camera). Take a viewpoint about one and a half metres from your subject, allowing you to compose a headshot comfortably within the frame. Focus on the eyes and take the shot.
I used the same subject for this as for the previous exercise and took these shots on the same occasion.
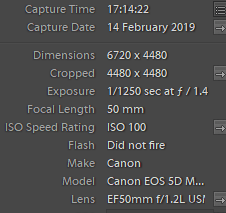
I used two lenses for this – an 85mm and a 50mm prime lens, both with largest aperture of f1.2. I initially used the longer 85mm lens and later shots were with the 50mm lens. I have found that although an 85mm lens gives a natural looking perspective for portraits of humans, to fit the head of a horse into the frame I need to stand at a distance from the subject and therefore get a flattened perspective. For this reason I used the 50mm lens for later shots to be able to get the entire head in frame from a position where one would normally look at a horse like this. I used these lenses for this exercise as the very large aperture gives a very narrow depth of field; much narrower than my 24-105mm zoom with f4. At times this is so narrow that the horse’s nose is out of focus if the eye is focussed, however the sharp eye draws the observer’s gaze and this seems less important.
The contact sheet of all the images from this shoot are at:
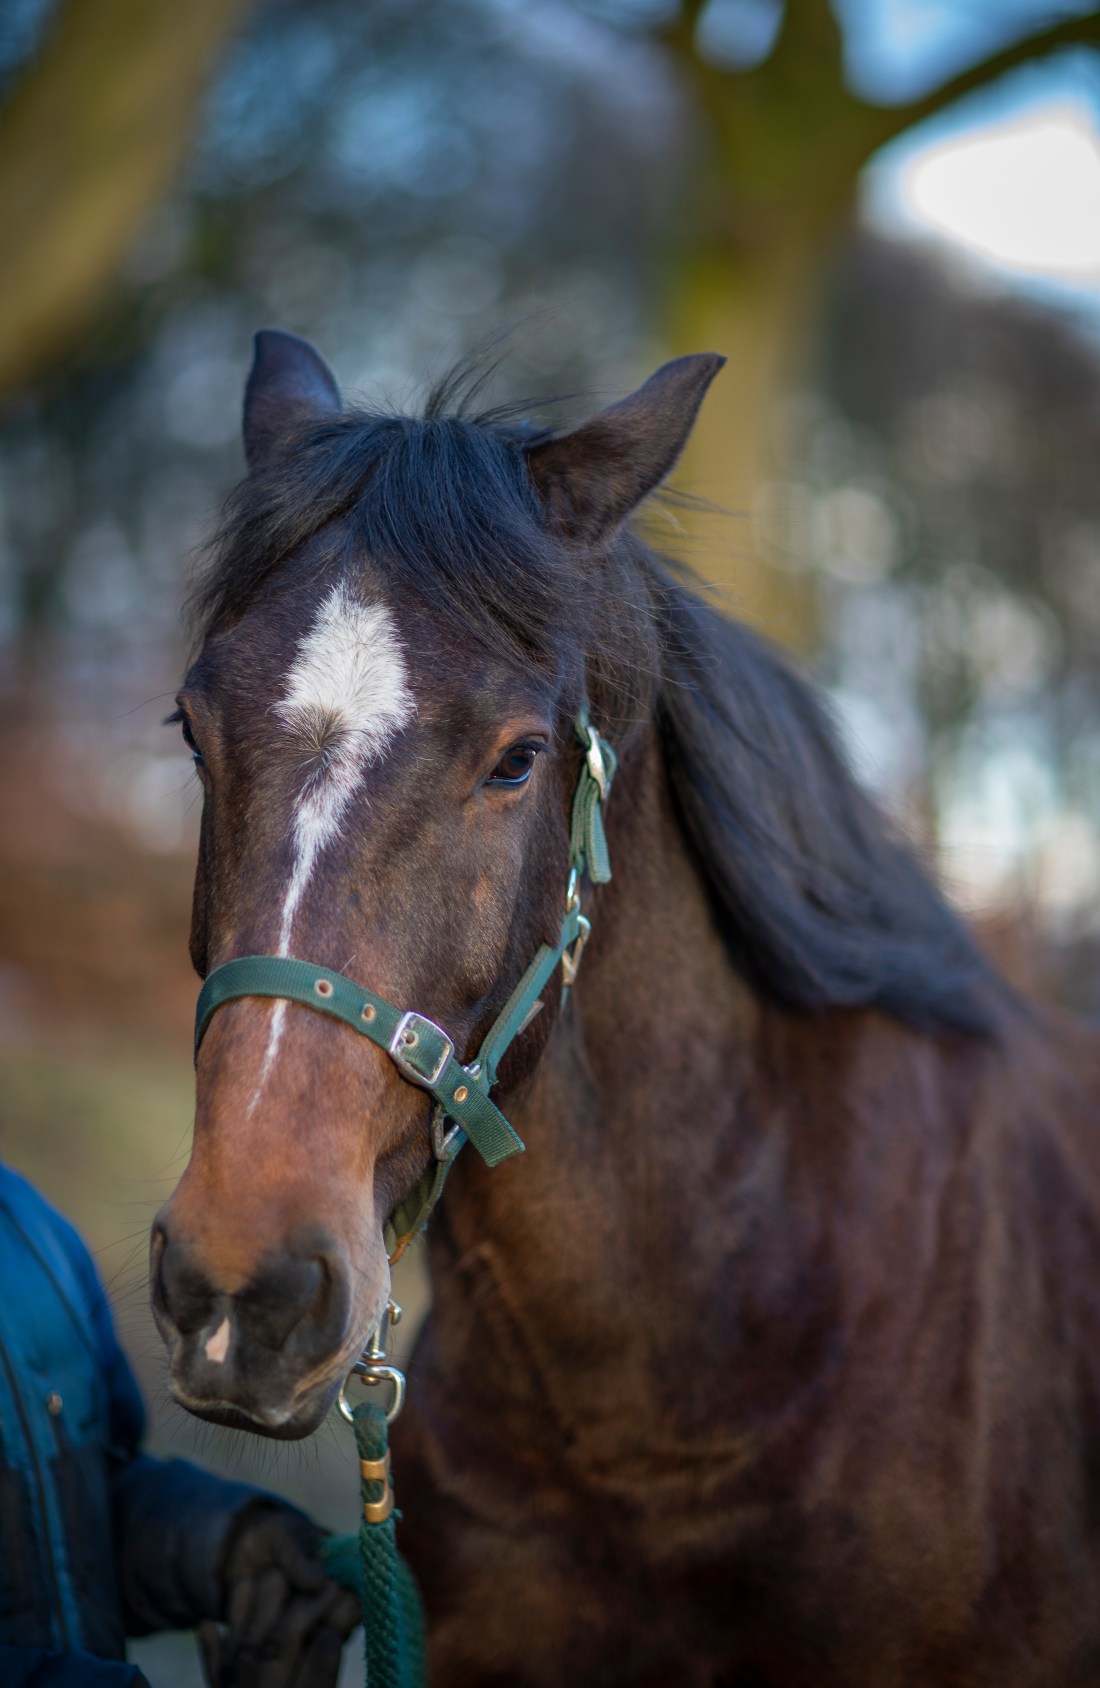
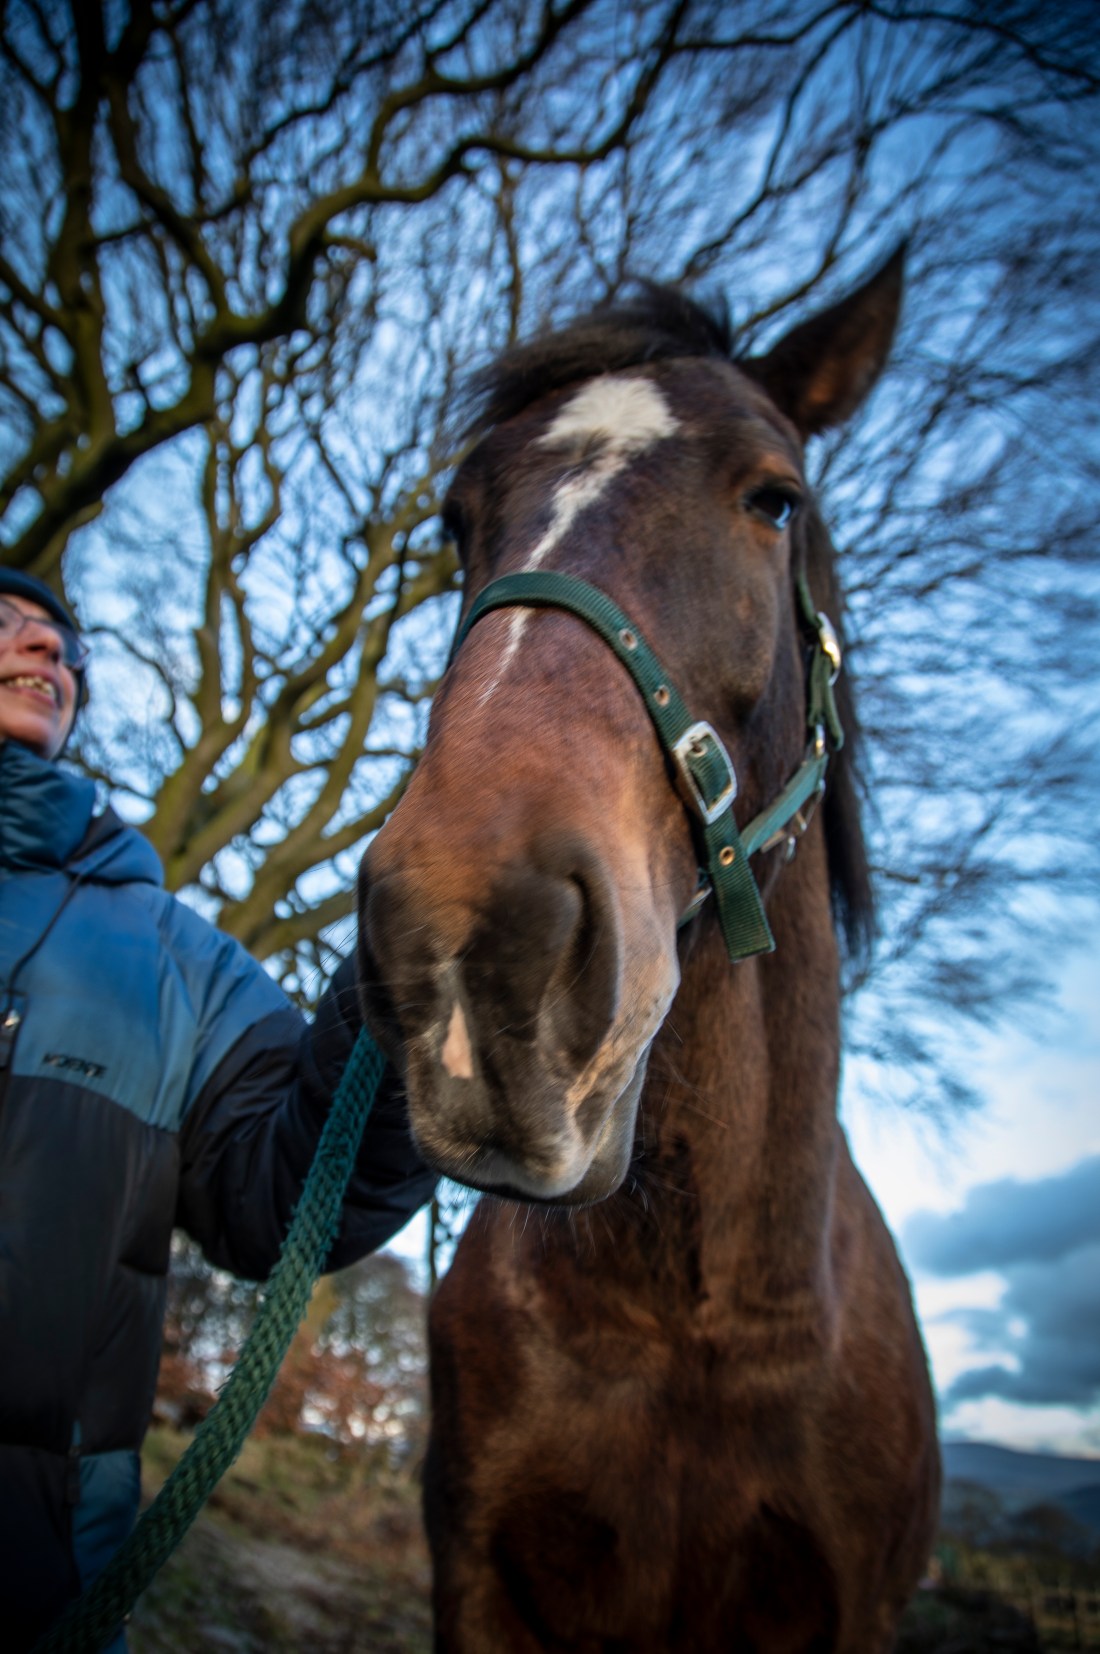
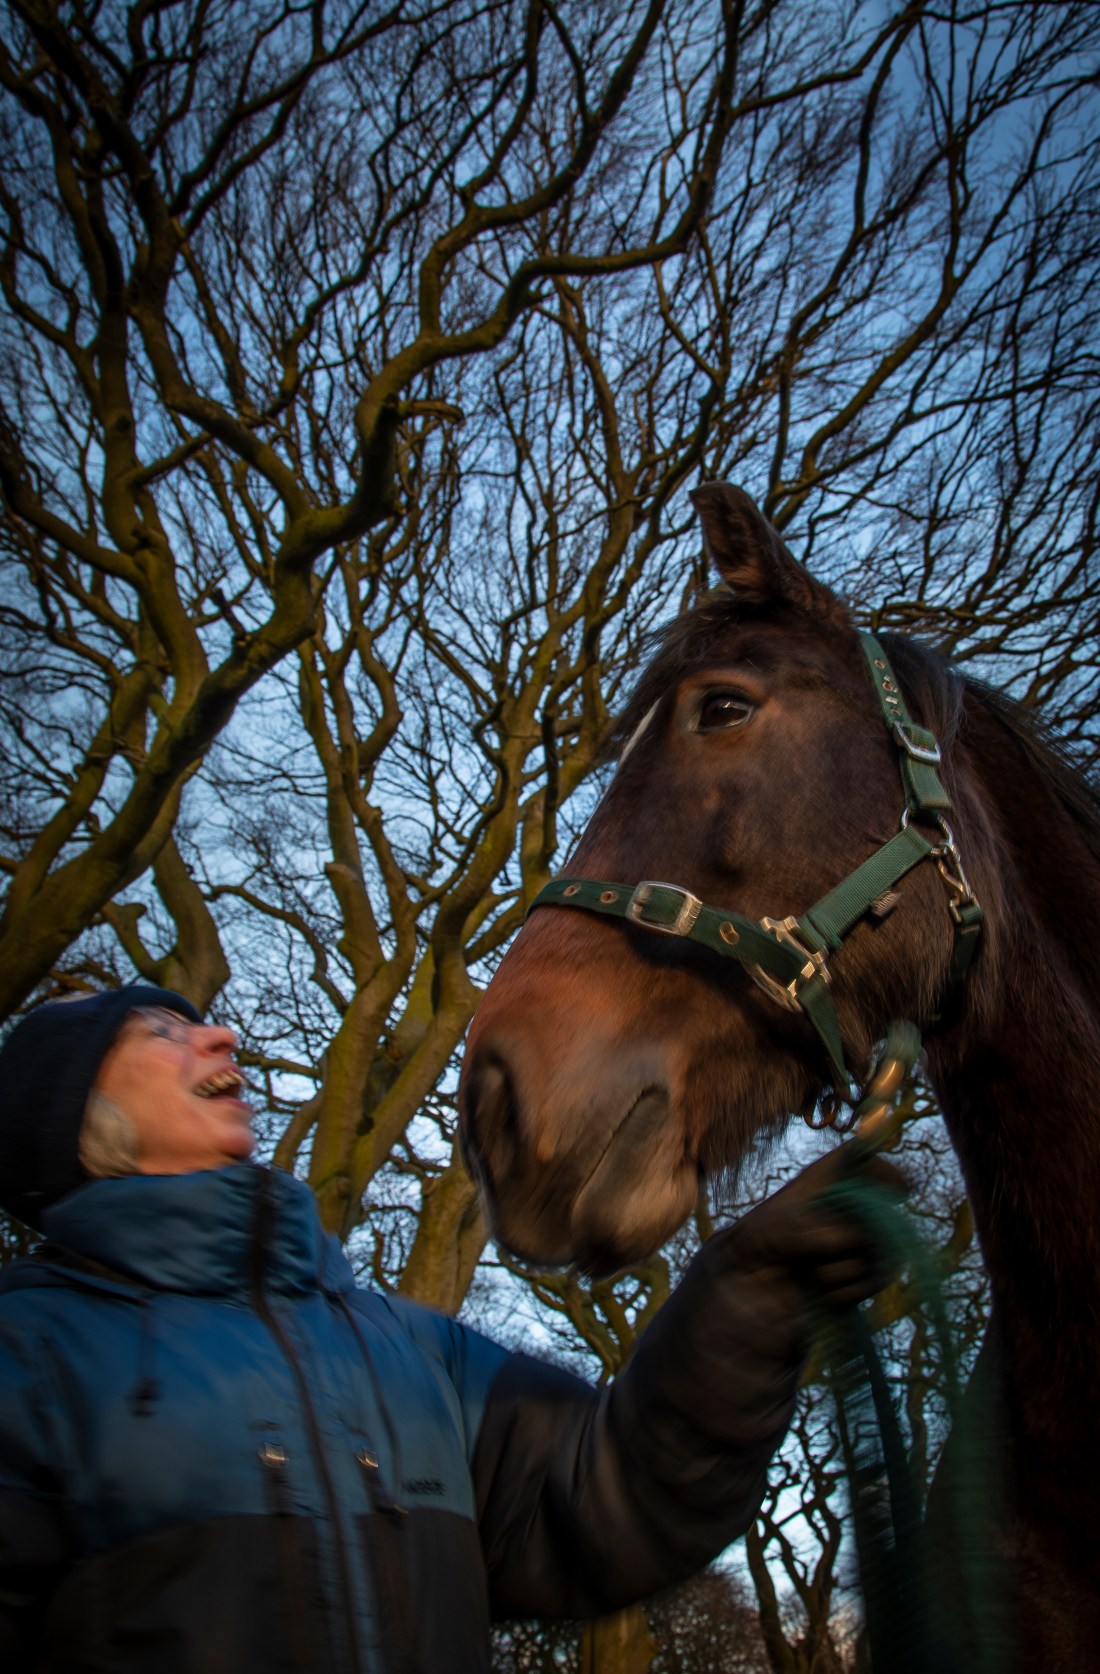
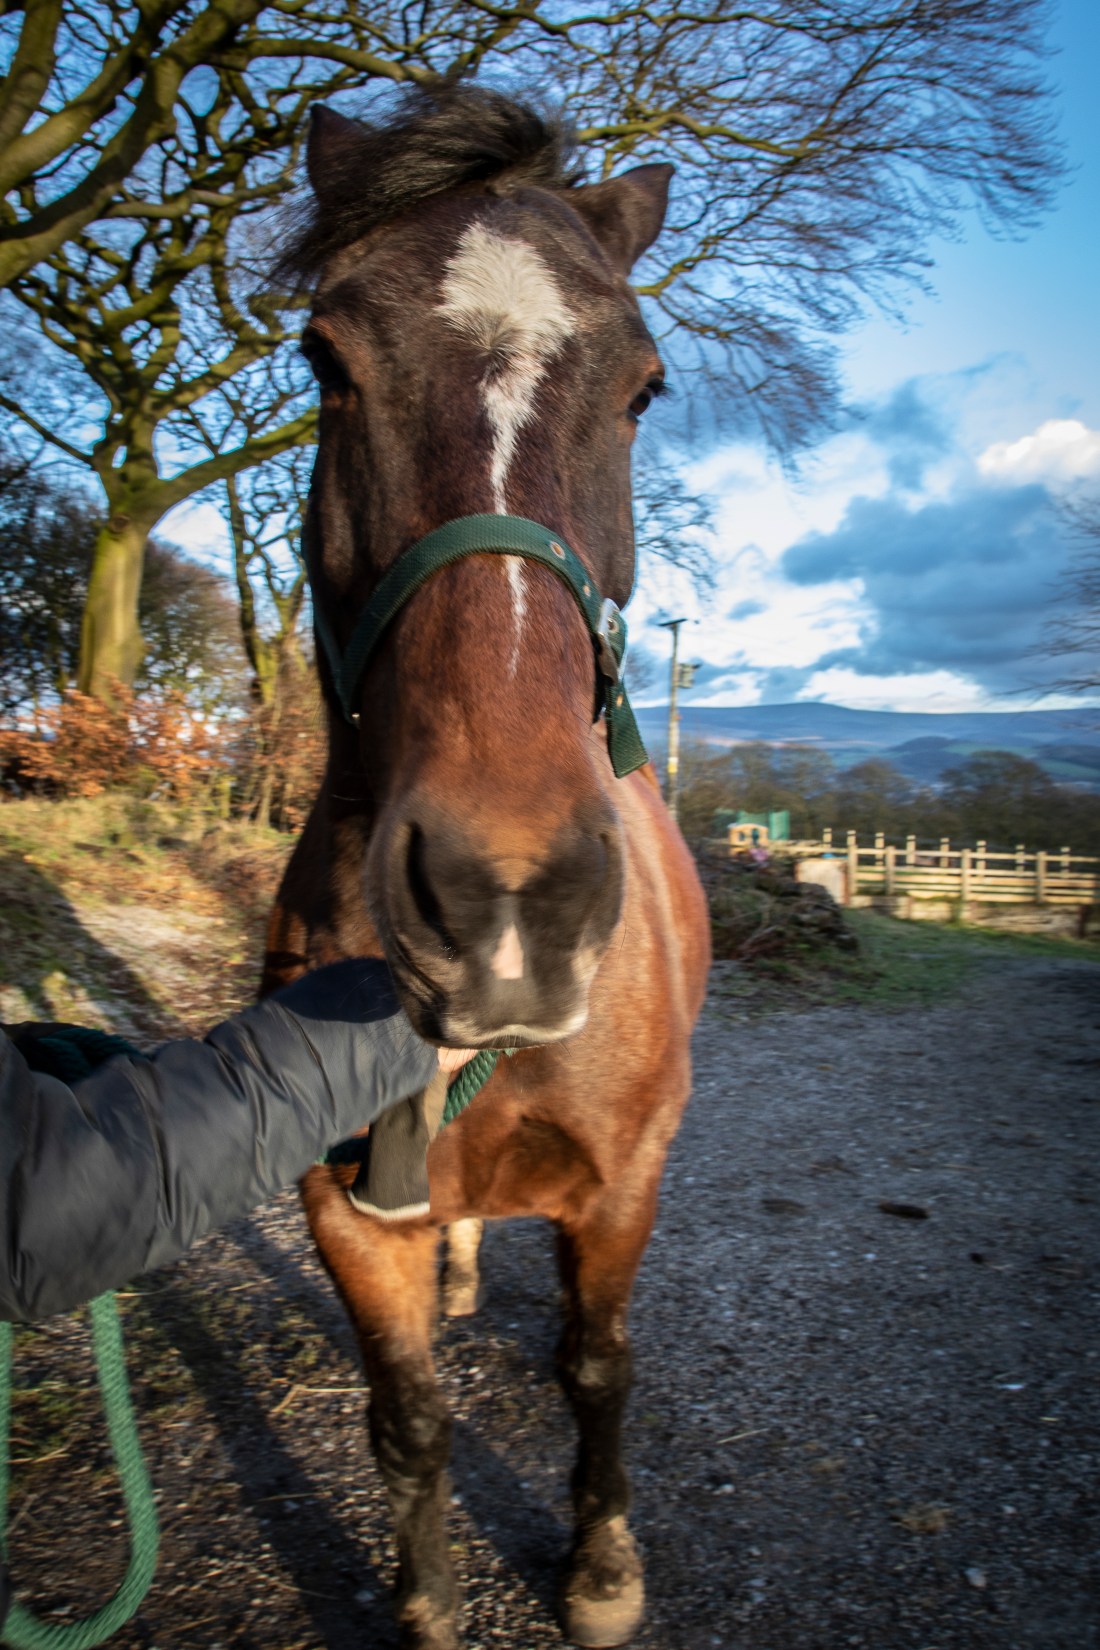
Brief: Choose a subject in front of a background with depth. Select your shortest focal length and take a close low viewpoint, below your subject. Find a natural point of focus and take the shot. You’ll see that a very wide lens together with a close viewpoint creates extreme perspective distortion. Gently receding lines become extreme diagonals and rounded forms bulge towards the camera. Space appears to expand. The low viewpoint adds a sense of monumentality, making the subject seem larger than it is, and tilting the camera adds to the effect as vertical lines dramatically converge. Not the ideal combination for a portrait shot!
I chose to do this exercise with the following one, Exercise 2.4, and used the same subject, my wife and her horse, Tigger. I chose to do these exercises in the evening as the sun was setting so as to take advantage of the warm light of the sun which makes Tigger’s coat look richly coloured. I use the “Sun Surveyor” app on my phone to assess the position of the sun and the likely lighting conditions for a shoot like this. I used a small aperture to try and get a deep depth of field, but kept the ISO at 100 so there is some camera and subject movement in some of the images.
The contact sheet for all the images I shot for this particular exercise are at:
I have slightly cropped and made development adjustments in terms of local exposure adjustments to a selection.
In these images the effect of extreme perspective is readily apparent – Tigger’s nose expands and appears disproportionate to his head. However when adopting this close position to a horse my camera was in danger of being eaten and his mouth and nose while looking big actually assume a size proportionate to their importance in self- and camera- preservation.