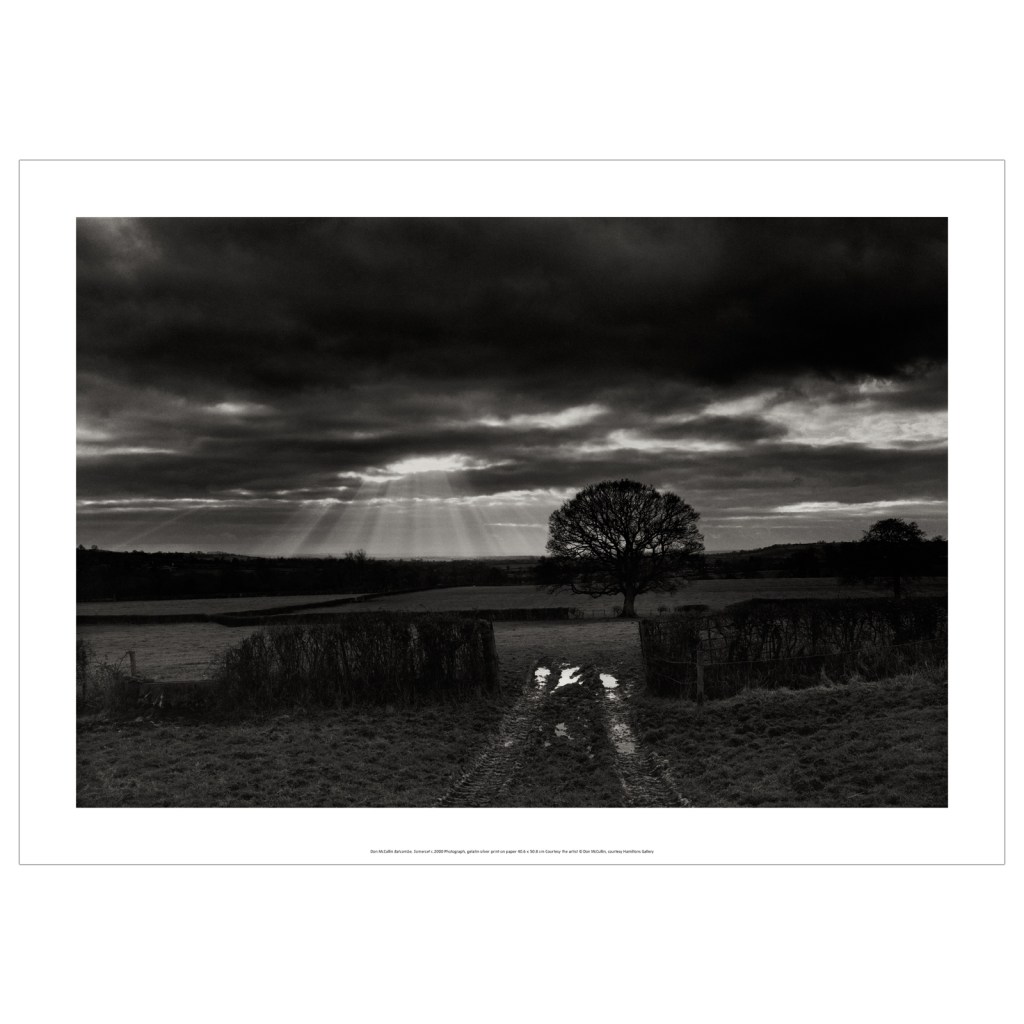
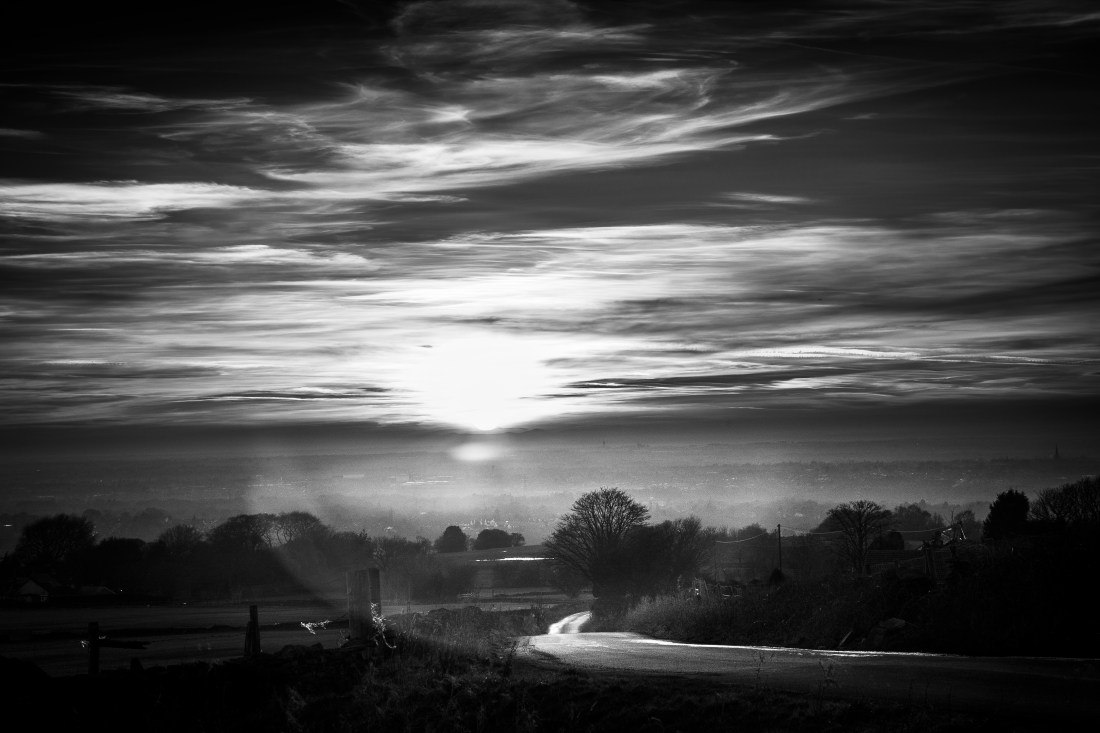
Having seen the exhibition of Don McCullin’s work at Tate Britain, Don McCullin – Tate Britain. Feb 2019, I tried to produce some images in his style. In the absence of a local war zone, I decided to use landscapes to do this. I completed Exercises 2.6 and 2.7 with that intention, and selected a site where I could photograph into the setting sun to try and get the effect McCullin has achieved in these images.
Somerset 2004. Don McCullin
Batcombe, Somerset. Don McCullin
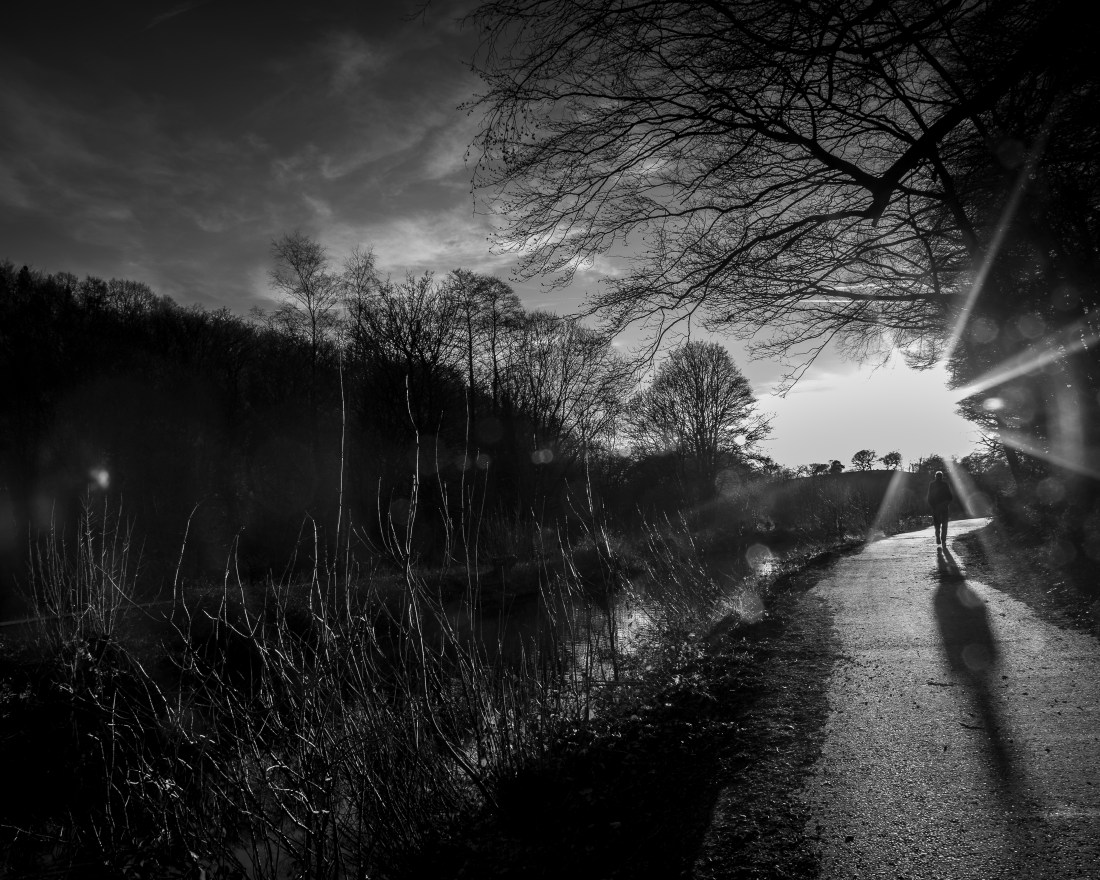
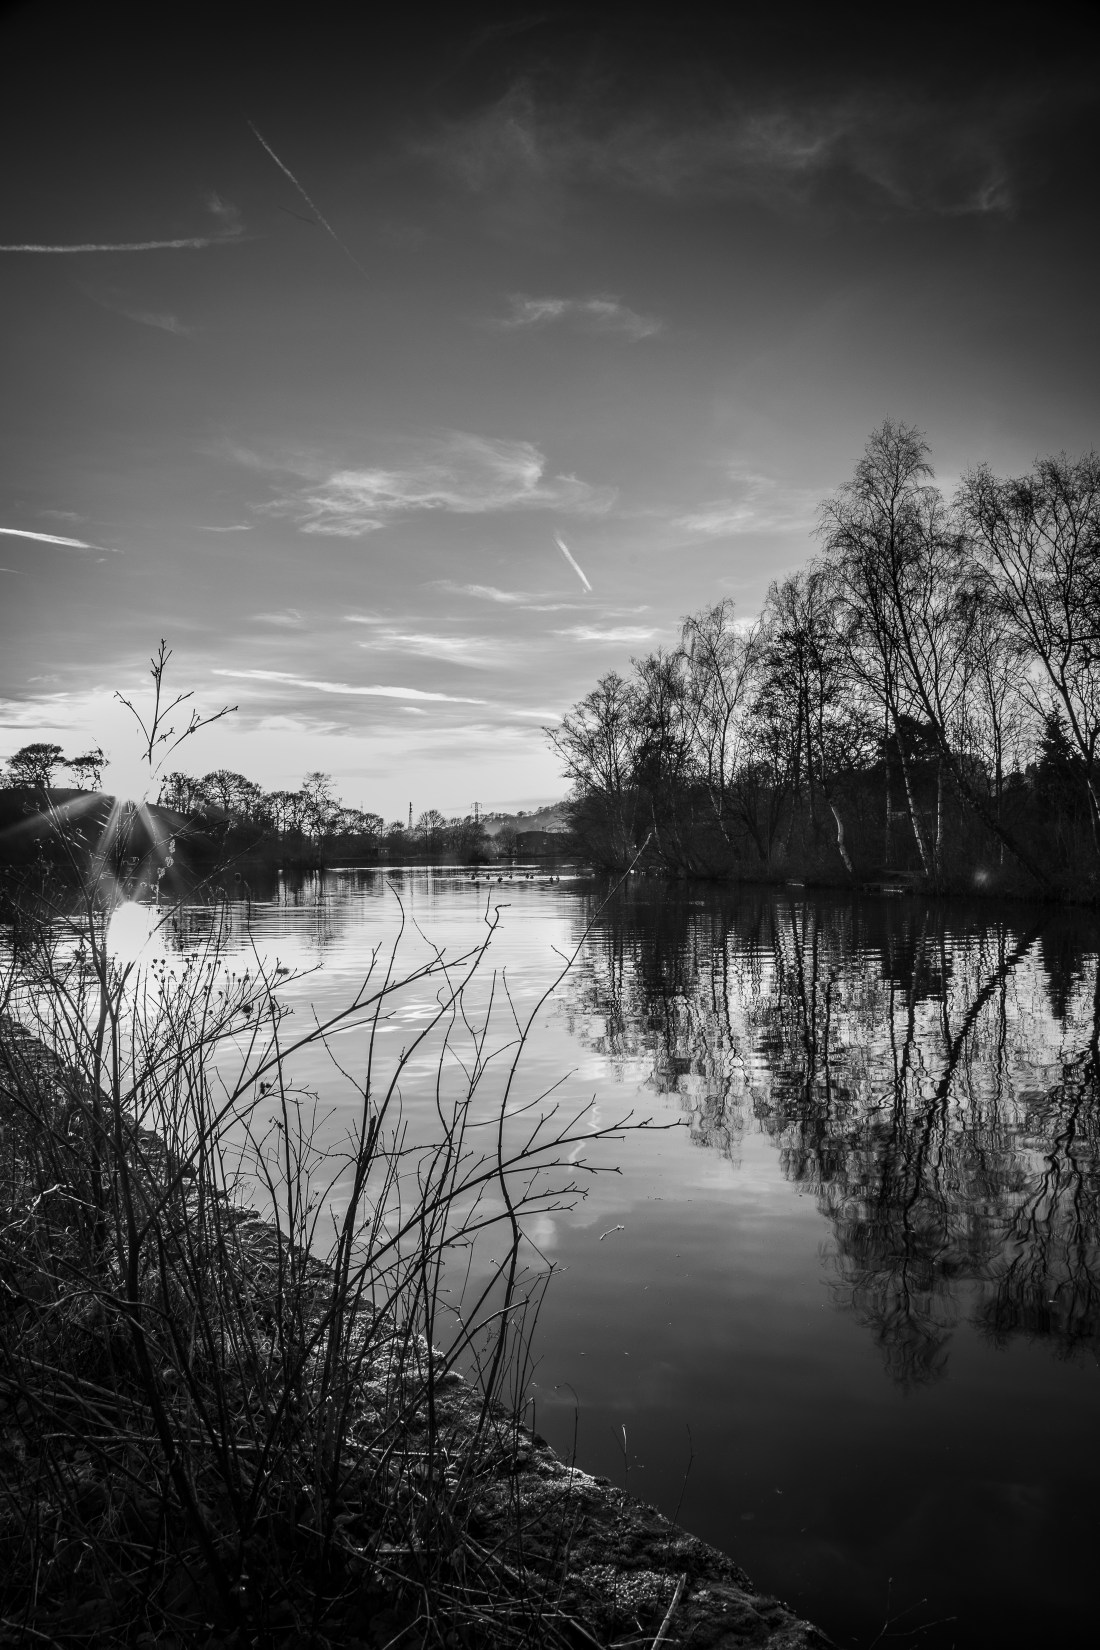
My attempts shown here are Black and white versions of the images in my exercise 2.7.
Etherow Country Park 1Etherow Country Park 2Etherow Country Park 4Etherow Country Park 5Mill Brow 1Mill Brow 2
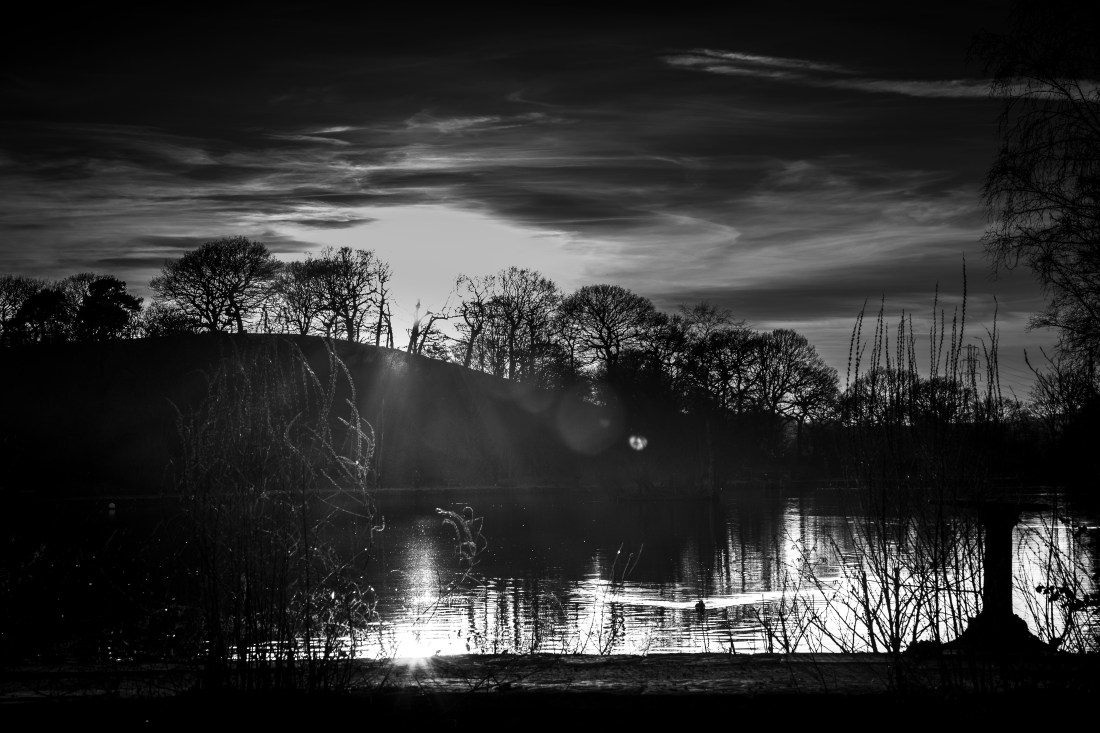
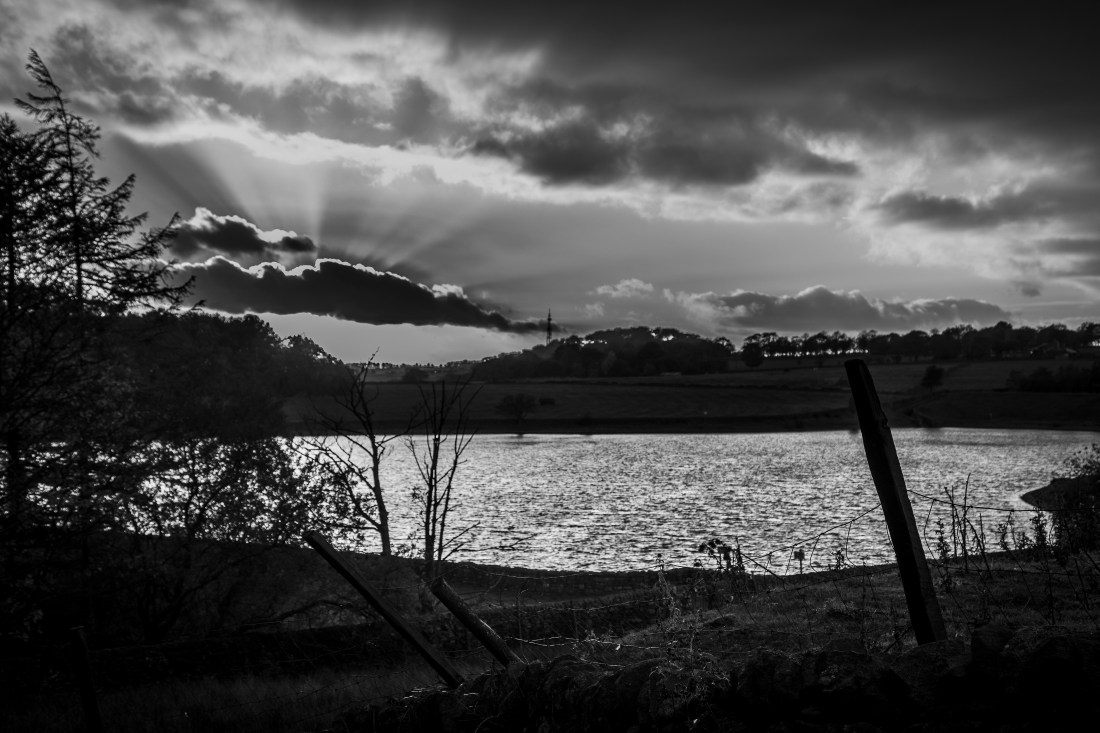
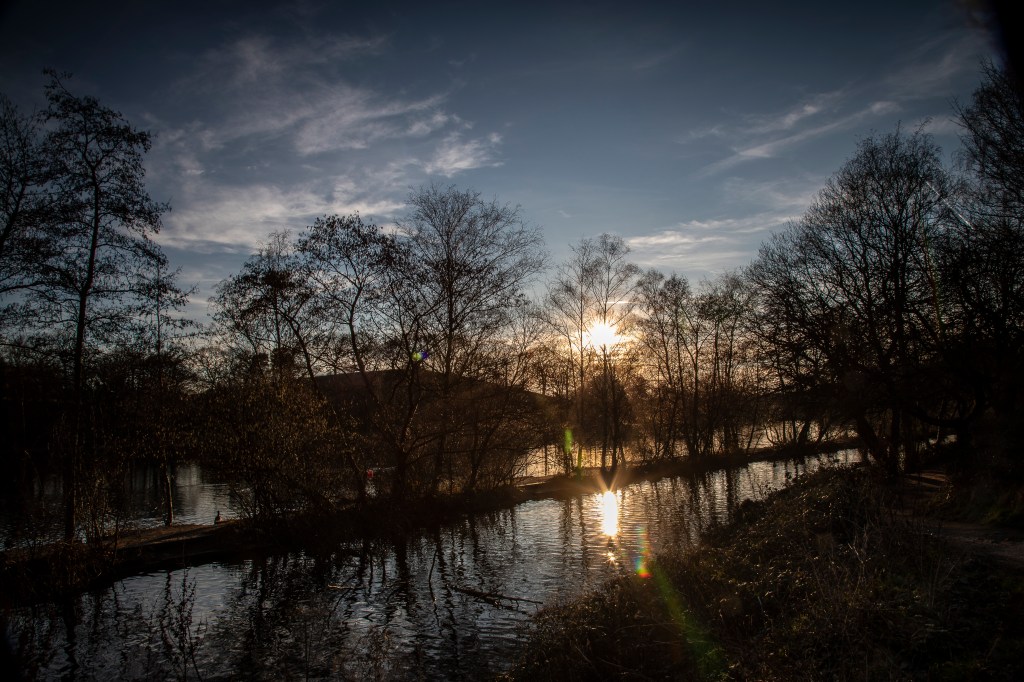
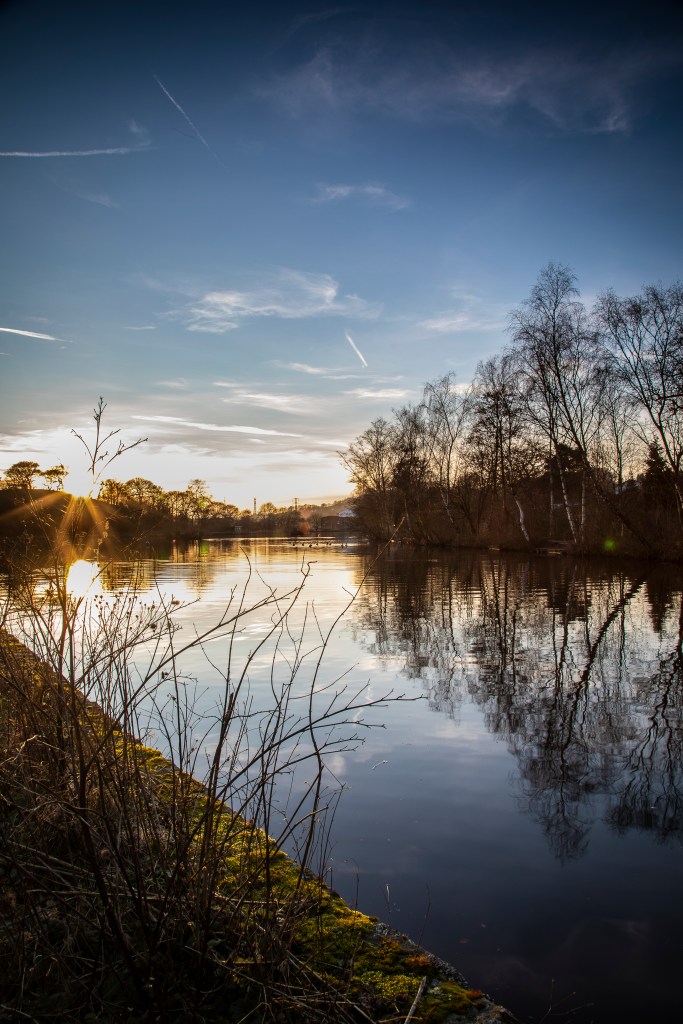
The cloud formations on the evening I chose were not really suitable to get this effect I was trying to achieve, however I remembered this image from exercise 1
Swineshaw Reservoir
and rendered it into black and white and adjusted the exposure locally to emulate McCullin’s landscapes.
Swineshaw Reservoir
Overall I think that this image achieves what I was trying to do.
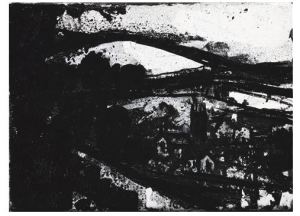
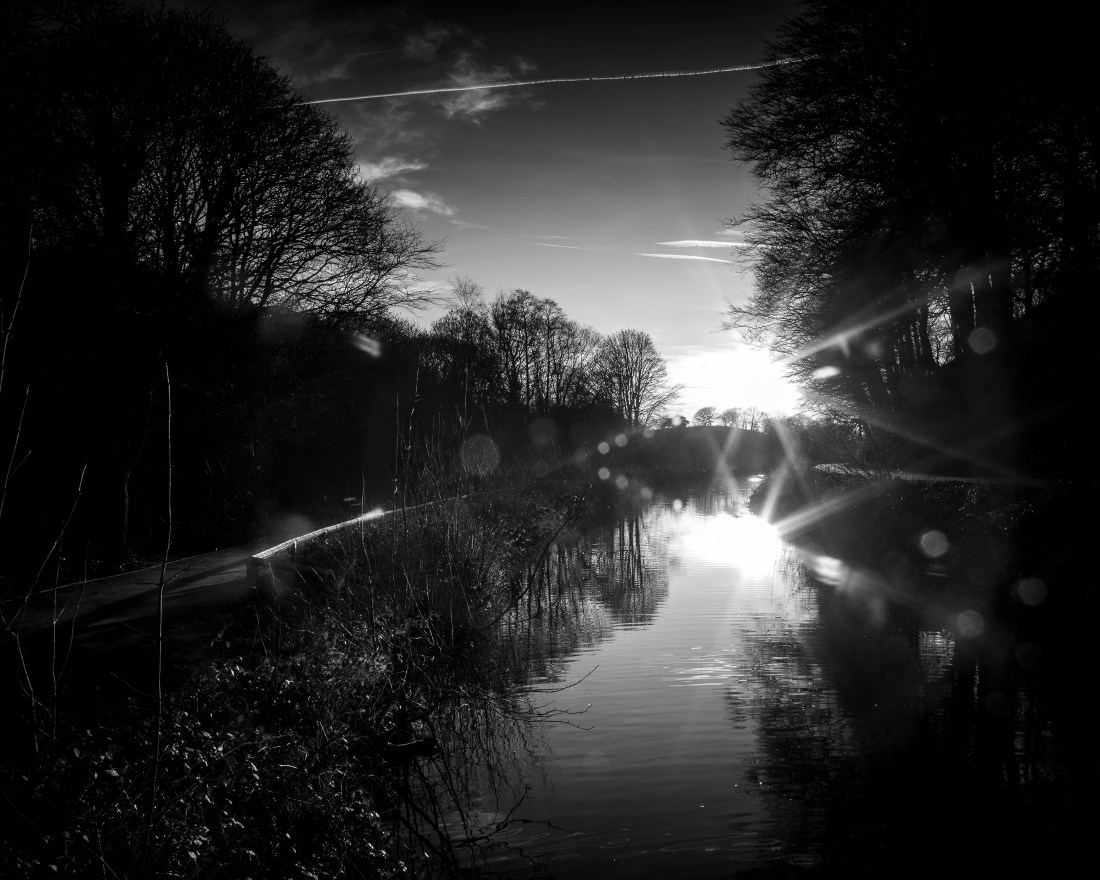
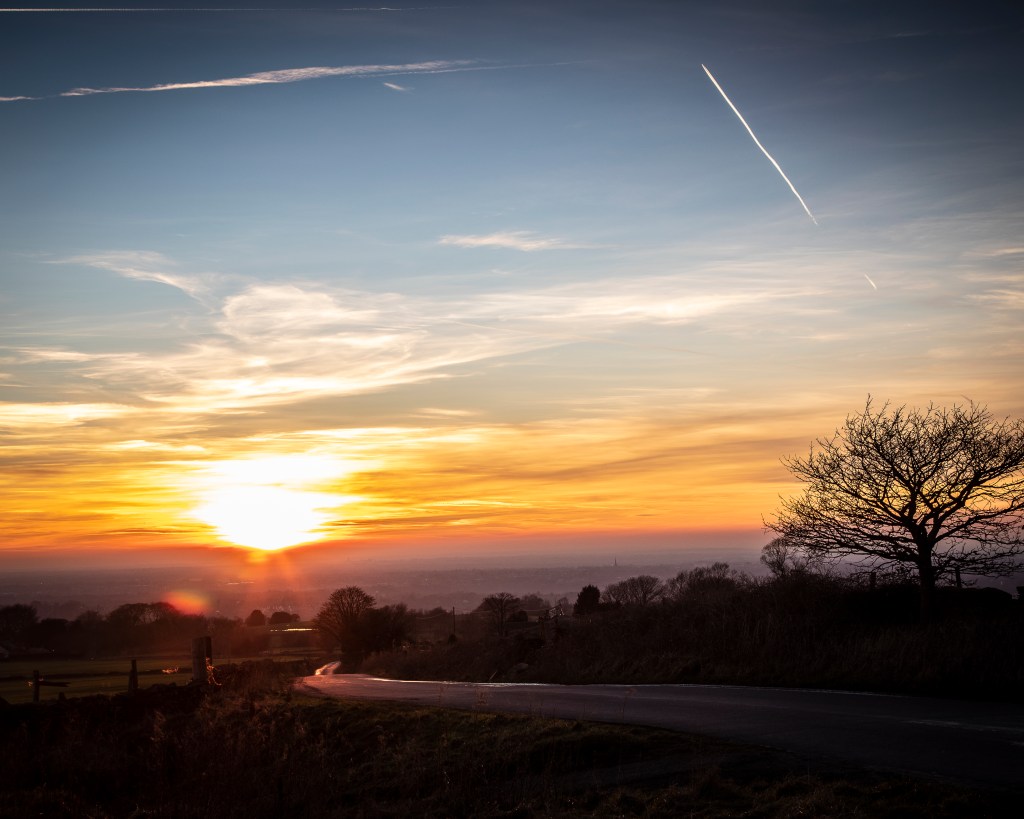
I initially rejected this one as the lens flare makes it quite confused, but I do think it has some qualities in common with the abstract landscapes of John Virtue.
I carried out these exercises at the same time. I also wanted to try to emulate the black and white landscape style of Don McCullin having seen his exhibition at the Tate a few days earlier, and show these in a separate post.
Because of this I sought a site where I could photograph the sun setting across water, so my images would incorporate the detail of the water in the foreground with the setting sun behind cloud formations. To plan this I used the Sunseeker app on my phone and this showed me that a local country park, Etherow Country Park would be a suitable site fulfilling what I aimed for. This is shown in the screen shot below, where the red line shows the direction of the setting sun from a given location (the green dot).
Sunsurveyor App display for 2018-02-14
Exercise 2.6 Brief Use a combination of wide apertures, long focal lengths and close viewpoints to take a number of photographs with shallow depth of field. Try to compose the out-of-focus parts of the picture together with the main subject.
I took a number of images for this exercise as I walked around the lake at the park. These are included in the contact sheet at:
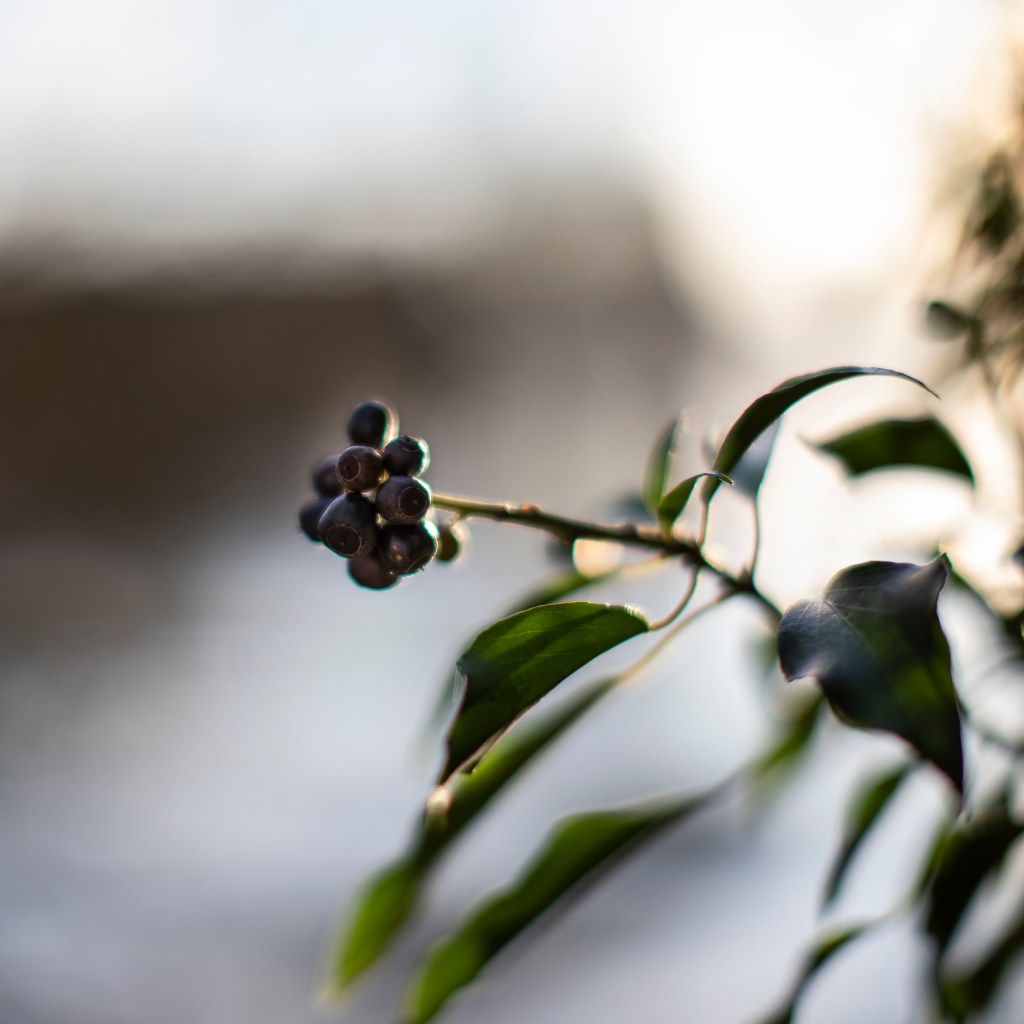
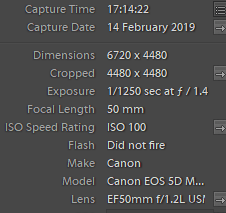
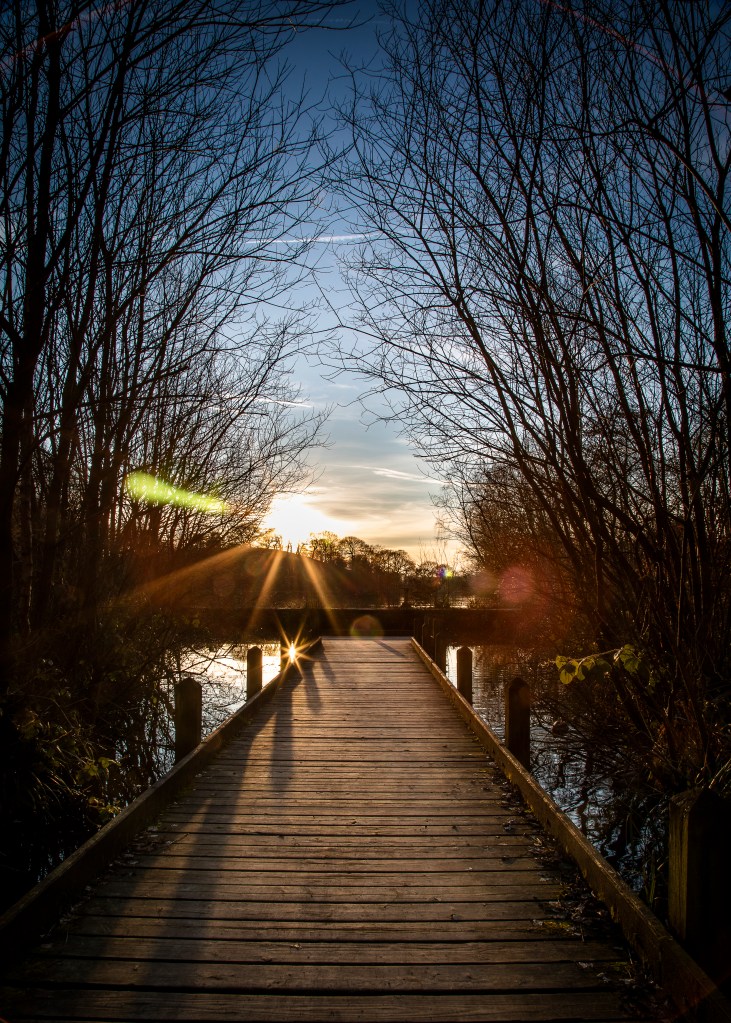
The final selection was these three images – I have chosen these mainly for the technical qualities, as the main subject is all in focus, with the shallow depth of field, it was not always easy to ensure all the subject, or at least the key elements of the subject were satisfactorily in focus.
In terms of composing the image, I have endeavoured in these images to have the foreground object against a contrasting part of the blurred background. I also aimed that the blurred background should have enough detail to be interesting, and not just a neutral background. In the final image there is enough detail left to see the context and setting in which the post is positioned.
Exercise 2.7
Brief Use a combination of small apertures and wide lens to take a number of photographs exploring deep depth of field. Add one or two unedited sequences, together with relevant shooting data and an indication of your selects, to your learning log.
I used a tripod for all these photographs and because I was aiming to take the pictures into the setting sun I also used a graduated neutral density filter (x8) for the upper part of the frame.
Shooting into the sun resulted in there being a number of images with flare from the lens, and while this is effective in some of the selection, I have eliminated a number because this appears a distraction from what I was intending to achieve.
All the images from this shoot are in the contact sheet at:
The foreground objects are more prominent than the last time I did this and contribute to the composition when the background is in focus.
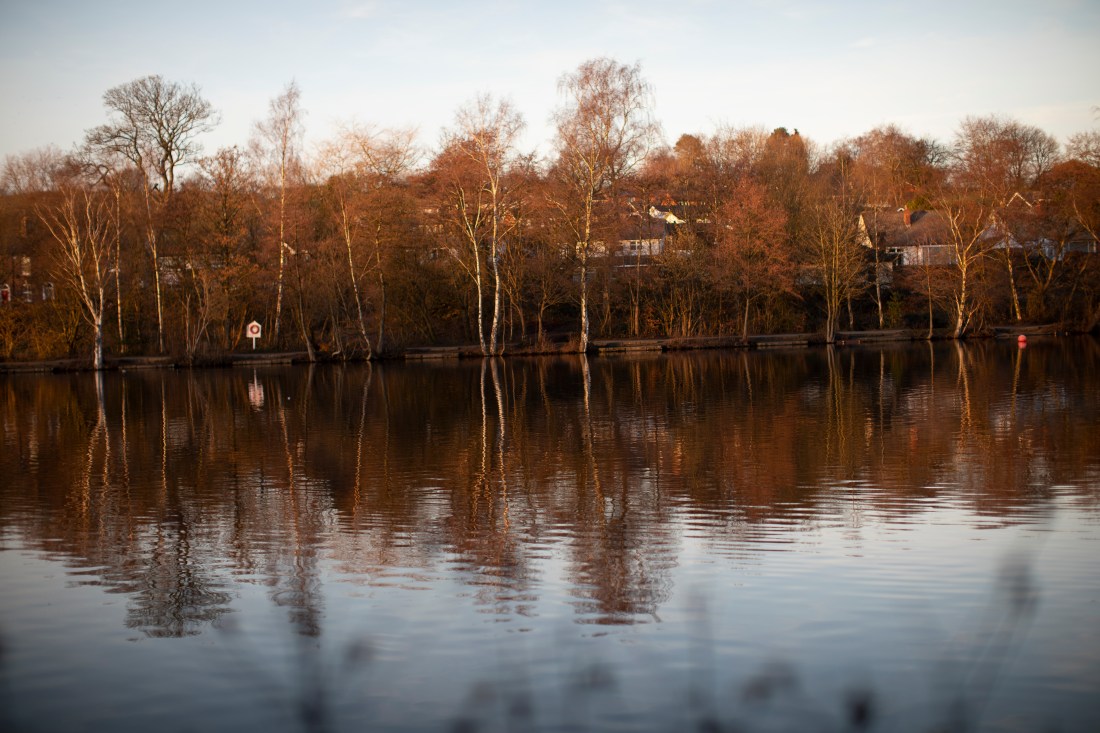
Etherow Country Park 1Etherow Country Park 2
This is particularly the case for these two images, which differ slightly in the cropping which I made to aid the composition.
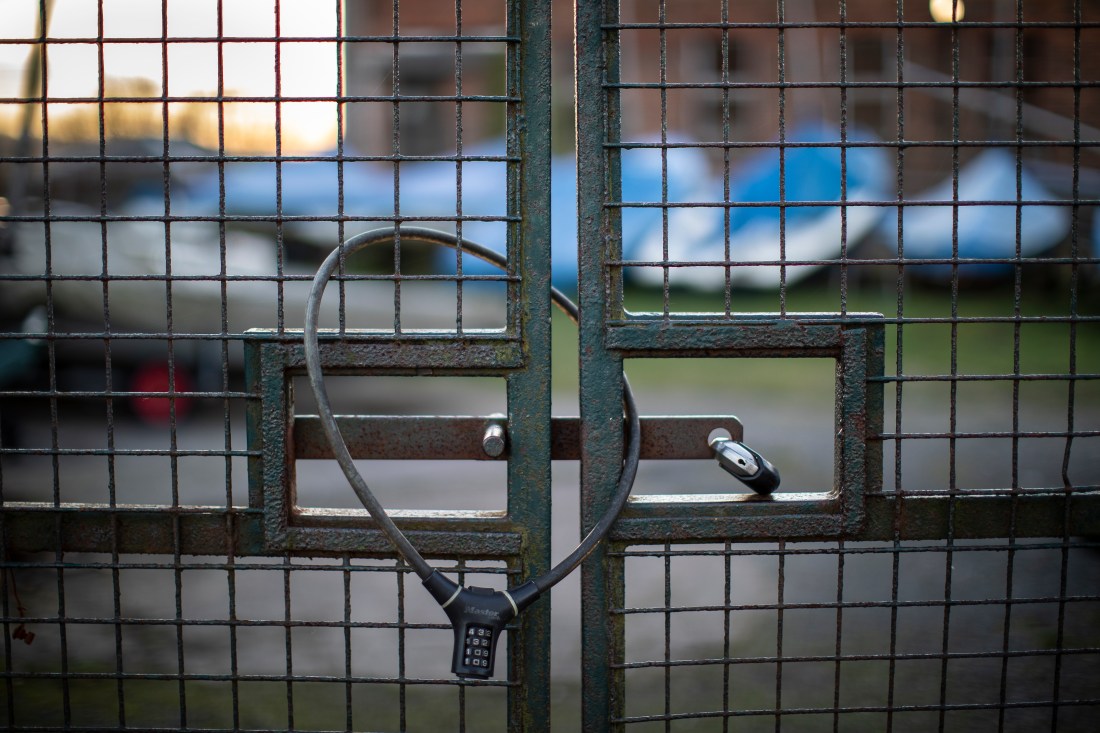
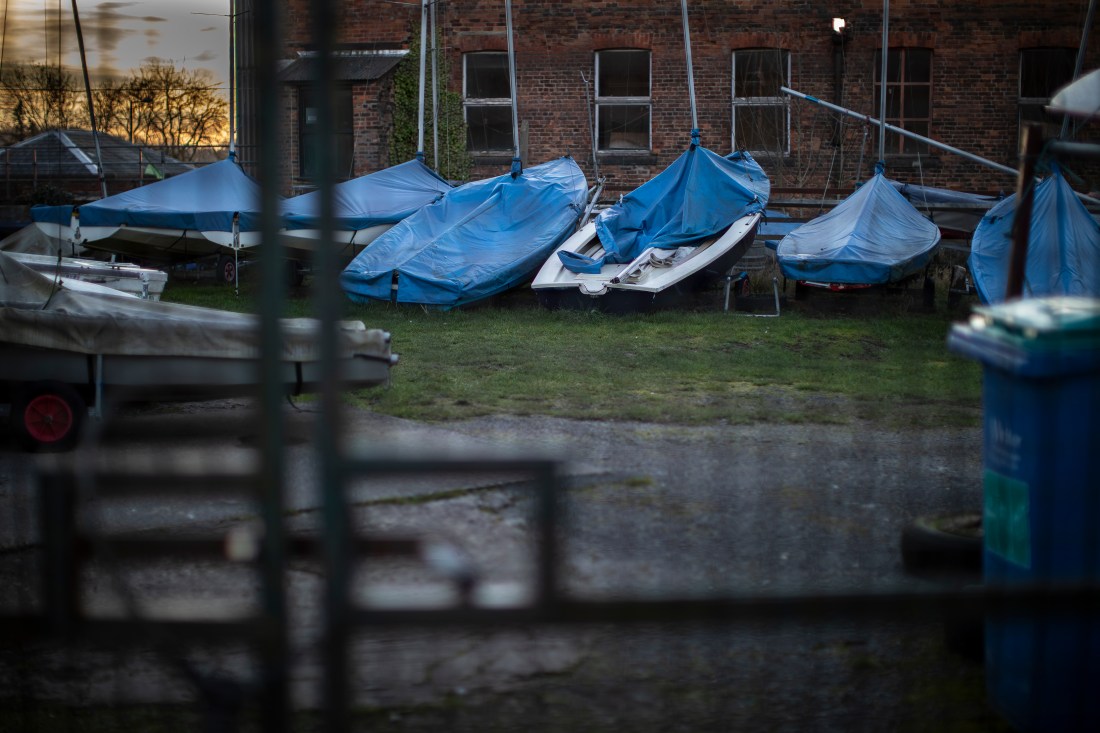
Etherow Sailing Club 1Etherow Sailing Club 2
The lock is still apparent when out of focus and shows the barrier to what lays beyond. In this case it is a local dinghy park and the security is understandable and reasonable, but in other circumstances this technique could be used to make a more significant point – as was the case in the McCullin image I showed previously.
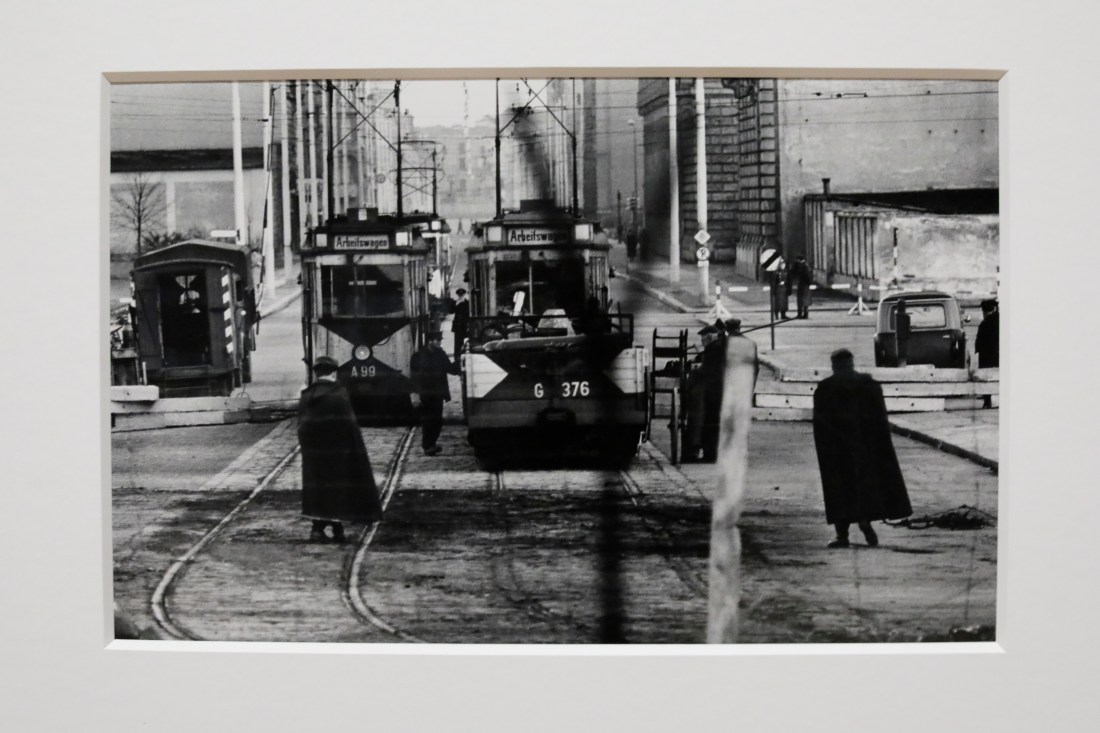
I recently visited the exhibition of the work on Don McCullin and saw this image in which McCullin uses the technique of focussing through foreground structures to the distance. This image was taken while McCullin was in Berlin at the time of the building of the Berlin Wall.
Looking into East Berlin Don McCullin 1961
While the notes for this exercise suggest that it is usually preferable to focus in the foreground, what McCullin has achieved here is to show a scene in East Berlin of “normal” life, but the blurred image of the wire and barrier remind us that as the Wall was built so this was now cut off from our view point.
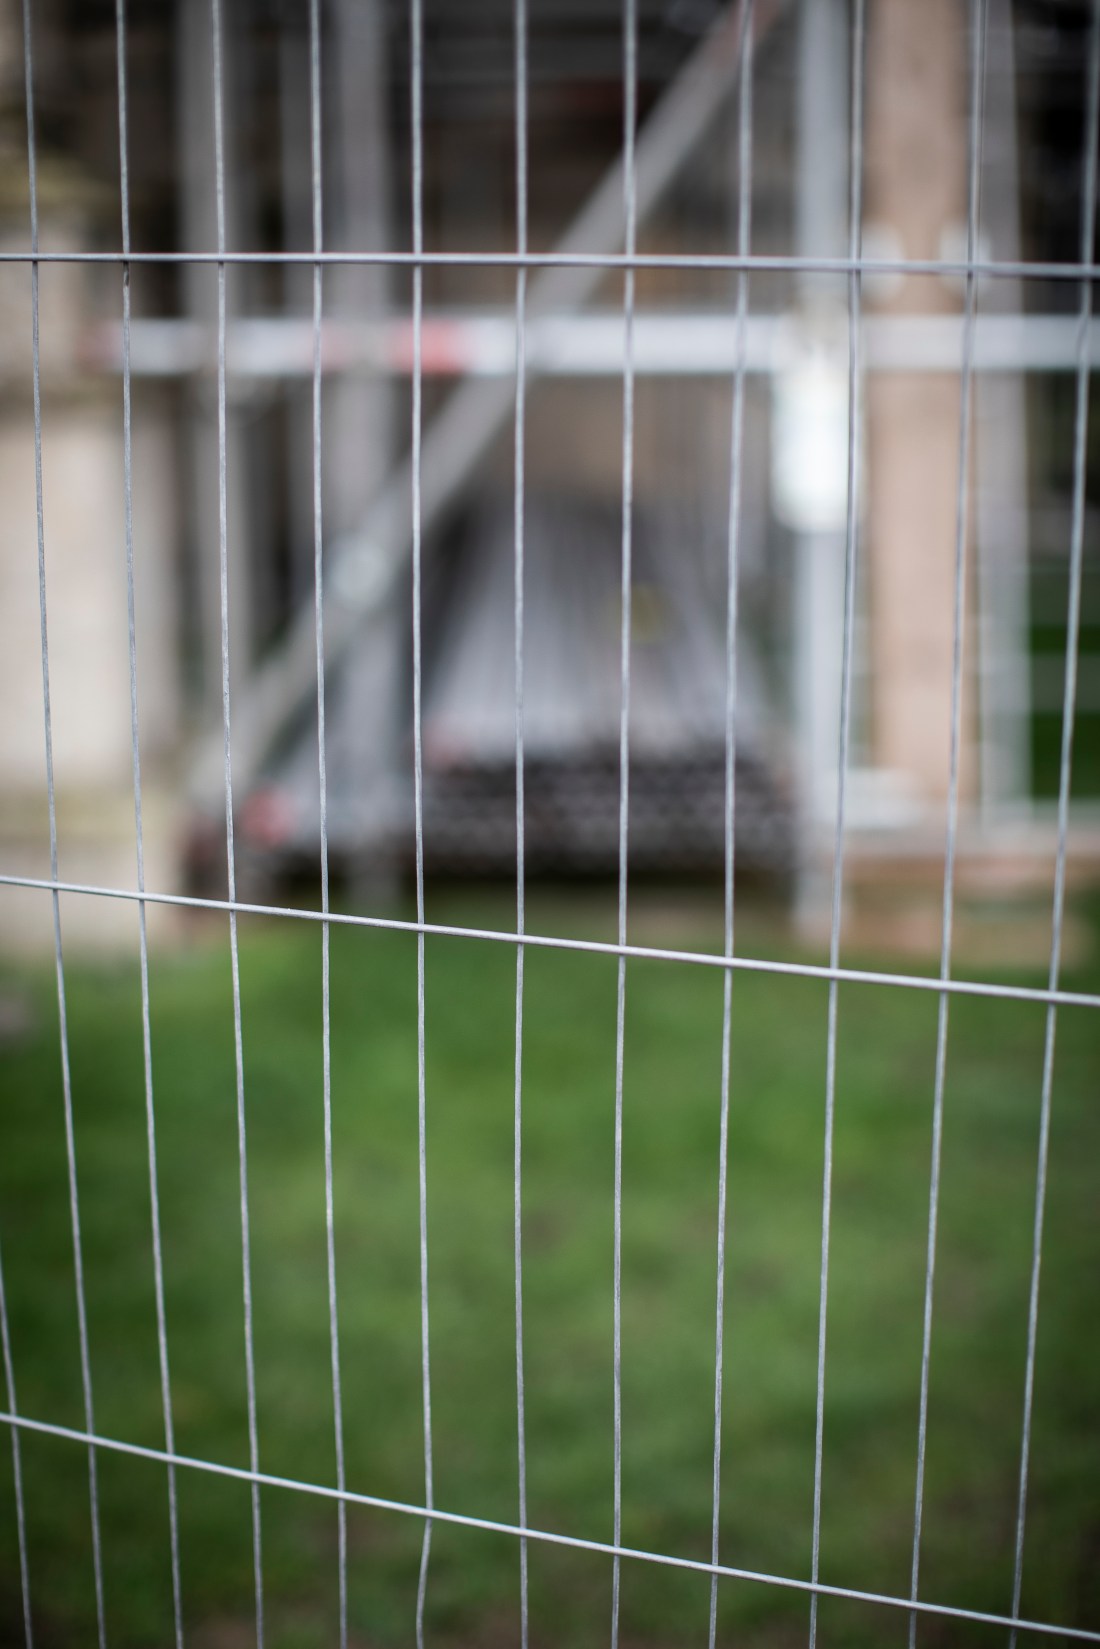
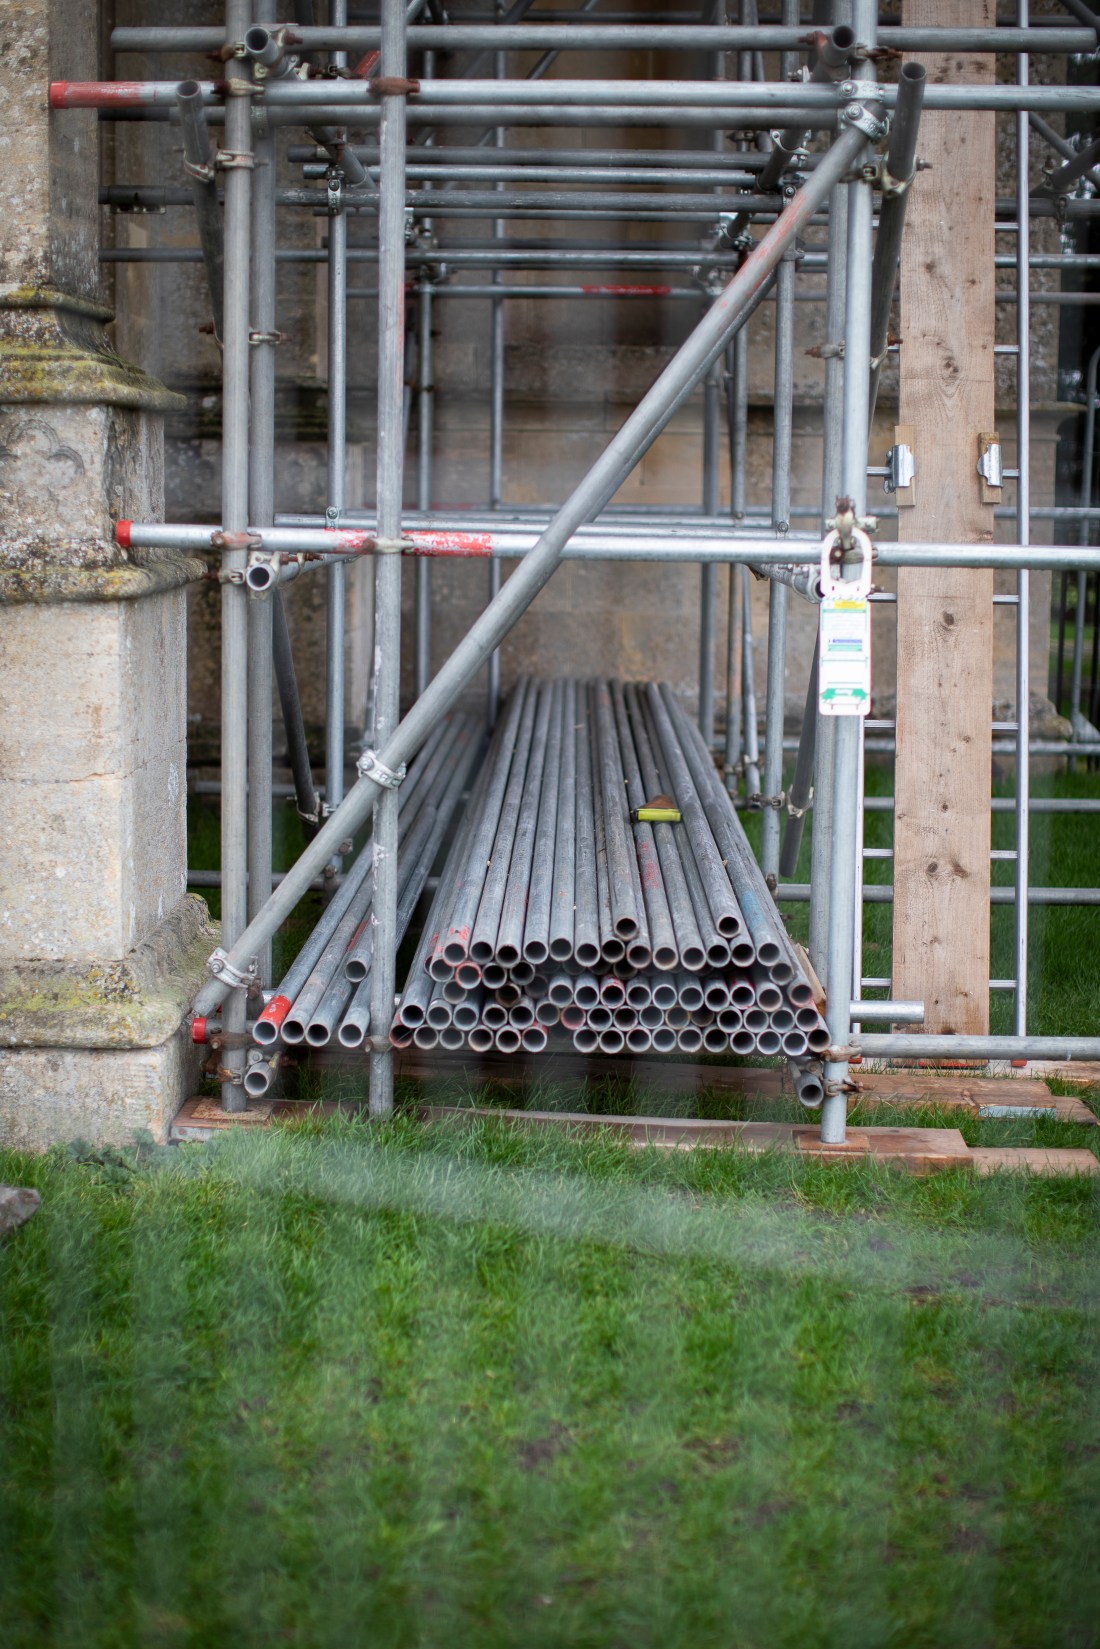
Brief Find a subject in front of a background with depth. Take a close viewpoint and zoom in; you’ll need to be aware of the minimum focusing distance of your lens. Focus on the subject and take a single shot. Then, without changing the focal length, set the focus to infinity and take a second shot.
I took these two images on a visit to a National Trust property undergoing restoration. The work area was surrounded by fencing and I used the fencing as the foreground for my focus.
Croome Church 2Croome Church 1
I do not find these images particularly helpful in this exercise. The fencing in made of very narrow wire and once out of focus, becomes so indistinct as to be more like artefact or noise in the image, rather than contributing to the image itself. As a result of this the images do not help me consider the rest of the brief:
As you review the two shots, how does the point of focus structure the composition? With a shallow depth of field the point of focus naturally draws the eye, which goes first of all to the part of the image that’s sharp. It generally feels more comfortable if the point of focus is in the foreground, although there’s nothing wrong with placing the point of focus in the background.
This is a work in progress and I think I will need to find other subject matter for this exercise.
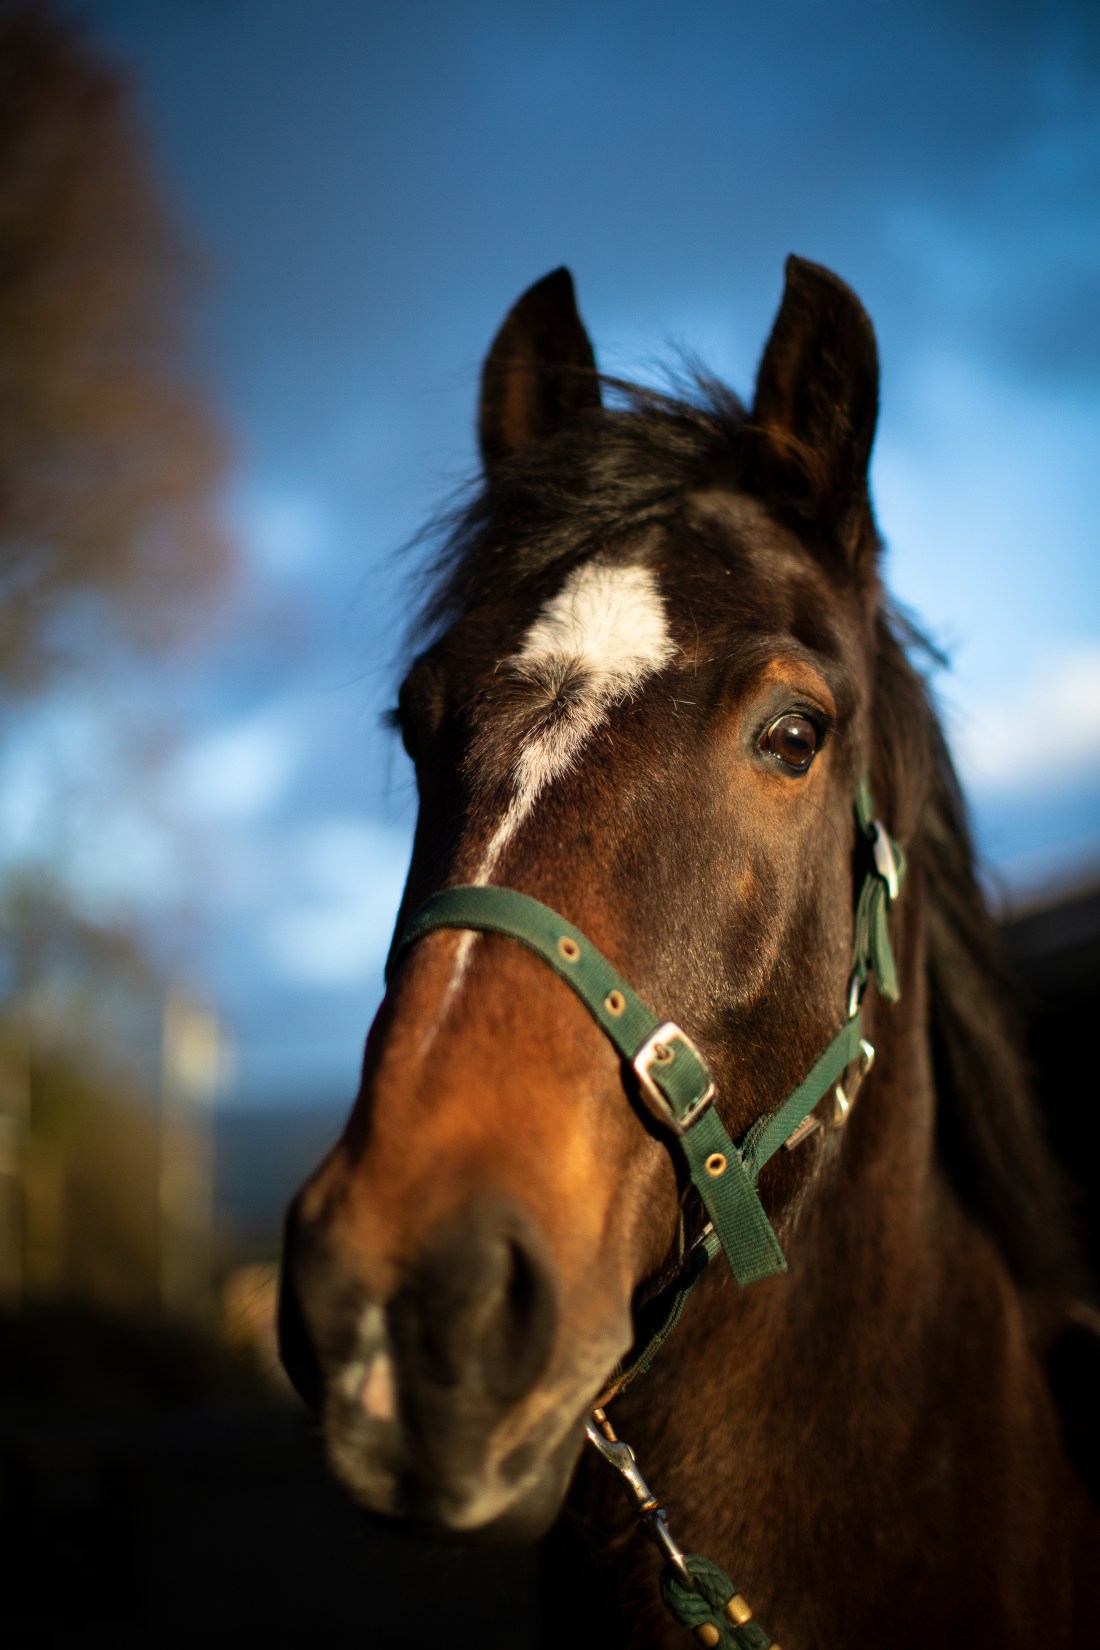
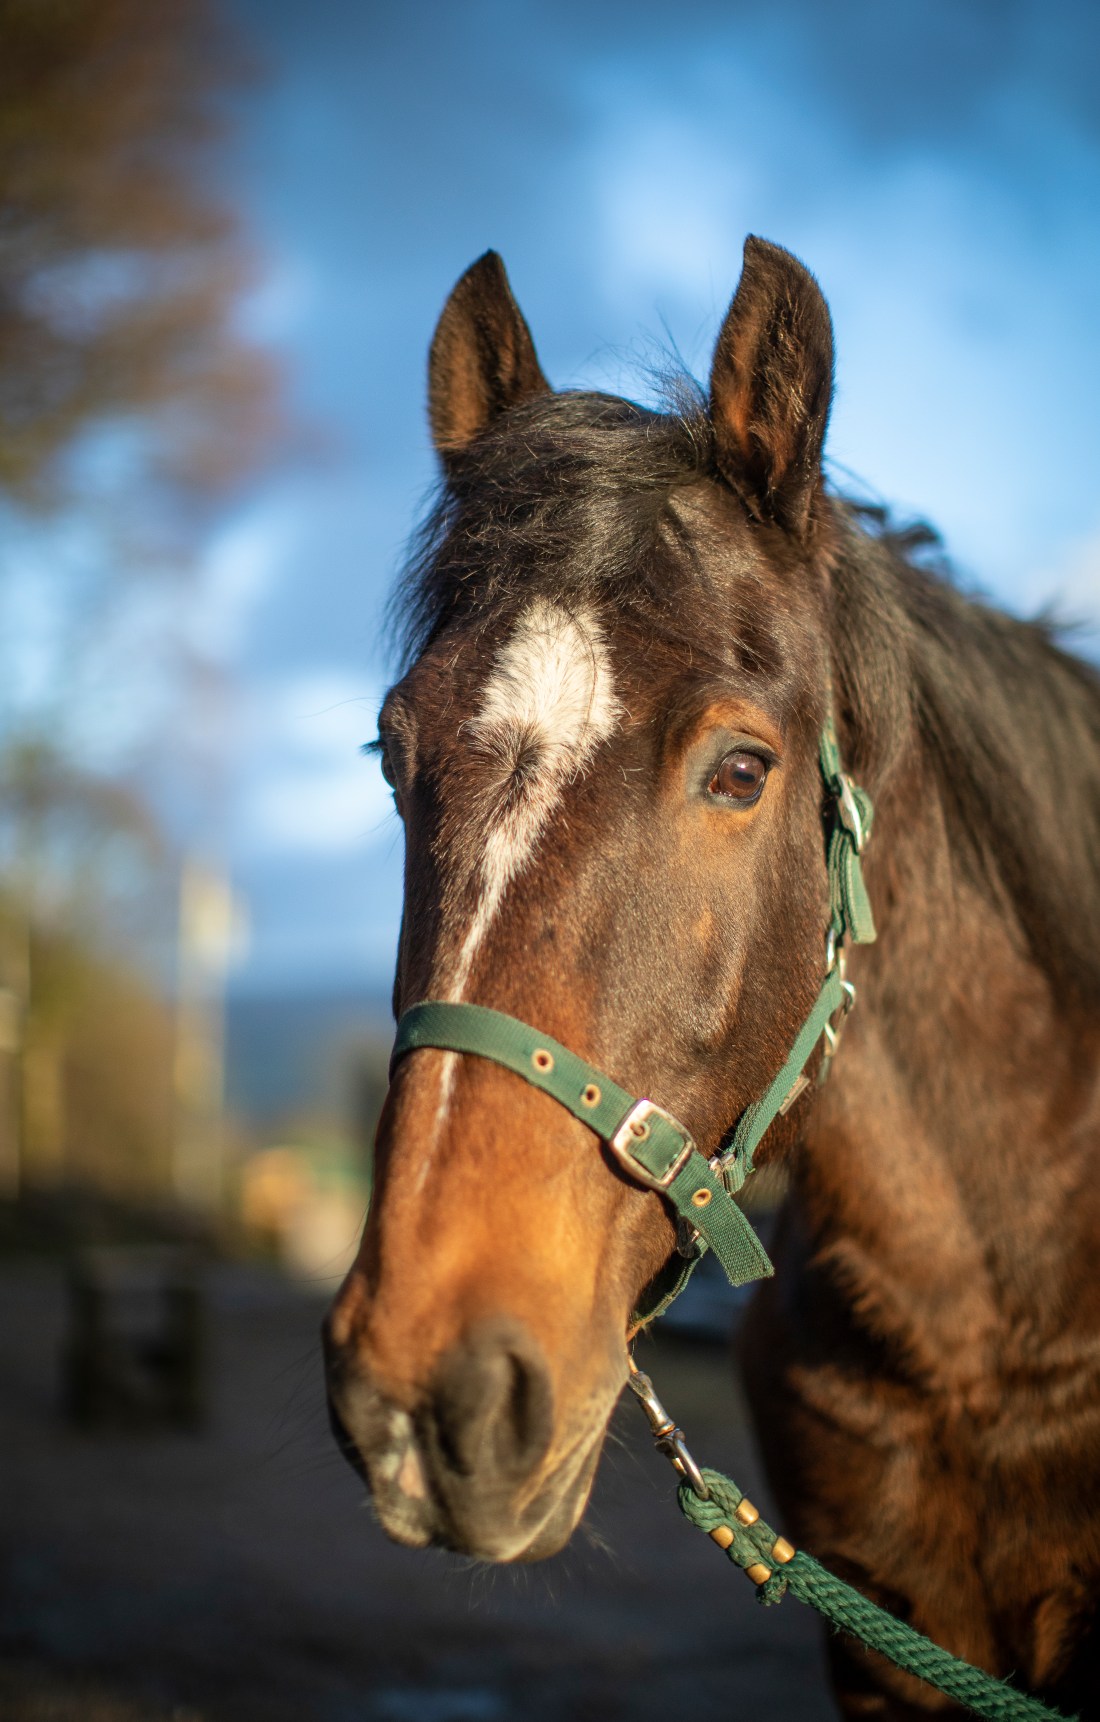
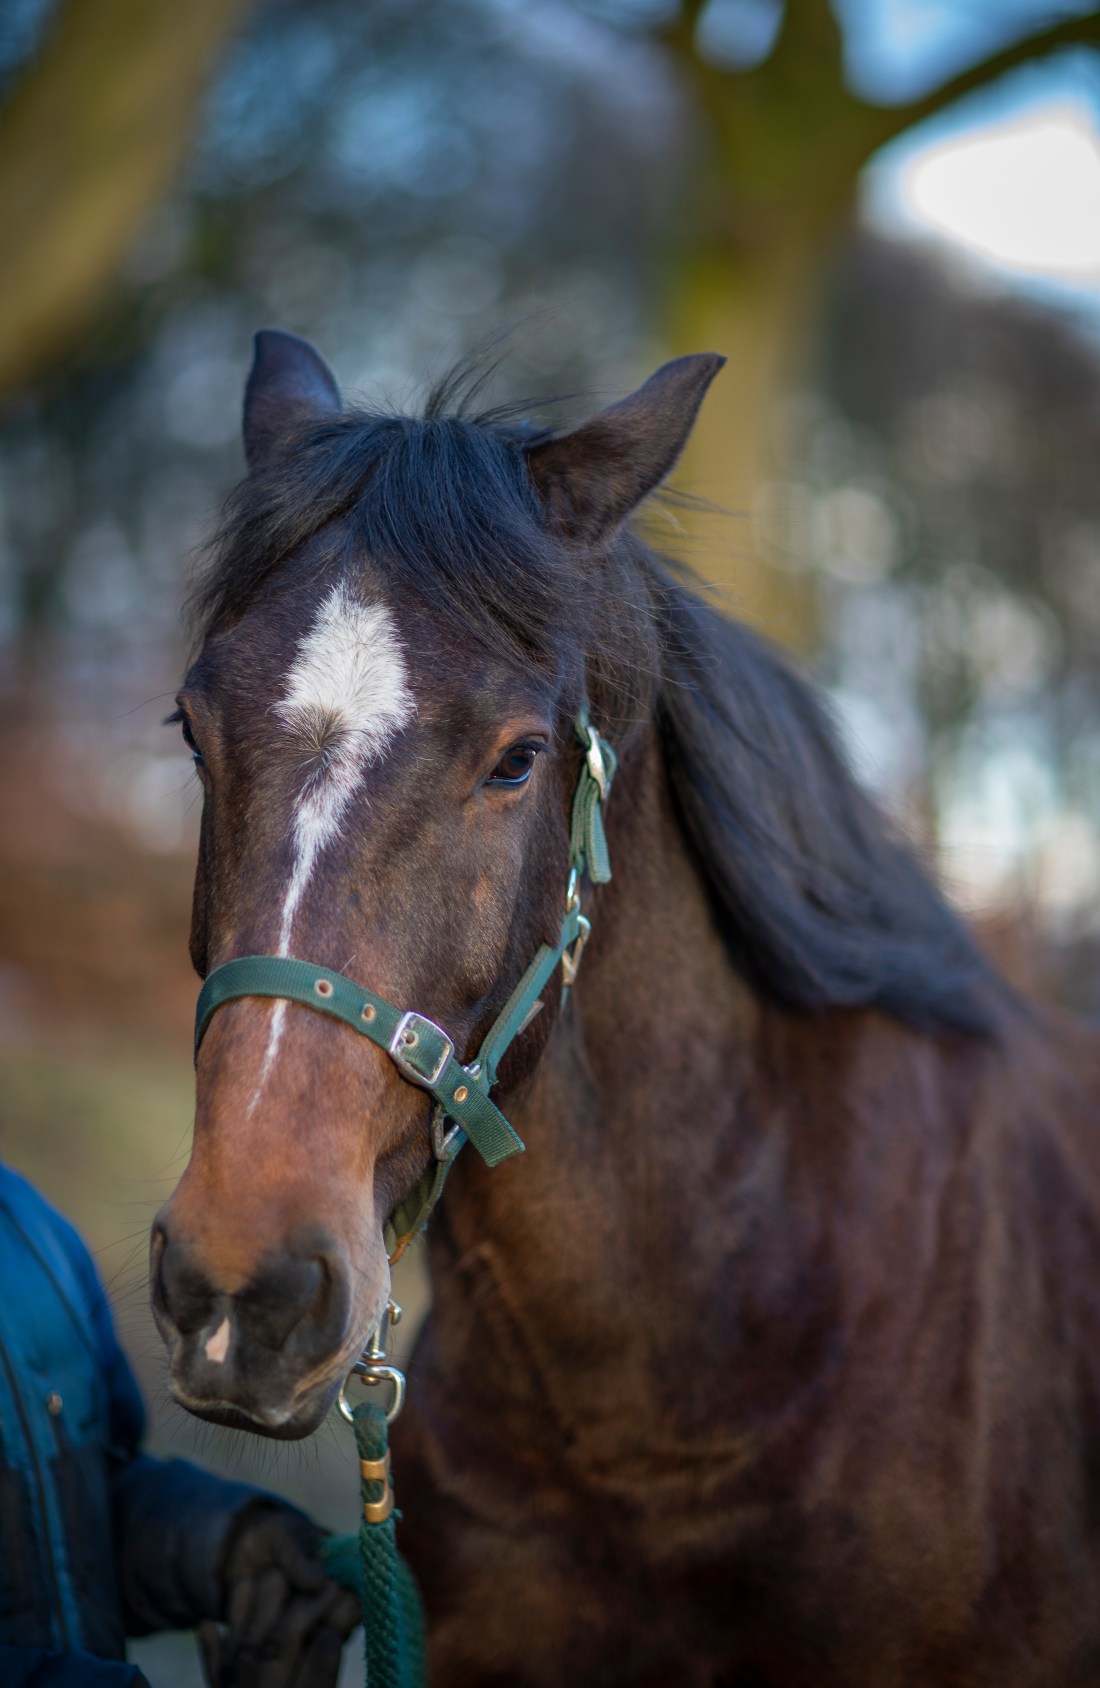
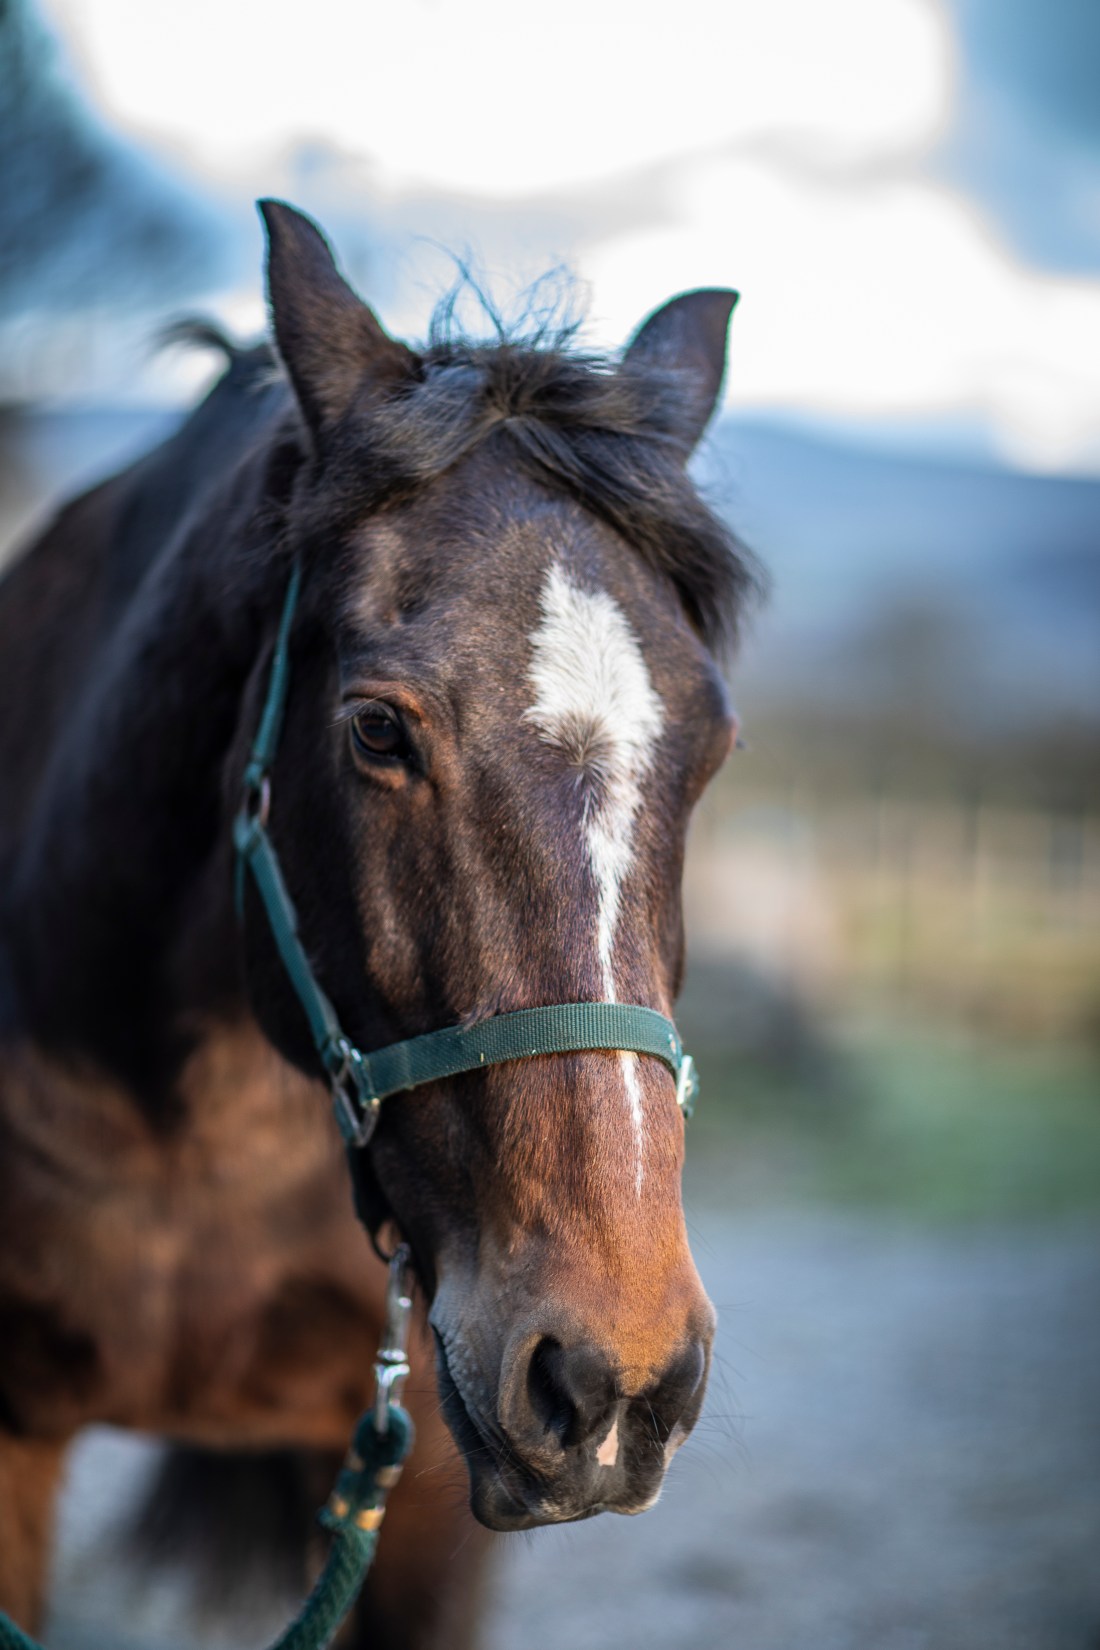
Brief: Find a location with good light for a portrait shot. Place your subject some distance in front of a simple background and select a wide aperture together with a moderately long focal length such as 100mm on a 35mm full-frame camera (about 65mm on a cropped-frame camera). Take a viewpoint about one and a half metres from your subject, allowing you to compose a headshot comfortably within the frame. Focus on the eyes and take the shot.
I used the same subject for this as for the previous exercise and took these shots on the same occasion.
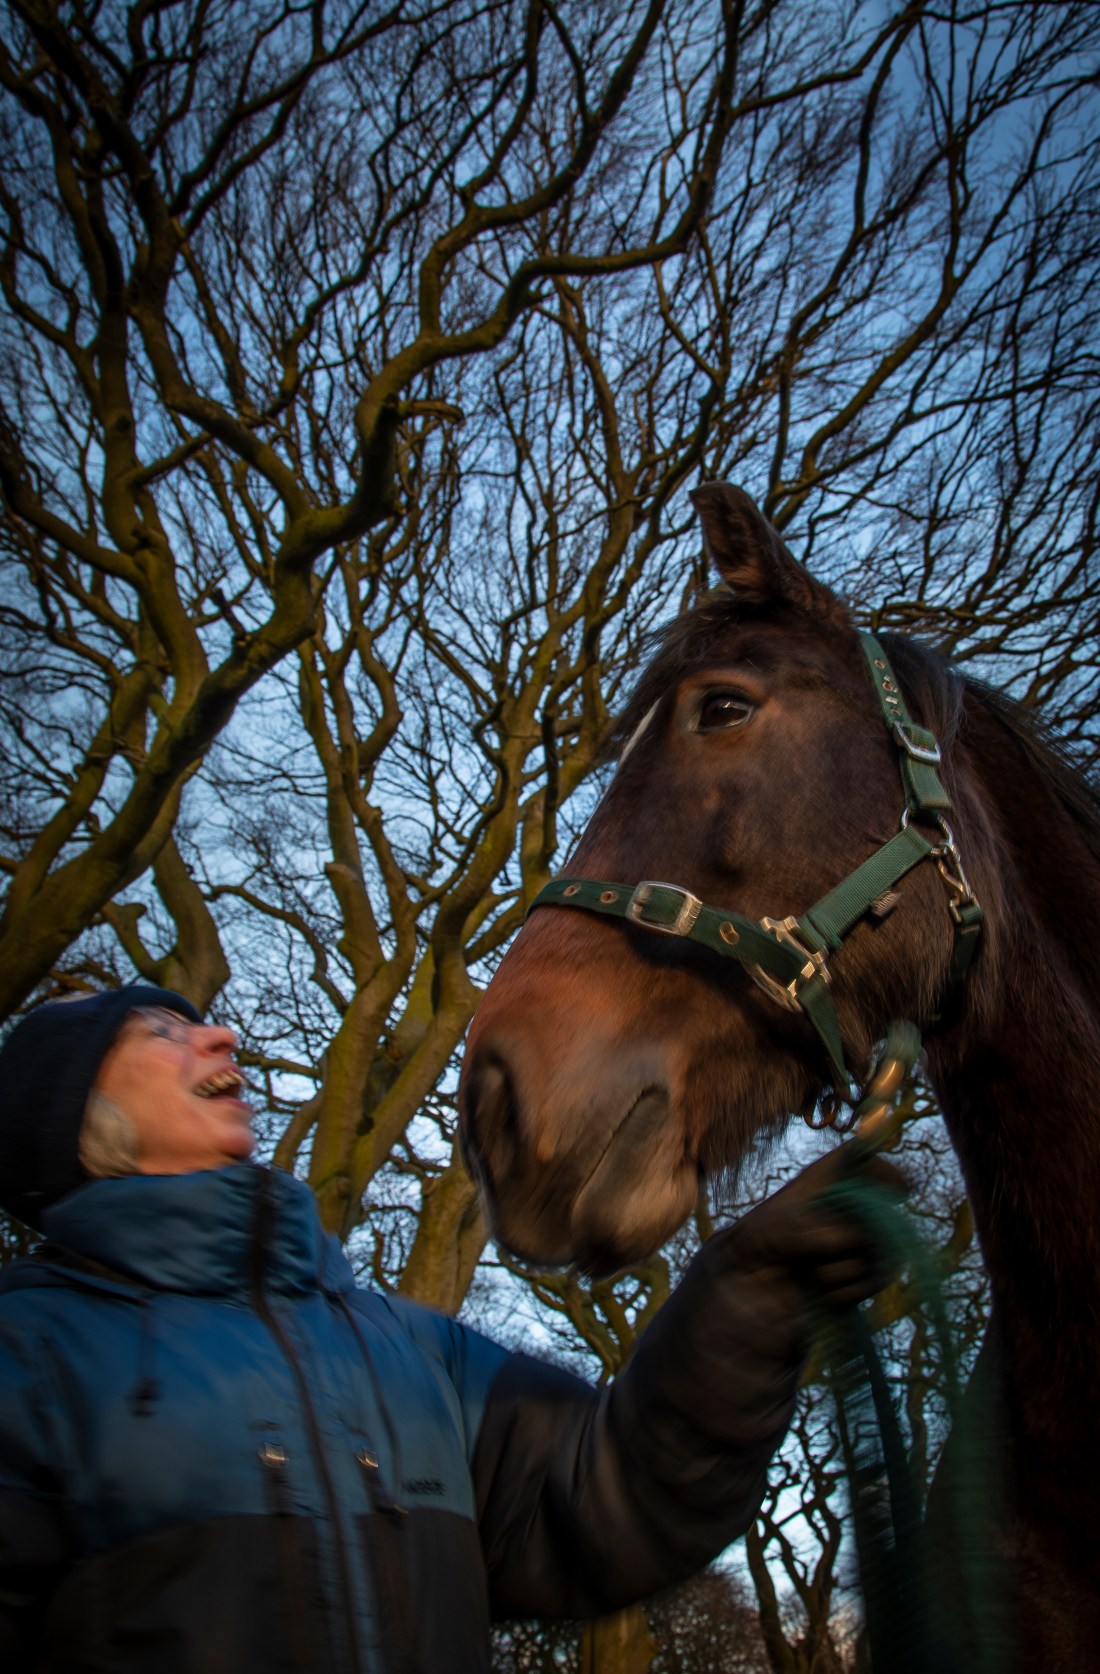
I used two lenses for this – an 85mm and a 50mm prime lens, both with largest aperture of f1.2. I initially used the longer 85mm lens and later shots were with the 50mm lens. I have found that although an 85mm lens gives a natural looking perspective for portraits of humans, to fit the head of a horse into the frame I need to stand at a distance from the subject and therefore get a flattened perspective. For this reason I used the 50mm lens for later shots to be able to get the entire head in frame from a position where one would normally look at a horse like this. I used these lenses for this exercise as the very large aperture gives a very narrow depth of field; much narrower than my 24-105mm zoom with f4. At times this is so narrow that the horse’s nose is out of focus if the eye is focussed, however the sharp eye draws the observer’s gaze and this seems less important.
The contact sheet of all the images from this shoot are at:
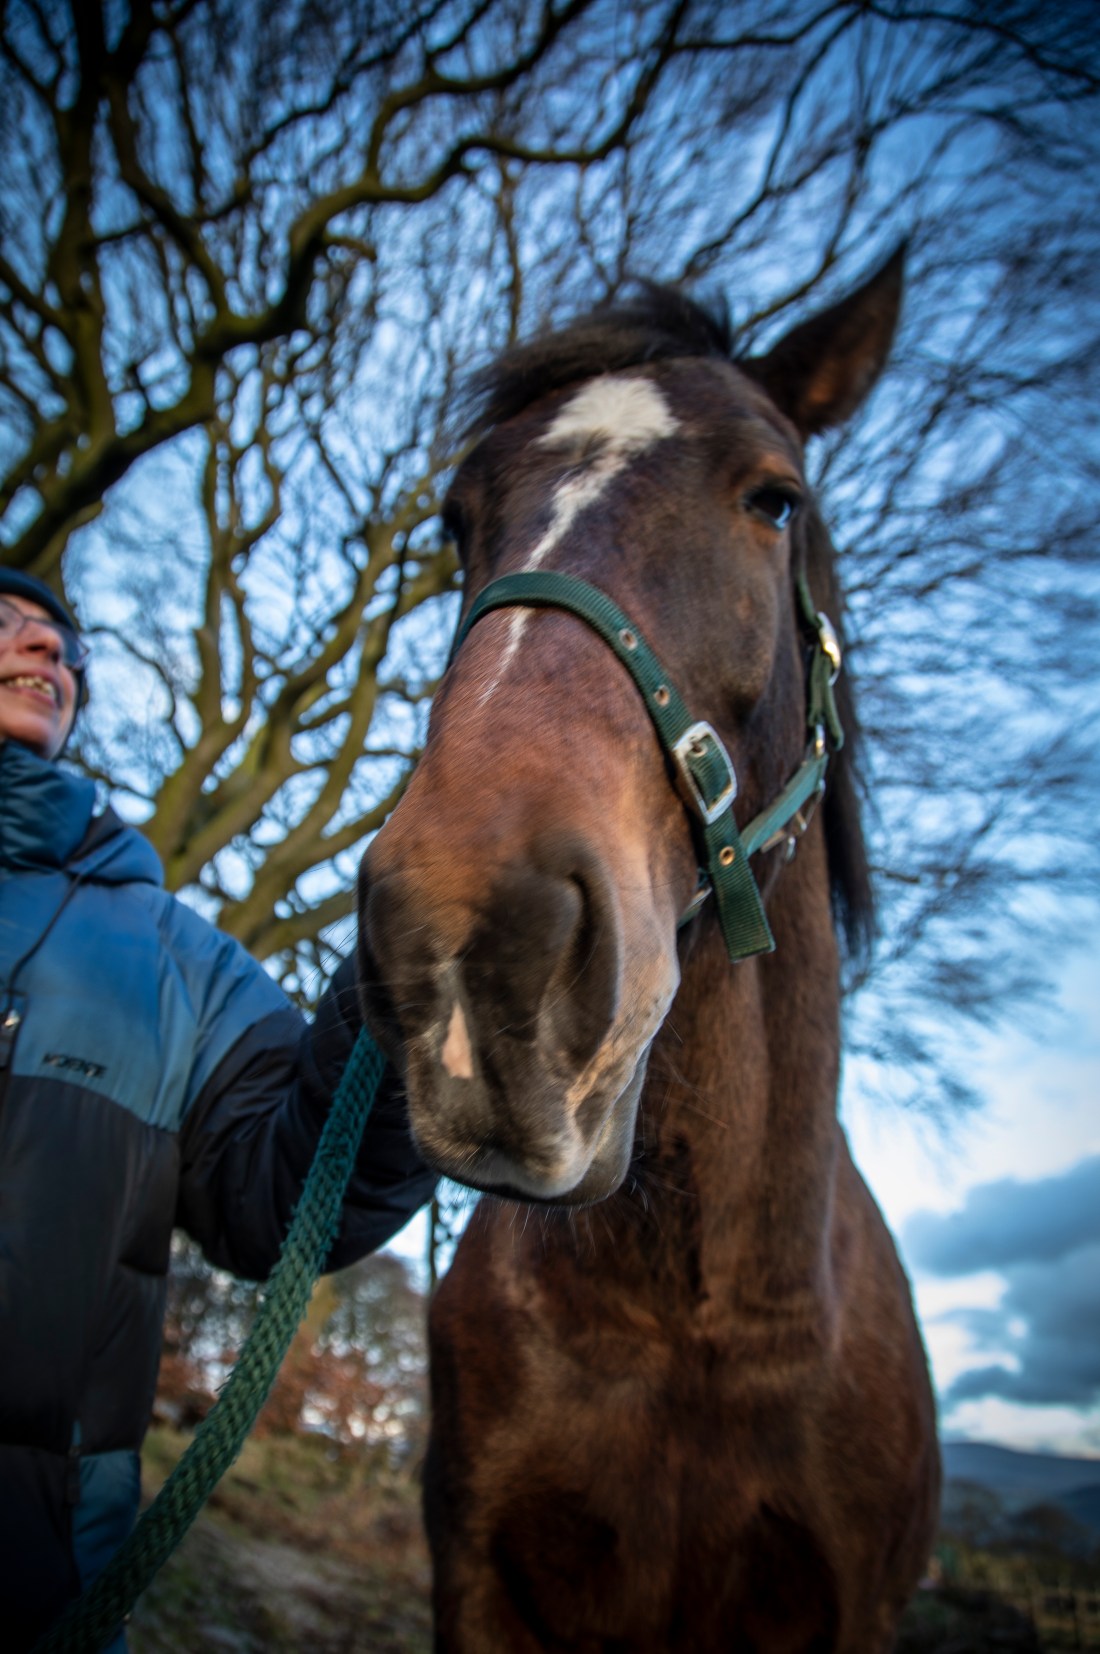
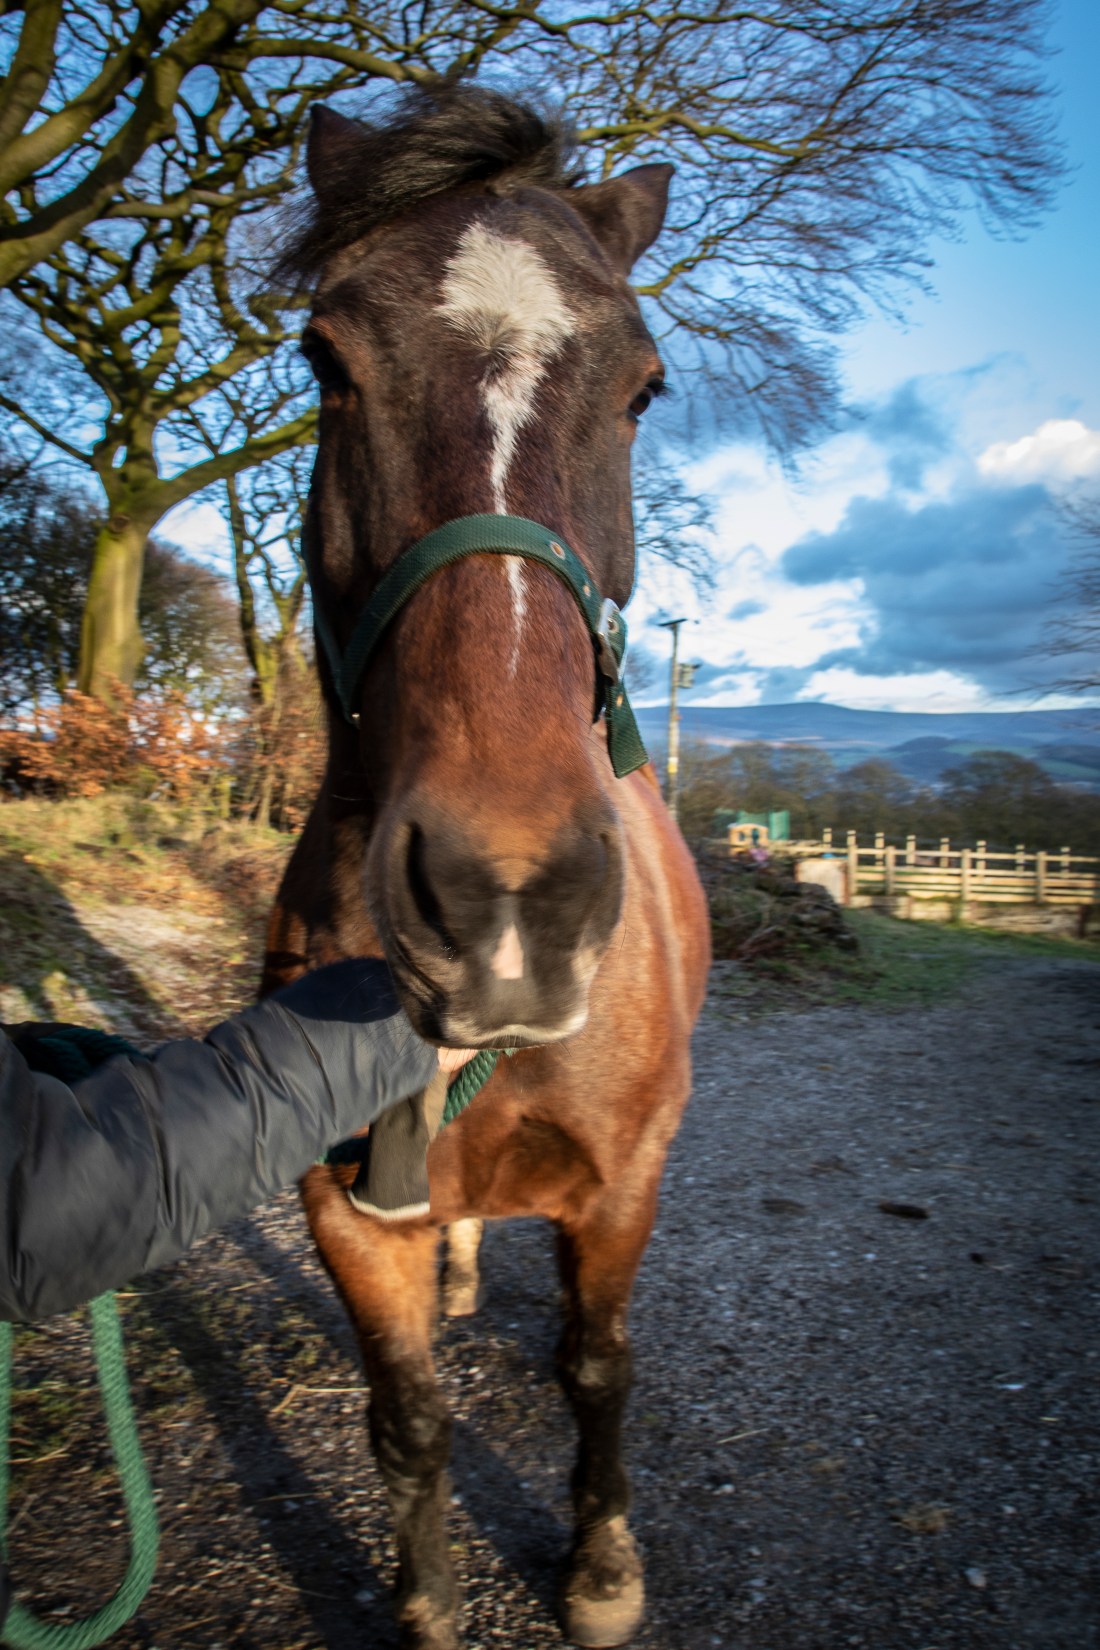
Brief: Choose a subject in front of a background with depth. Select your shortest focal length and take a close low viewpoint, below your subject. Find a natural point of focus and take the shot. You’ll see that a very wide lens together with a close viewpoint creates extreme perspective distortion. Gently receding lines become extreme diagonals and rounded forms bulge towards the camera. Space appears to expand. The low viewpoint adds a sense of monumentality, making the subject seem larger than it is, and tilting the camera adds to the effect as vertical lines dramatically converge. Not the ideal combination for a portrait shot!
I chose to do this exercise with the following one, Exercise 2.4, and used the same subject, my wife and her horse, Tigger. I chose to do these exercises in the evening as the sun was setting so as to take advantage of the warm light of the sun which makes Tigger’s coat look richly coloured. I use the “Sun Surveyor” app on my phone to assess the position of the sun and the likely lighting conditions for a shoot like this. I used a small aperture to try and get a deep depth of field, but kept the ISO at 100 so there is some camera and subject movement in some of the images.
The contact sheet for all the images I shot for this particular exercise are at:
I have slightly cropped and made development adjustments in terms of local exposure adjustments to a selection.
In these images the effect of extreme perspective is readily apparent – Tigger’s nose expands and appears disproportionate to his head. However when adopting this close position to a horse my camera was in danger of being eaten and his mouth and nose while looking big actually assume a size proportionate to their importance in self- and camera- preservation.
I used a different camera for these exercises. As I was on holiday for a few days in Venice I did not take my DSLR but used a compact camera with integral zoom lens and shooting modes including aperture, exposure and full manual as well as automatic. The images are shot in RAW and edited in Lightroom. I have done minimal post processing, only minor adjustments of exposure in places, and slight cropping.
The focal length of the zoom is indicated in the caption to the image.
I took a number of images during my brief visit to Venice – the ones that relate to this exercise are shown in the contact sheets at.
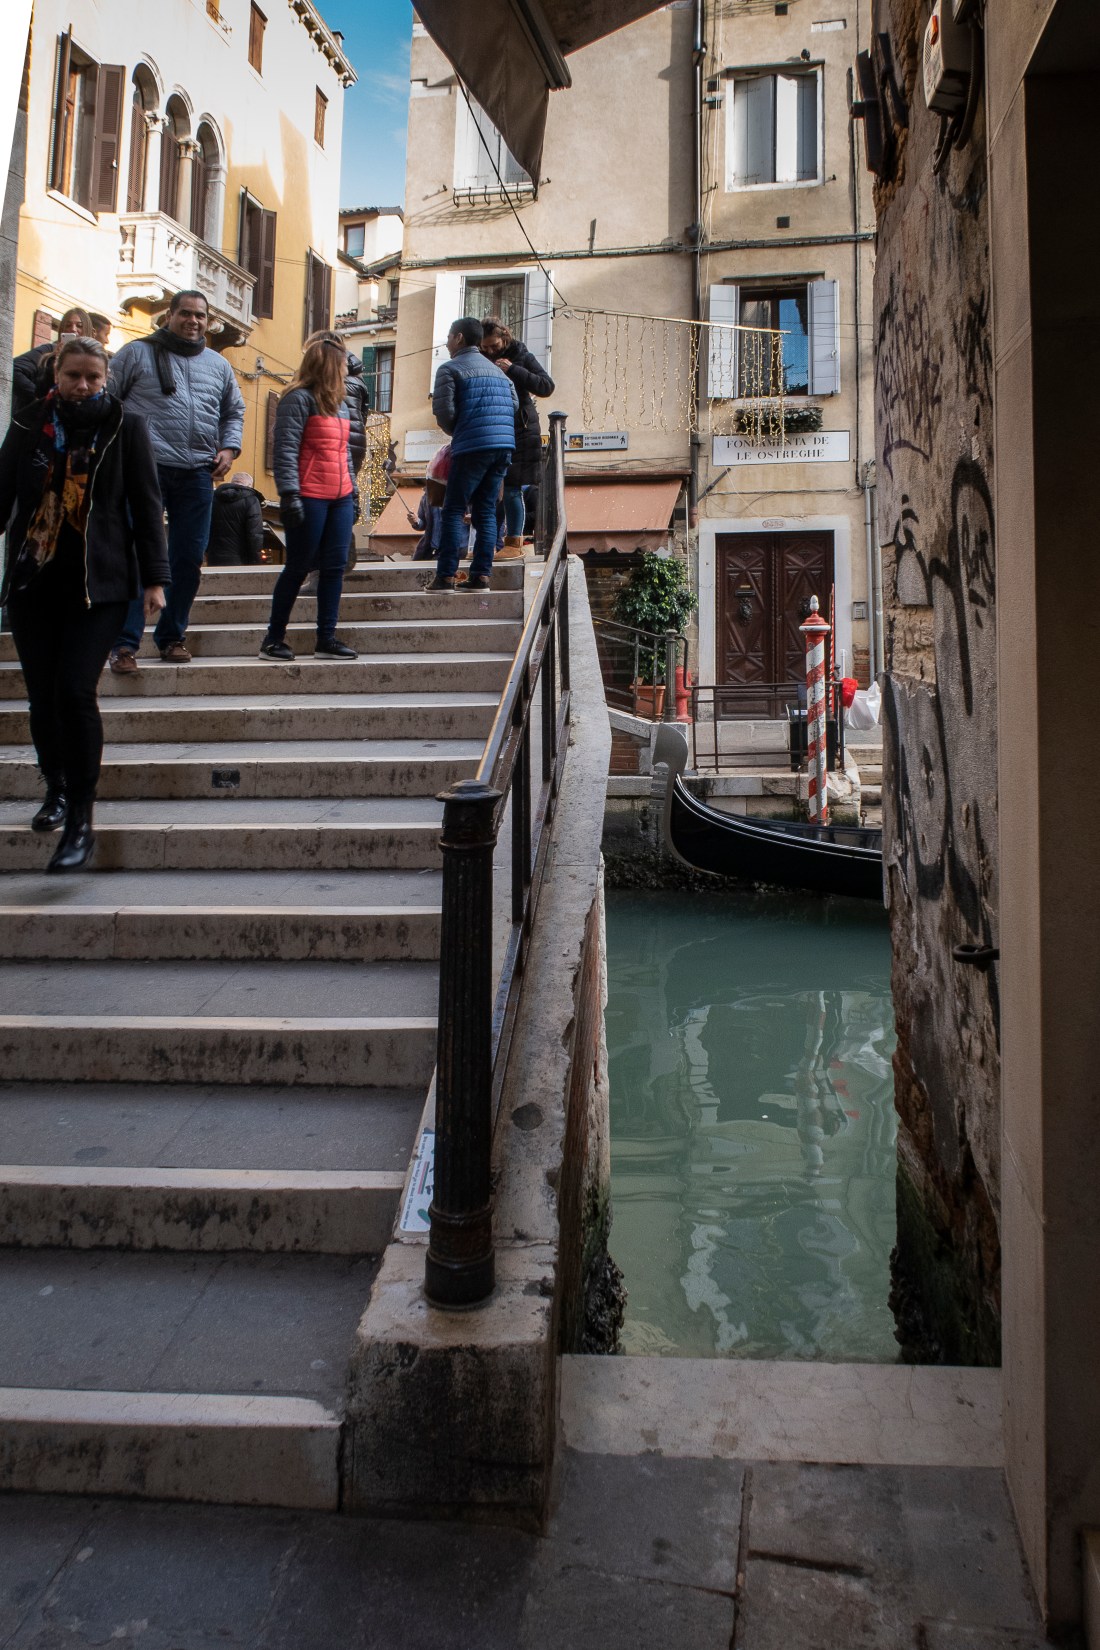
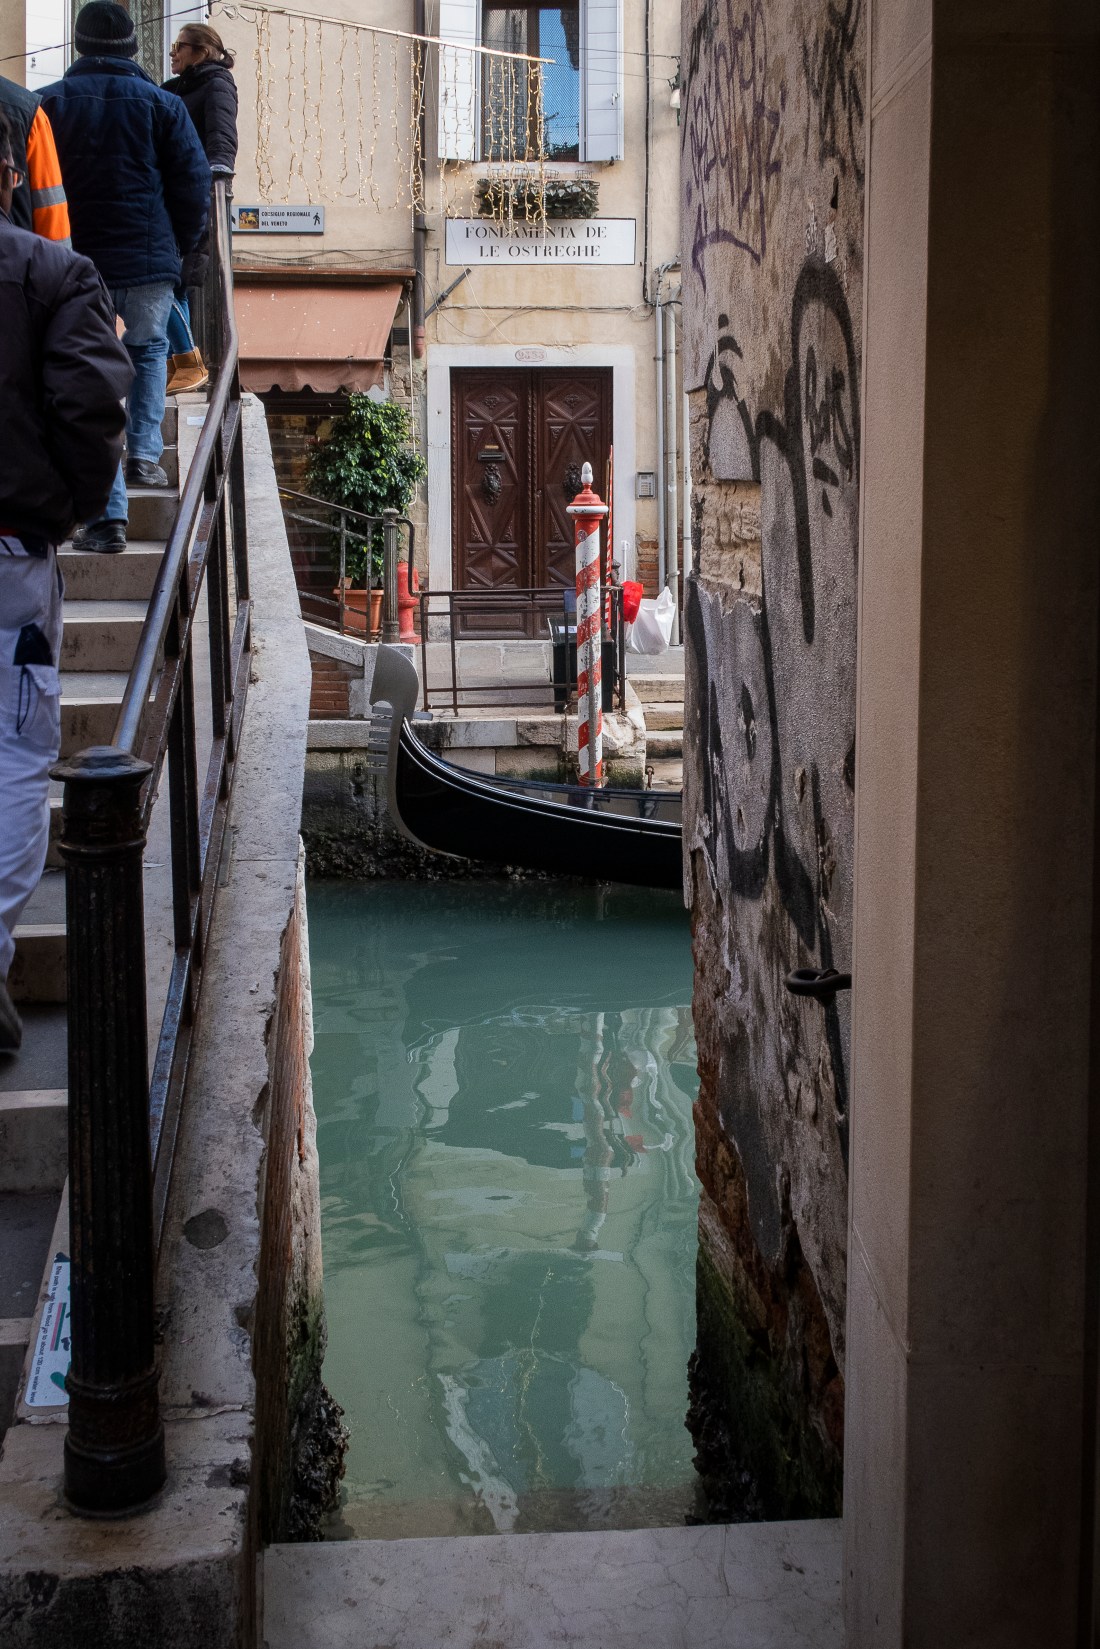
Exercise 2.1 Find a scene that has depth. From a fixed position, take a sequence of five or six shots at different focal lengths without changing your viewpoint… Which shot in the sequence feels closest to the angle of view of your normal vision?
Calle delle Ostreghe, Venice 8.8mmCalle delle Ostreghe, Venice 13.3mm
Calle delle Ostreghe, Venice 36.8mm
The images show a busy bridge over a small canal. At wide angle the people on the bridge dominate the image and it feels bustling and busy, whereas the at maximum zoom the image seems tranquil and peaceful. The middle one is closest to normal vision. Although in this setting it is difficult to determine what is normal, as one’s attention can be focussed in life to small details and ignore the bustle.
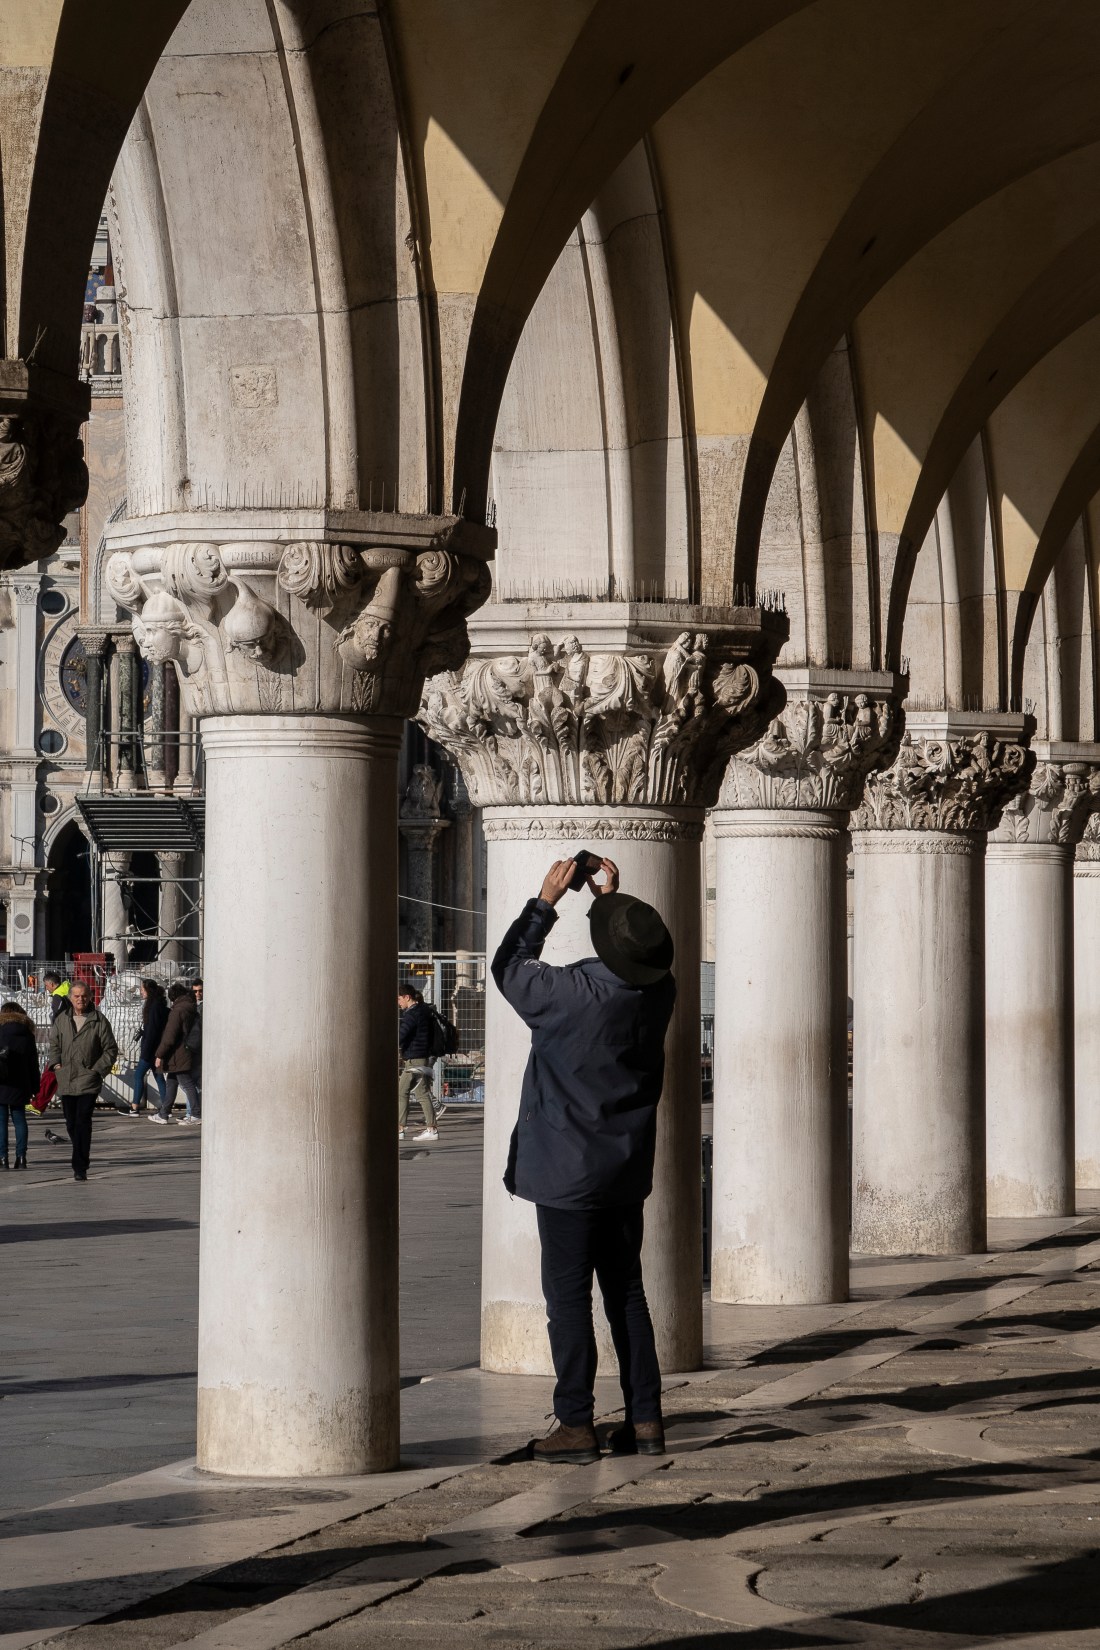
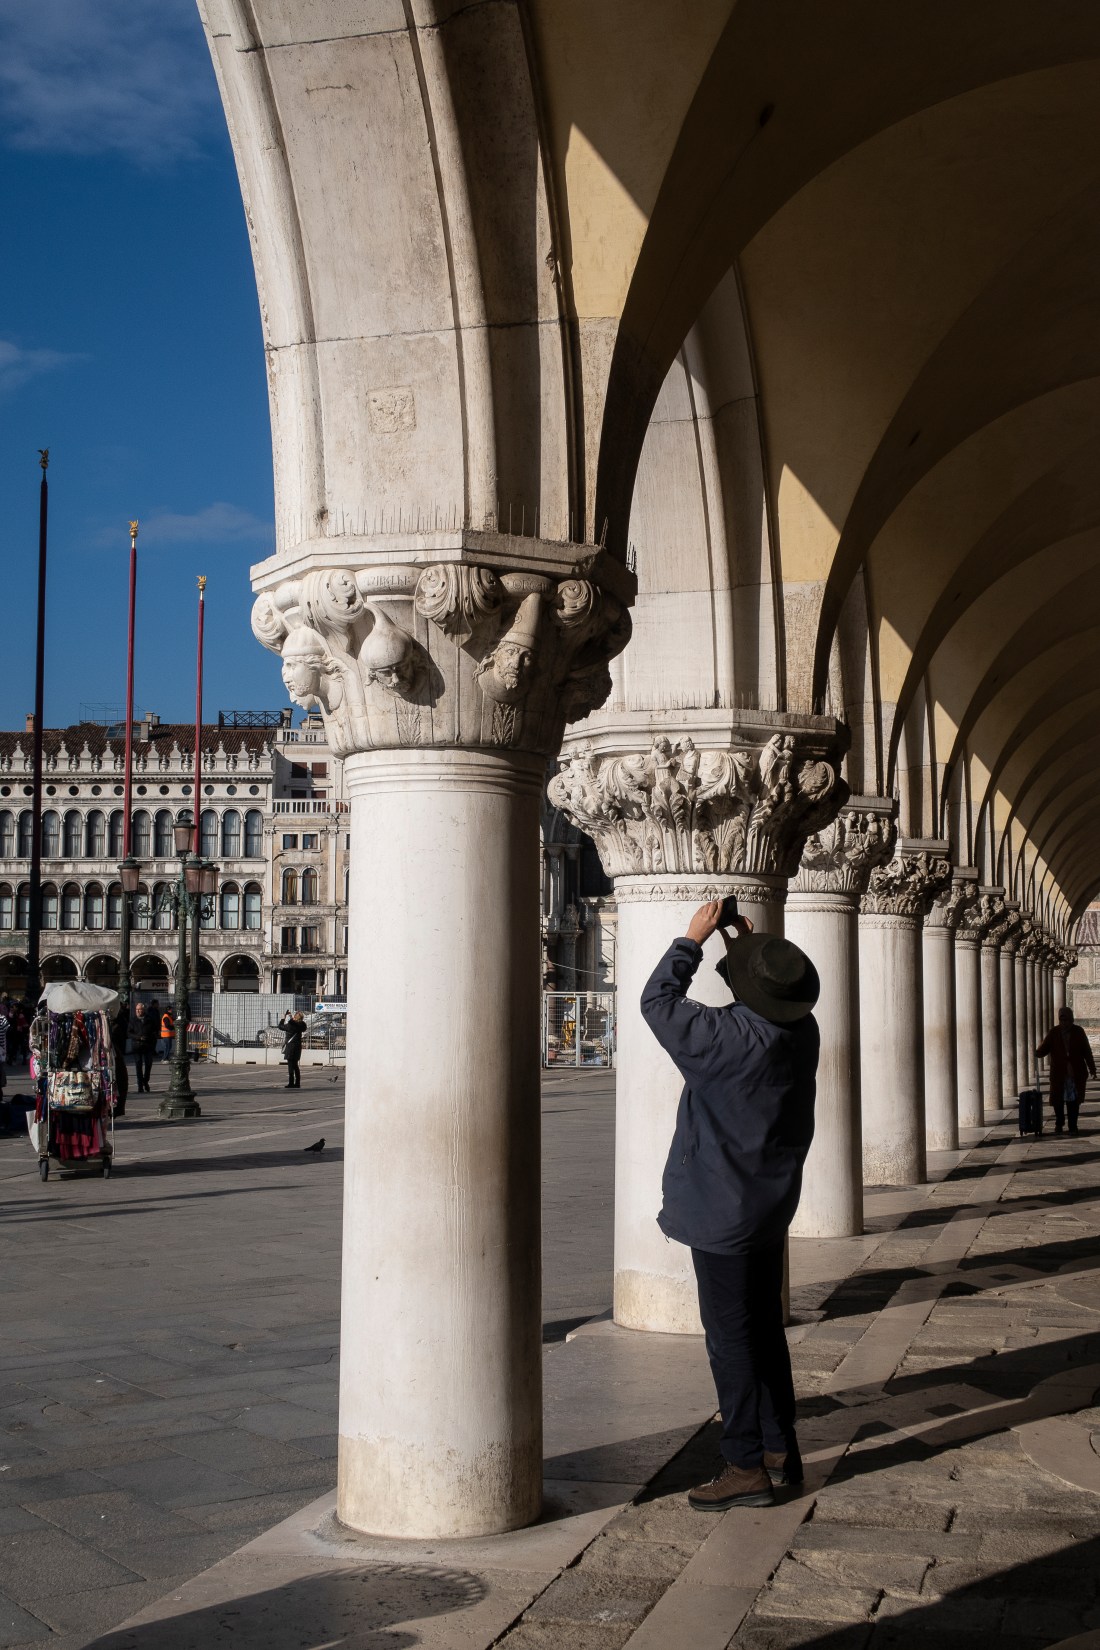
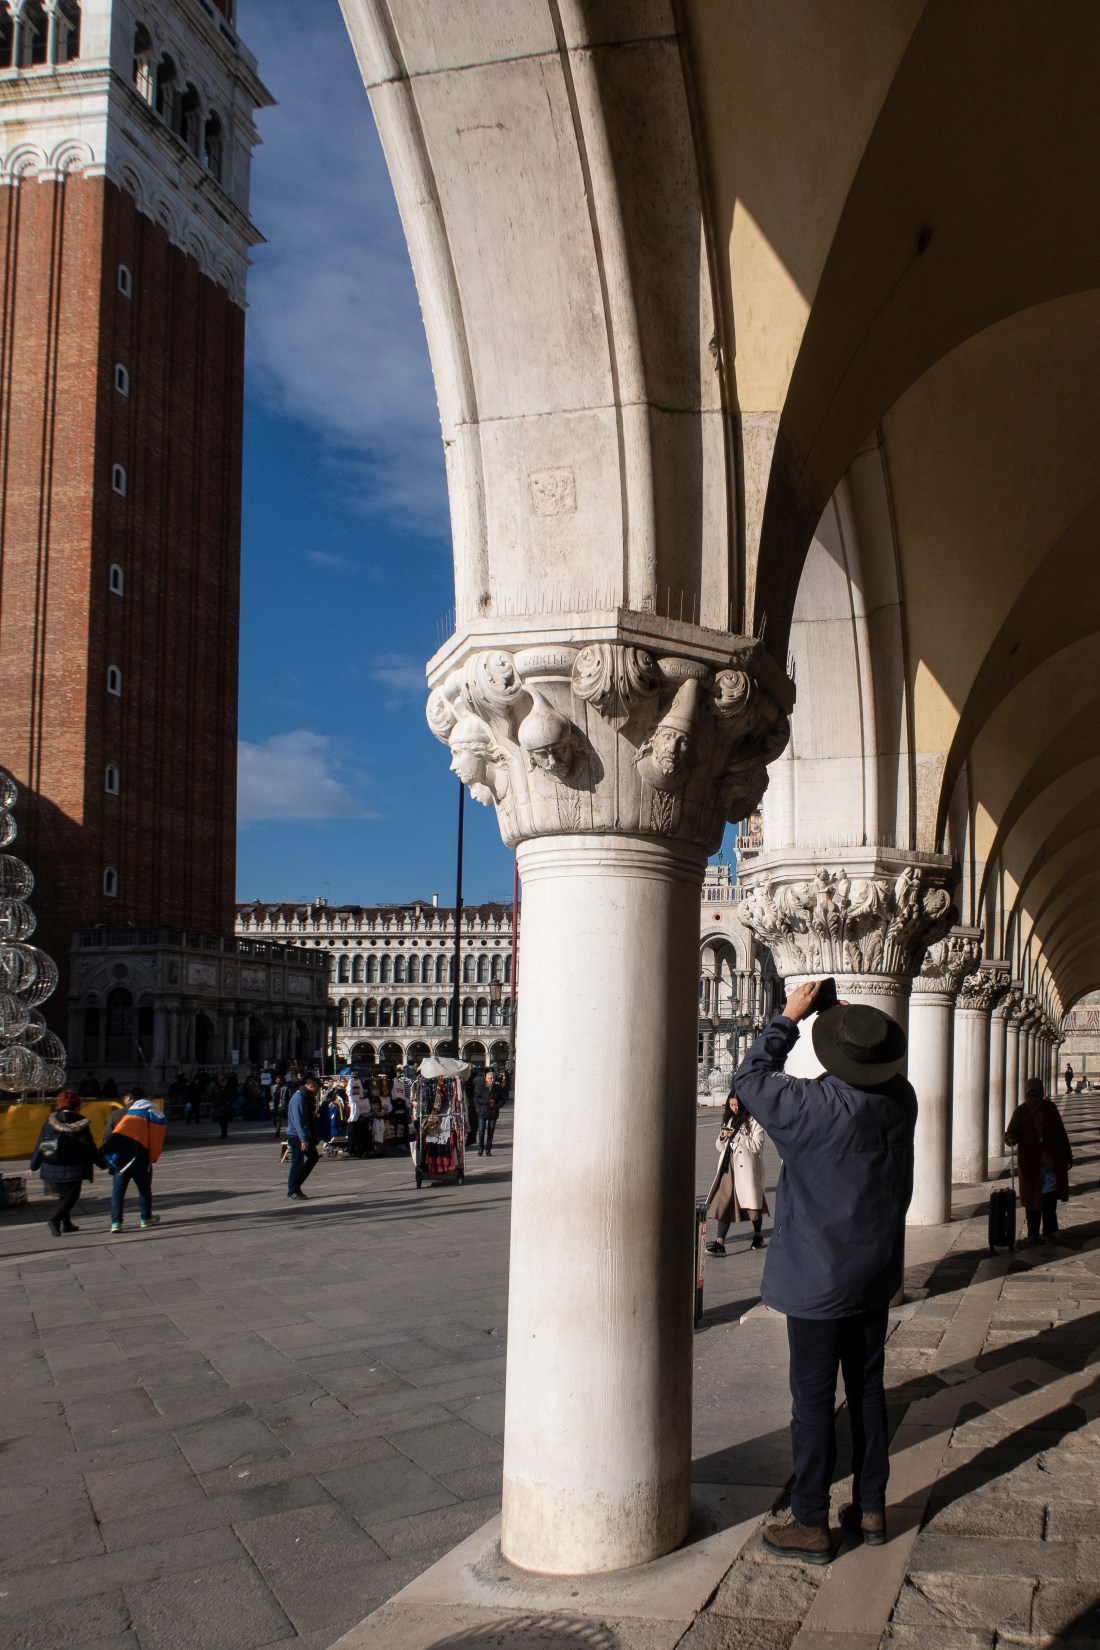
Exercise 2.2 Select your longest focal length and compose a portrait shot fairly tightly within the frame in front of a background with depth. Take one photograph. Then walk towards your subject while zooming out to your shortest focal length. Take care to frame the subject in precisely the same way in the viewfinder and take a second shot.
These images are not a portrait, but show a tourist taking a picture of a detail in the columns near San Marco. Far away from the subject and using a zoom, we concentrate on the subject and his attention; he could be anywhere in any mediaeval colonnade. Whereas closer with a wider angle lens we can see his surroundings, and at the widest angle iconic buildings are included indicating this is an image of Venice. We concentrate on that and the photographer is just another tourist.
As I indicated above, I took many other images while in Venice. All of these are in the contact sheets below.
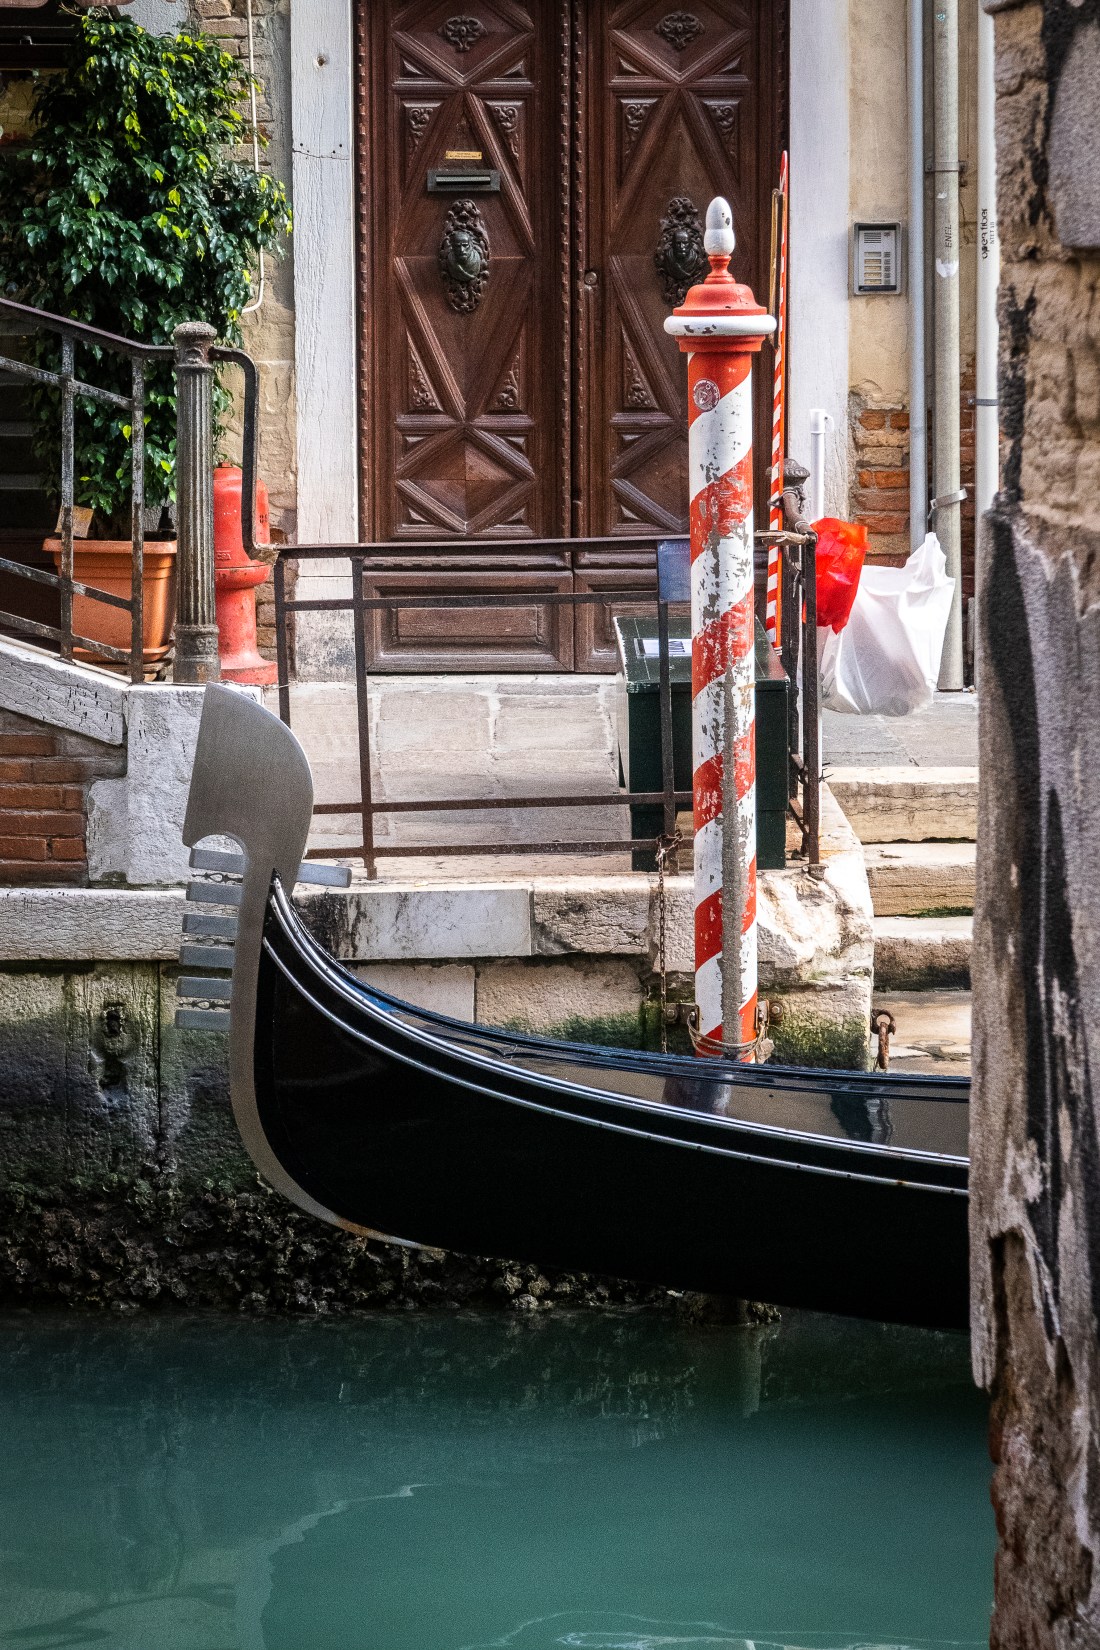
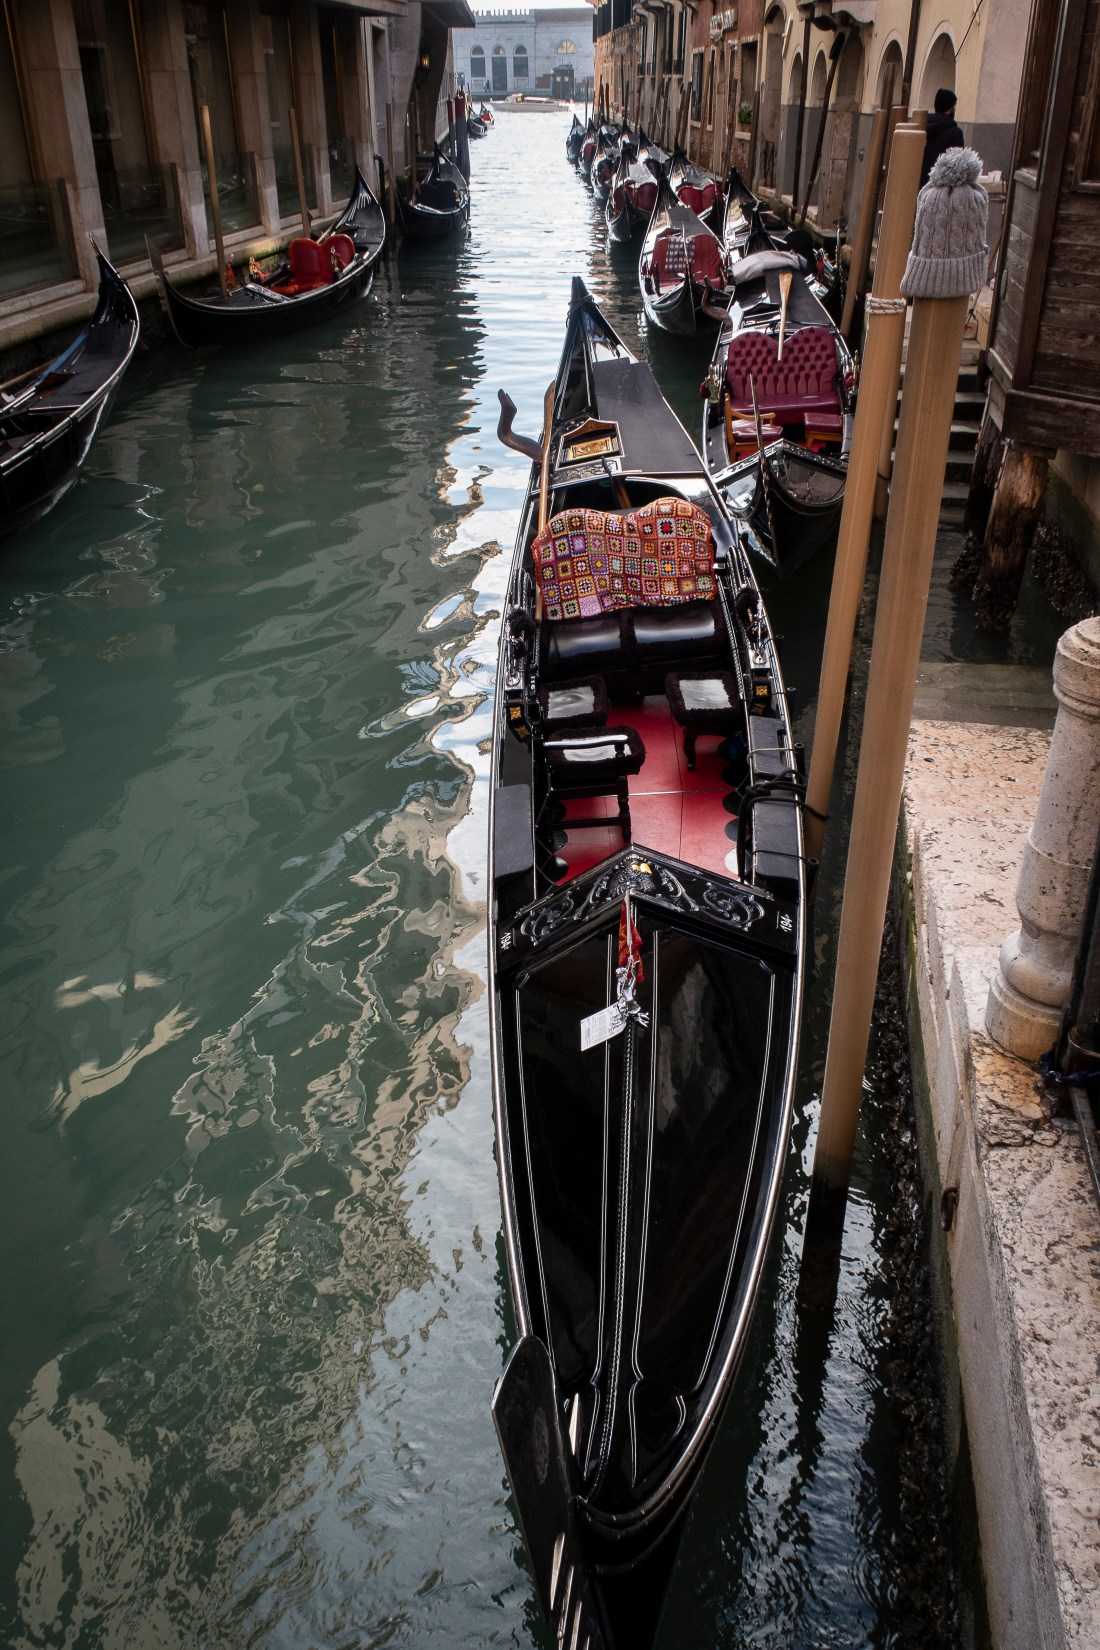
Of these images I have used this effect of the altered perspective afforded by the use of wide-angle or telephoto focal length to compose the image I sought for my “holiday pictures”.
This shows the use of a wide angle to show the whole of the foreground gondola while putting it into a context with a wide background shot of other gondolas and the buildings in the middle and far distance.
Gondola Venice Focal length 11.0mm
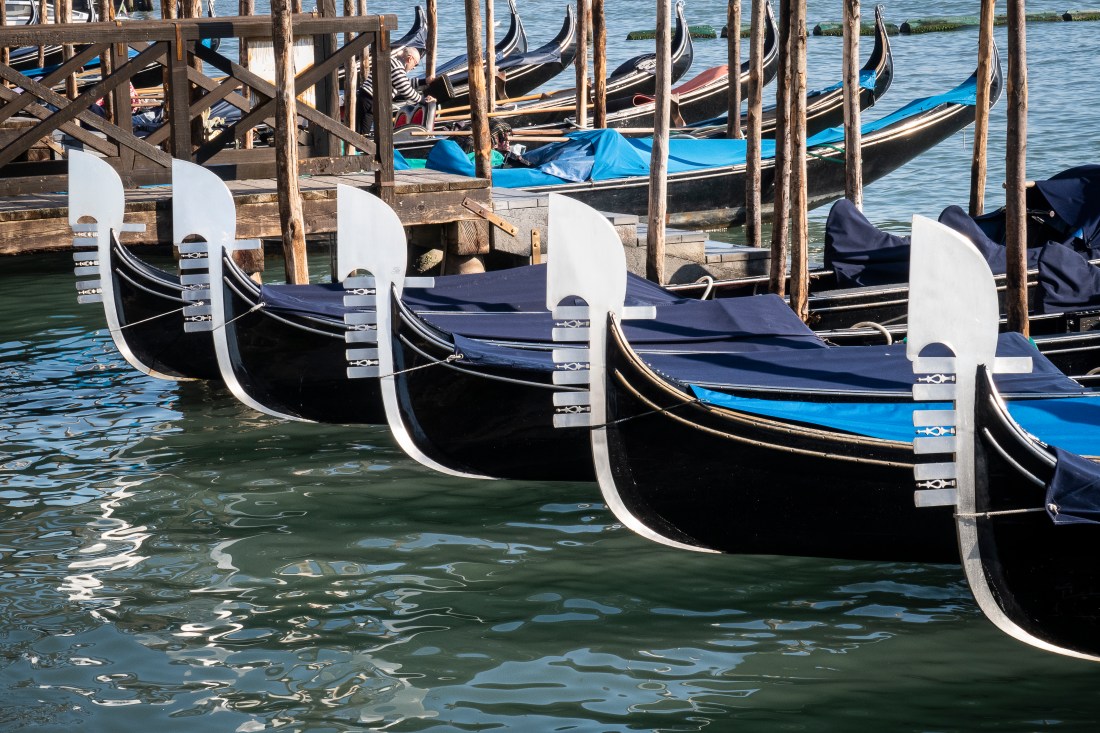
In this image I have used a longer focal length to flatten the perspective and make the receding line of the bows of the gondolas all appear a similar size to make the pattern I sought.